
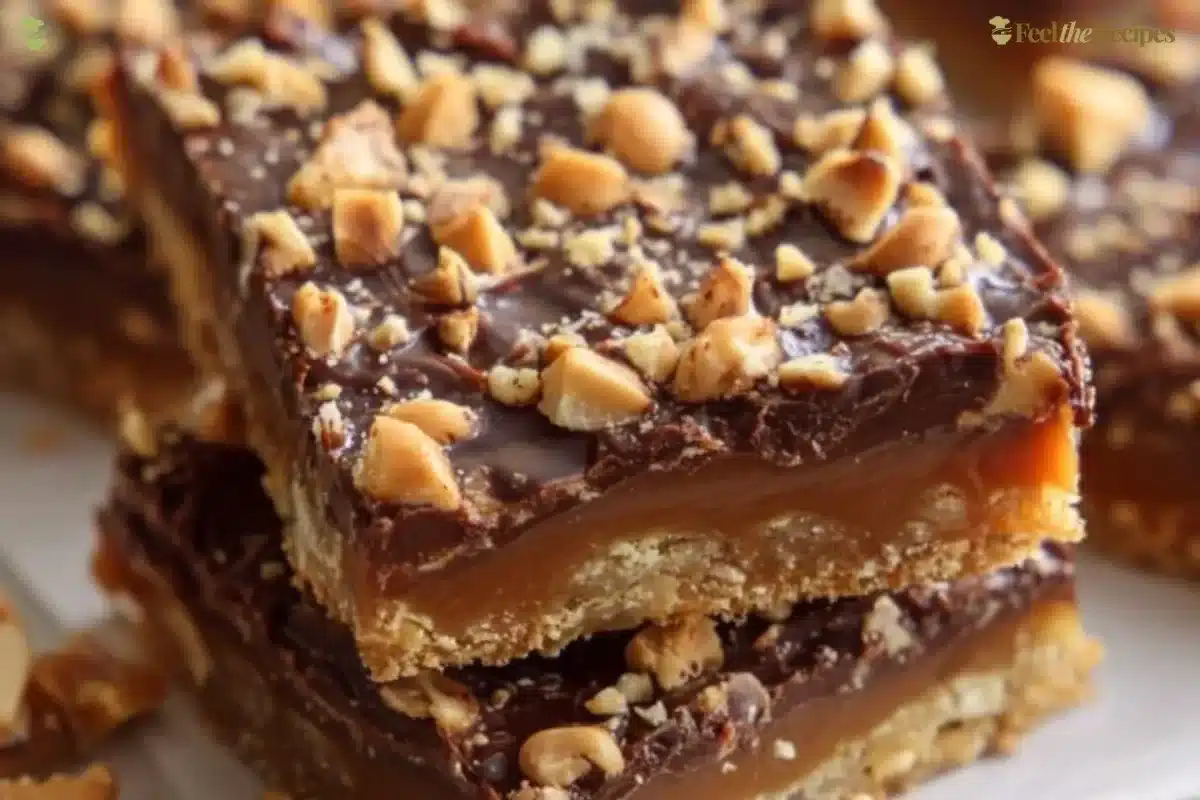
There’s something special about Toffee Bars the way the warm butter and brown sugar scent fills the kitchen and pulls everyone toward the counter. They are sweet, a little crisp, and deeply comforting. Clara stands beside you in spirit, ready to guide your hands and make sure each step feels clear and calm.
If you cook bars like these and love chewy, buttery treats, you might also enjoy trying a fun mash-up like Churro Saltine Toffee. That little nudge is just to remind you how versatile a simple toffee base can be.
Why You’ll Love Making These Toffee Bars
These bars are all about friendly, uncomplicated baking that rewards you fast. The crust is buttery and slightly crunchy. The melted chocolate and toffee bits add a soft, sticky sweetness that keeps people coming back for one more square. You do not need special tools or complex techniques to make them.
They are great for busy weeknights, potlucks, or a simple afternoon tea. You can make the base ahead and finish them the same day you want to serve, or keep a pan tucked away for a quick dessert tomorrow. I love how forgiving they are; small differences in oven heat or a slightly faster stir will still give you an excellent bar.
Step-by-Step: How to Make Toffee Bars
“Cooking isn’t about perfection. It’s about enjoying every delicious step.”
Here is a short game plan before we begin. You will make a buttery shortbread-style crust, bake it briefly to set, then top it with chips and toffee bits and finish it in the oven until everything is glossy and melded. Keep your tools handy: a 9×13 inch pan, a mixing bowl, a spoon or sturdy spatula, and an oven mitt.
Take a deep breath, line up your ingredients on the counter, and let’s move through each step together.
Ingredients You’ll Need for Toffee Bars
1 cup unsalted butter use real butter for rich flavor and a better texture.
1 cup brown sugar packed lightly; it gives that caramel note.
2 cups all-purpose flour measure by spooning into the cup and leveling.
1 cup chocolate chips semi-sweet or milk chocolate, your choice.
1 cup toffee bits crunchy little pockets of caramel that bring the toffee flavor.
1/2 teaspoon salt balances the sweetness.
If you like, add a splash of vanilla extract or a pinch of cinnamon for warmth. If you want inspiration from other bar-style desserts, check the cozy notes on this Caramel Apple Cheesecake Bars page. It’s not required, but it can spark an idea for flavor twists.
Directions: Cooking with Confidence
- Preheat your oven to 350°F (175°C). Grease a 9×13 inch baking dish.
Preheating gives you a predictable oven environment. Grease the dish with a bit of butter or nonstick spray so the bars release cleanly. You can also line the dish with parchment, leaving an overhang to lift the bars out after they cool. - In a large bowl, cream together the butter and brown sugar until smooth.
Use a wooden spoon or a hand mixer. Cream until the mixture looks glossy and slightly lighter in color. If you press some between your fingers it should be smooth and hold together. - Gradually mix in the flour and salt until the mixture is crumbly.
Add the flour in parts so you do not overwork the dough. Stir just until the flour disappears and the mixture looks like coarse crumbs that hold together if pressed. - Press the mixture into the bottom of the prepared baking dish.
Use your fingers or the bottom of a measuring cup to press the crust evenly. Make sure the edges are slightly compacted so the base bakes evenly. You want a firm layer but not overly dense. - Bake for 12-15 minutes or until lightly golden.
Keep an eye on the color. The edges should be slightly toasted and the surface should look set. Ovens vary; check at 12 minutes the first time you make them so you learn your oven’s rhythm. - Remove from the oven and sprinkle the chocolate chips and toffee bits over the crust.
Spread them evenly so every bar gets a bit of chocolate and toffee. If you prefer, layer the chips in two passes: half immediately, then more after the first melt for a prettier finish. - Return to the oven and bake for an additional 10 minutes until the chocolate is melted.
Watch for glossy chocolate and a bit of bubbling at the toffee pieces. The chips should look soft and shiny, not fully detached. If some chips keep their shape, you can gently spread them with the back of a spoon. - Allow to cool before cutting into bars.
Let the pan sit at room temperature at least 30 minutes, or put it in the fridge for 15 minutes to firm up. Use a sharp knife and wipe it clean between cuts if you want clean edges. Patience here gives perfect slices.
Each step is designed to be kind to your time and to your skill level. If something looks a little different in your kitchen, that is okay. The goal is a bar that tastes delicious and feels like a small triumph.
How to Serve Toffee Bars and Make It Shine
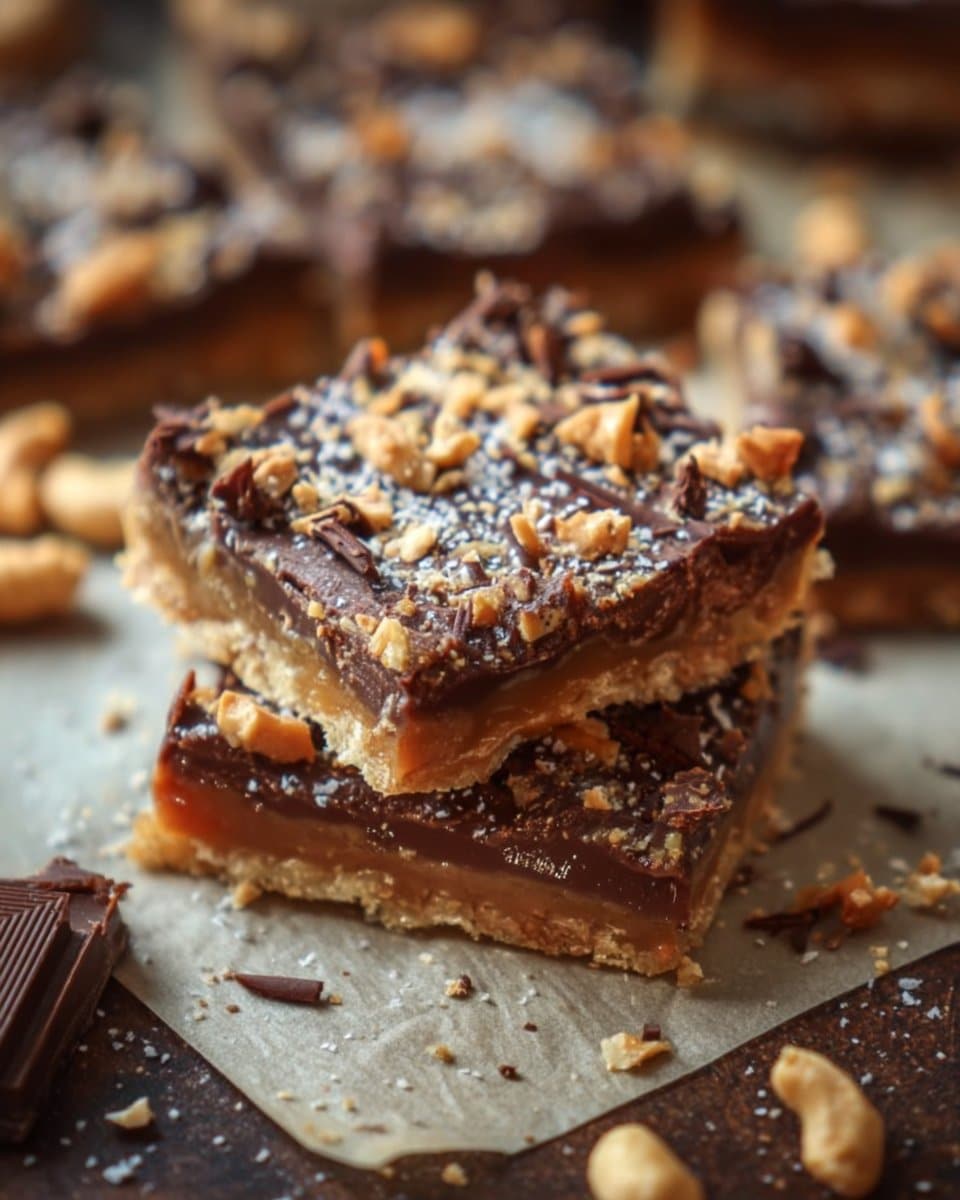
Toffee Bars are a delight on their own, but a few simple touches make them feel special. Serve them slightly chilled for neat slices, or warm them for a gooey, melty centre that pairs beautifully with ice cream.
Pair with a scoop of vanilla ice cream, a dollop of whipped cream, or simply a cup of strong coffee. For a party, arrange them on a simple platter with a few fresh berries or a sprinkle of flaky sea salt on top to add a pleasant contrast.
If you are serving a crowd, cut the bars into smaller squares so everyone can try one. For a gift, stack them in a box with parchment between the layers.
How to Store Toffee Bars for Later
Store at room temperature in an airtight container for up to three days. Keep them in a single layer or separated with parchment so the chocolate does not stick.
For longer storage, chill them for up to a week. Chilling firms the bars and makes cutting easier. Let refrigerated bars sit at room temperature about 10 minutes before serving if you want softer chocolate.
To freeze, wrap the cooled bars securely in plastic wrap and place in a freezer bag for up to two months. Thaw in the refrigerator overnight, then bring to room temperature before serving. Reheating a single slice in a microwave for 8 to 12 seconds will soften the chocolate without melting it entirely.
Clara’s Tips for Success
- Use real unsalted butter. It gives better flavor and a cleaner finish. If you only have salted butter, reduce the added salt slightly.
- Press the crust evenly and firmly. An even crust bakes at the same rate and gives consistent texture across every bar.
- Watch the oven closely during the second bake. Chocolate can go from glossy to overbaked quickly. Check at 8 minutes and adjust if needed.
- Cool completely for clean slices. Rushing to cut while still warm will make pieces messy. Chill briefly if you need quick squares.
- If chips do not melt fully, cover the pan loosely with foil for a couple more minutes so the residual heat melts them without overbrowning.
These are simple, practical steps I use every time. They will save you frustration and produce lovely results.
Simple Variations to Try
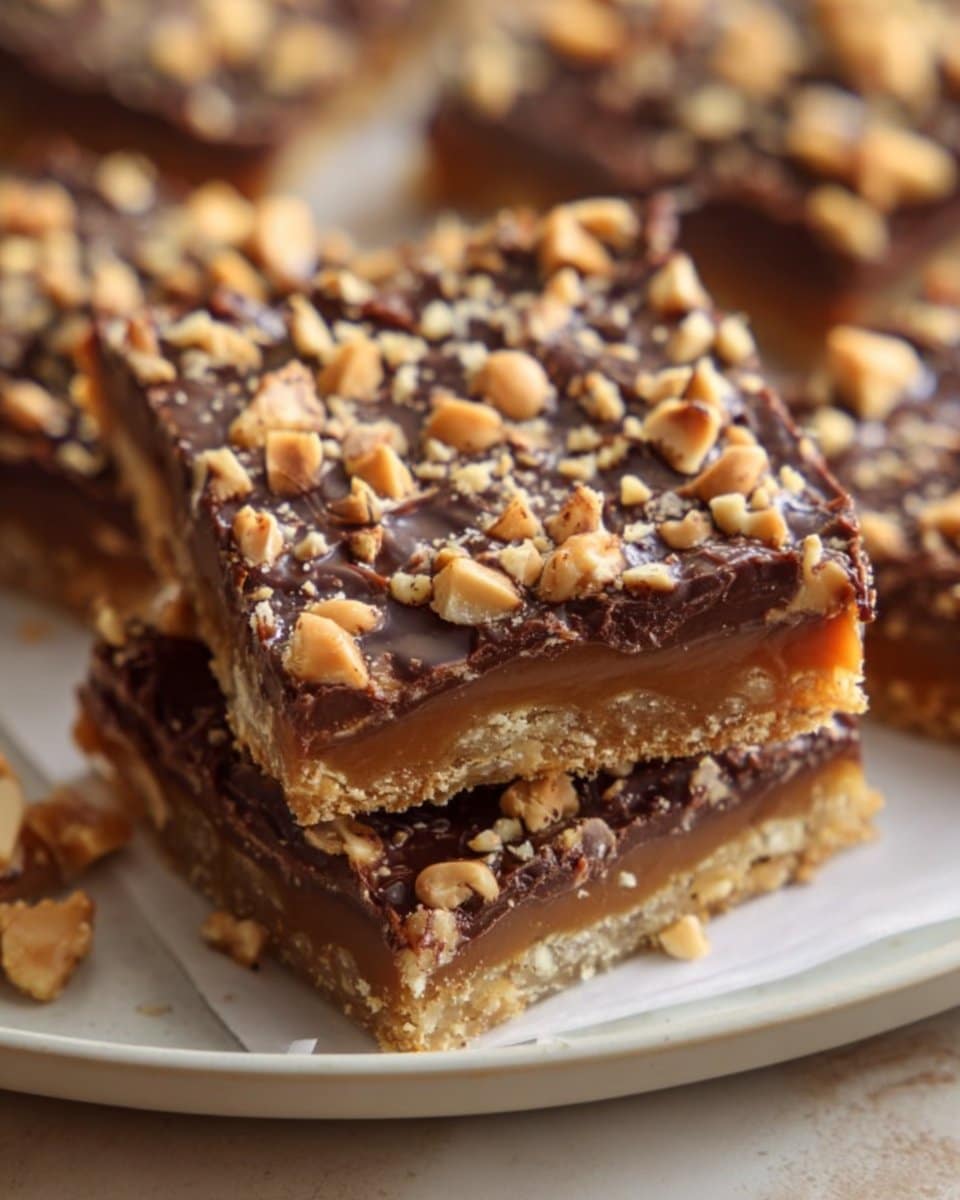
- Nutty Crunch. Stir 1/2 cup chopped pecans or walnuts into the crust or sprinkle them on top with the toffee bits. It adds texture and a toasty flavor.
- Salted Caramel Finish. Drizzle warmed caramel over the cooled bars and sprinkle with flaky salt for a sweet and salty balance.
- White Chocolate and Almond. Swap the chocolate chips for white chocolate chips and add slivered almonds on top for a lighter, nutty variation.
- Double Toffee. Fold some toffee bits into the crust before pressing and again on top before baking for toffee in every bite.
- Espresso Kick. Add 1 teaspoon instant espresso powder to the crust for a coffee note that pairs beautifully with chocolate.
Small swaps like these are forgiving. Taste as you go if you are adding new elements. Remember, the base method stays the same, so you can play without fear.
Toffee Bars
Ingredients
Method
- Preheat your oven to 350°F (175°C). Grease a 9×13 inch baking dish.
- In a large bowl, cream together the butter and brown sugar until smooth.
- Gradually mix in the flour and salt until the mixture is crumbly.
- Press the mixture into the bottom of the prepared baking dish.
- Bake for 12-15 minutes or until lightly golden.
- Remove from the oven and sprinkle the chocolate chips and toffee bits over the crust.
- Return to the oven and bake for an additional 10 minutes until the chocolate is melted.
- Allow to cool before cutting into bars.
Nutrition
Notes
Tried this recipe?
Let us know how it was!FAQs About Toffee Bars
Can I make this ahead of time?
Yes. These bars keep well at room temperature for a few days and in the refrigerator for up to a week. Make them a day ahead for less stress on serving day and slice them just before people arrive.
Can I use salted butter instead of unsalted?
You can. If you use salted butter, omit the extra 1/2 teaspoon of salt or reduce it to a pinch. Salted butter will make the bars slightly more savory, which some people prefer.
My chocolate chips did not melt smoothly. What went wrong?
If your chips stayed firm, it may be your oven temperature or the thickness of the layer. You can return the pan to the oven for a few minutes or place it under the broiler for a very short moment, watching closely. Another easy fix is to gently press the chips into the warm crust so they soften from contact.
Can I make these gluten-free?
Yes. Substitute a 1-to-1 gluten-free flour blend that is designed for baking. The texture may be slightly different but still delicious. Press gently and check baking times, as gluten-free flours sometimes need a minute or two more.
How do I get clean slices?
Let the pan cool completely. Then chill briefly to firm the chocolate, use a sharp knife, and wipe the blade clean between cuts. Running the knife under hot water, then drying it, can also make cleaner cuts.
These answers come from many runs of this recipe and a few kitchen mishaps. You can solve most small problems with patience and simple fixes.
Conclusion
You’ve just walked through a straightforward, friendly recipe that brings butter, brown sugar, and crunchy toffee together into something joyful. If you want to compare classic versions or pull ideas from other cooks, take a look at this Toffee Bars Recipe – BettyCrocker.com for a timeless approach. For a different take and more visual inspiration, see Toffee Bars – Celebrating Sweets.
I hope these Toffee Bars help you discover how simple and rewarding homemade cooking can be. You’ve got this.