
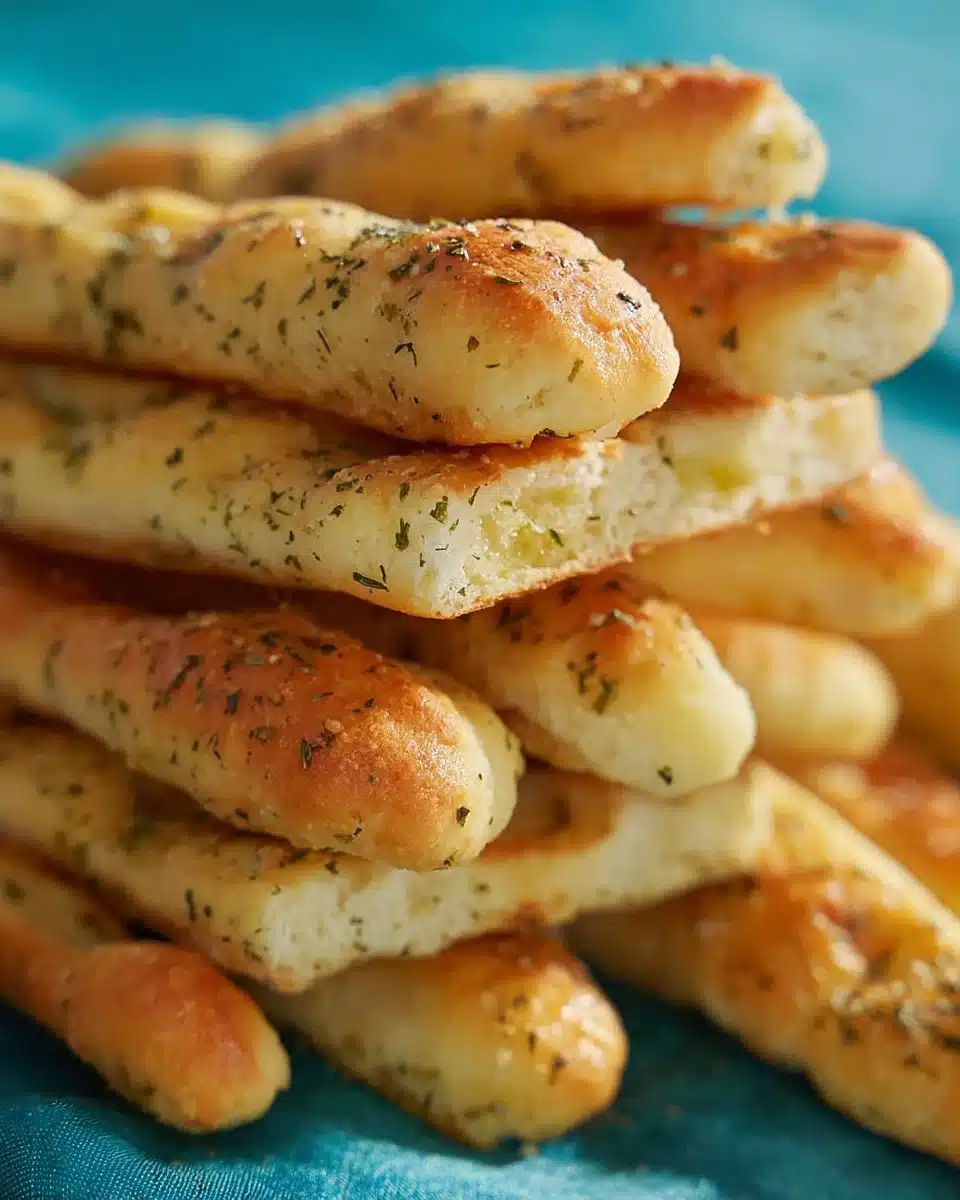
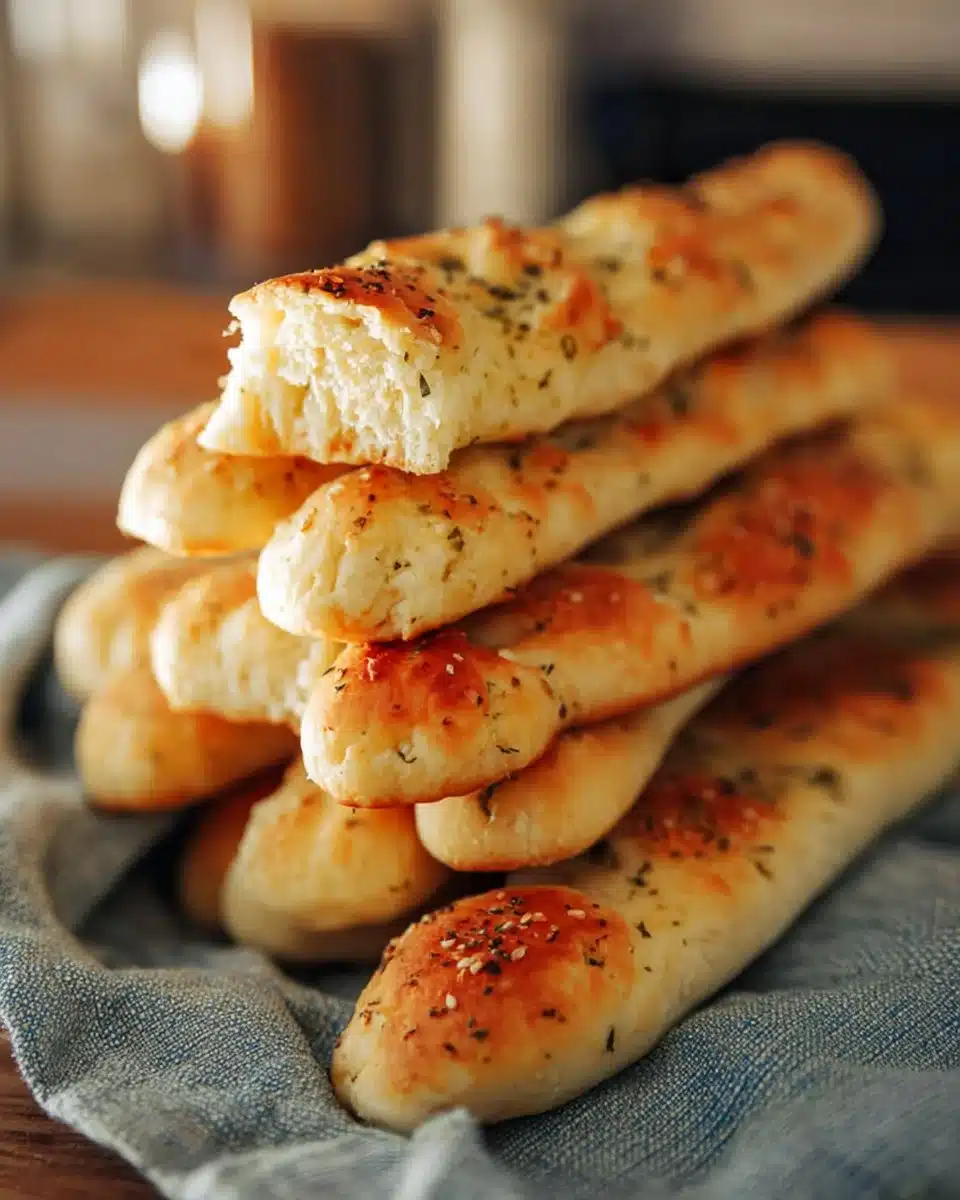
There’s something special about Fluffy Garlic Butter Breadsticks the way their warm, garlicky scent fills the kitchen and calls everyone to the table. Making them at home turns a simple meal into a small celebration. You will feel proud when you pull those soft, golden breadsticks from the oven and watch people reach for them with a smile.
If you love quick breads that taste like comfort, you might also enjoy my take on buttery cheese garlic rolls, which share the same cozy flavors and are great when you want a cheesy twist.
Why You’ll Love Making This Fluffy Garlic Butter Breadsticks
These breadsticks are a perfect mix of easy and impressive. The dough is forgiving. It asks for a little patience while it rises, but not a lot of fuss. You do not need fancy tools. A stand mixer helps, but you can also mix and knead by hand and still get great results.
The texture is the real joy. The inside is pillowy and soft, with airy pockets that give way the moment you bite in. The outside is lightly golden with a thin buttery crust. Brushing them warm with a garlic butter gives a glossy, flavorful finish that makes people close their eyes and take a second bite.
This recipe is a winner for weeknight dinners, potlucks, and any time you want something warm to dip into soup or marinara. It is also a wonderful way to build kitchen confidence. If you are new to yeast baking, these breadsticks are a gentle place to start. They teach you to read dough, feel when it is ready, and enjoy the baking rhythm.
Step-by-Step: How to Make Fluffy Garlic Butter Breadsticks
“Cooking isn’t about perfection. It’s about enjoying every delicious step.”
Before we jump into the numbered directions, take a moment to lay out your ingredients. Measure the water so it is warm, not hot. Softened or melted butter should be cool enough not to kill the yeast. Having everything ready makes the process calm and smooth.
- In the bowl of an electric stand mixer fitted with the dough hook, combine all ingredients for dough except flour. On low speed, gradually add flour.
- Increase speed to medium and knead dough for 7 minutes, or until smooth and elastic.
- Remove dough to a lightly oiled bowl and cover with a dry towel. Let rise in a warm place until doubled in size, about 1 1/2 hours.
- Divide dough into 12 portions. Roll each piece of dough into a 7-inch log.
- Place dough logs on nonstick baking mat or parchment-lined baking sheets, cover, and let rise until doubled in size, about 1 hour.
- Preheat oven to 400 degrees F. Bake for about 12 minutes, or until golden brown.
- Meanwhile, combine butter, salt and garlic powder in a small bowl.
- Remove breadsticks from oven and immediately brush with butter mixture. Serve warm.
- Enjoy!
Now let us expand each of these steps with Clara-style guidance so you feel confident and calm through every action.
- Combine wet ingredients and yeast
Start by measuring 1 cup plus 2 tablespoons warm water into the mixer bowl. The water should be warm to the touch, about 100 to 110 degrees F if you have a thermometer. Sprinkle 1 1/2 teaspoons instant yeast into the water and add 2 tablespoons granulated sugar. Stir gently to dissolve the sugar. Add 3 tablespoons unsalted butter that has been melted and allowed to cool slightly, and 1 3/4 teaspoons kosher salt. Mixing these first gives the yeast a friendly environment to wake up in. If you do not have a thermometer, the water should feel warm, like a cozy bath. Too hot and it may slow the yeast. Too cool and the rise will be slow. - Gradually add the flour
With the mixer on low, add 3 cups of bread flour or all-purpose flour a little at a time. This keeps the flour from puffing out of the bowl and helps you see how the dough is forming. The dough will go from shaggy to a smooth ball as the flour hydrates. Stop once the dough cleans the sides of the bowl but still feels slightly tacky. You will know the dough is the right consistency when it pulls away but still sticks to your finger if you touch it. - Knead until elastic
Increase the mixer speed to medium and let the dough hook do the work for about 7 minutes. You are aiming for a smooth, elastic dough. A simple test: pull a small piece and stretch it thin. If it forms a little window that you can see light through without tearing right away, the gluten is developed. That texture leads to light, airy breadsticks. If you are kneading by hand, plan on 10 to 12 minutes of turning and pressing. Keep your bench lightly floured and move patiently. - First rise
After kneading, transfer the dough to a lightly oiled bowl and turn it once so the top is coated. Cover with a dry towel or plastic wrap. Place the bowl in a warm, draft-free spot. A common trick is to set the bowl in an oven with just the oven light on. Let it rise until doubled, which usually takes about 1 1/2 hours depending on room temperature. You can tell it is ready when it looks puffy and retains a gentle indentation when you press it with a finger. - Divide and shape
Gently deflate the dough and turn it out onto a lightly floured surface. Divide it into 12 equal portions. I like to weigh them if I want perfectly even breadsticks, but eyeing them works well too. Roll each portion into a 7-inch log. Keep the motions gentle to preserve the air bubbles you just worked to create. If the dough resists, let it rest for five minutes and try again. - Second rise on the tray
Line a baking sheet with parchment paper or a nonstick baking mat. Place the logs on the sheet with a little space between each. Cover loosely and let them rise until nearly doubled, about 1 hour. They will look plump and feel soft to the touch. This second rise is what gives the breadsticks their light, fluffy interior. - Bake to golden perfection
Preheat your oven to 400 degrees F and let it come up to temperature while the dough finishes the rise. Bake the breadsticks about 12 minutes. Watch for a gentle golden color on top and a slightly firmer bottom when you lift one carefully. They do not need to be deeply browned. A light golden top and a soft interior are what we want. - Brush with garlic butter
While the breadsticks bake, combine 3 tablespoons unsalted butter melted, 1/2 teaspoon kosher salt, 1/4 teaspoon garlic powder, and 1/4 teaspoon Italian seasoning in a small bowl. When the breadsticks come out of the oven, brush them immediately and generously with the butter mixture. The heat makes the butter melt into the surface and carry the garlic flavor into every bite. - Serve warm and enjoy
Serve them fresh and warm. They are best eaten the same day, but the storage tips below will help if you need to save some. Enjoy the moment. There is real satisfaction in making bread from simple ingredients and sharing it with people you care about.
Ingredients You’ll Need for Fluffy Garlic Butter Breadsticks
1 cup + 2 Tablespoons warm water use water that feels warm to the wrist, not hot.
1 1/2 teaspoons instant yeast instant yeast is fast and reliable; you can use active dry if you proof it first.
2 Tablespoons granulated sugar feeds the yeast and gives a touch of sweetness.
3 Tablespoons unsalted butter (melted) for the dough; use real butter for rich flavor.
1 3/4 teaspoons kosher salt balances the dough and brings out flavor.
3 cups bread flour or all-purpose flour bread flour gives a chewier texture; all-purpose works fine too.
3 Tablespoons unsalted butter (melted) for brushing after baking; fresh butter makes them shine.
1/2 teaspoon kosher salt added to the butter for extra seasoning.
1/4 teaspoon garlic powder keeps the flavor consistent; fresh minced garlic works if used carefully.
1/4 teaspoon Italian seasoning adds subtle herb notes; fresh herbs make all the difference.
Small notes as you gather ingredients:
- Use unsalted butter so you control how much salt goes in.
- If you prefer a garlicky punch, swap garlic powder for a teaspoon of finely minced garlic mixed into the melted butter.
- Fresh herbs like chopped parsley or oregano lift the aroma. Sprinkle some after brushing for a fresh pop.
Directions: Cooking with Confidence
- In the bowl of an electric stand mixer fitted with the dough hook, combine all ingredients for dough except flour. On low speed, gradually add flour.
- Increase speed to medium and knead dough for 7 minutes, or until smooth and elastic.
- Remove dough to a lightly oiled bowl and cover with a dry towel. Let rise in a warm place until doubled in size, about 1 1/2 hours.
- Divide dough into 12 portions. Roll each piece of dough into a 7-inch log.
- Place dough logs on nonstick baking mat or parchment-lined baking sheets, cover, and let rise until doubled in size, about 1 hour.
- Preheat oven to 400 degrees F. Bake for about 12 minutes, or until golden brown.
- Meanwhile, combine butter, salt and garlic powder in a small bowl.
- Remove breadsticks from oven and immediately brush with butter mixture. Serve warm.
- Enjoy!
Practical clues while you work:
- If your dough is sticky and very soft after kneading, add a tablespoon of flour at a time. It should be soft, not dry.
- If your kitchen is cool and the dough rises slowly, move the covered bowl to a warm spot like the top of the fridge or a turned-off oven with the light on.
- For even baking, rotate the pan halfway through if your oven has hot spots. Use the oven light to watch progress rather than opening the door too often.
How to Serve Fluffy Garlic Butter Breadsticks and Make It Shine
Breadsticks are delightful on their own, but a thoughtful pairing makes the meal feel complete. Serve warm with a bowl of simple marinara sauce for dipping. A side of Caesar salad or a light slaw balances the buttery richness. For heartier meals, these breadsticks go beautifully with soups like tomato basil, chicken noodle, or a creamy potato soup.
You can also present them with a small ramekin of herbed olive oil or a warm garlic butter dip. For a cozy dinner, pair with roasted chicken and steamed green vegetables. If you are feeding a crowd, place them in a basket lined with a clean towel to keep them warm and soft.
When plating, arrange the breadsticks in a staggered stack so they look inviting. Brush an extra little butter and sprinkle with chopped parsley right before serving for a fresh look. If you want a family-style touch, serve them on a wooden board with dipping bowls scattered around.

How to Store Fluffy Garlic Butter Breadsticks for Later
These breadsticks are best eaten the same day, but you can store them if needed. For short-term storage, place cooled breadsticks in an airtight container or a resealable bag and keep them at room temperature for up to two days. To keep them from getting soggy, line the container with a paper towel to absorb extra moisture.
For longer storage, freeze the cooled breadsticks in a single layer on a baking sheet until firm, then transfer to a freezer-safe bag. They will keep for up to three months. When you are ready to eat, thaw at room temperature and reheat.
Reheating tips:
- Oven: Preheat to 350 degrees F. Place breadsticks on a baking sheet, cover loosely with foil to prevent over-browning, and warm for 8 to 10 minutes. Uncover for the last minute to refresh the crust.
- Microwave: For a quick warm-up, wrap a breadstick in a damp paper towel and microwave for 10 to 15 seconds. This is fast but can soften the crust.
- To refresh frozen breadsticks straight from the freezer, bake at 375 degrees F for 12 to 15 minutes, or until warmed through.
If you need to store garlic butter separately, keep it in a small airtight container in the refrigerator for up to a week. Warm it slightly before brushing so it melts smoothly.
Clara’s Tips for Success
- Use warm water for the yeast, not hot. If the water feels hot on your wrist, let it cool a bit. Yeast likes gentle warmth.
- Let the dough rise fully. The difference between one rise and two good rises is lightness in the crumb and a better texture.
- If the dough feels tight while rolling, let the pieces rest for a few minutes. Relaxing the gluten makes shaping easier.
- Always brush the breadsticks right out of the oven. The hot surface absorbs butter best, creating a glossy finish.
- If you want an extra garlic punch, add a pinch of garlic powder to the dough itself for an all-around flavor.
For another savory garlic idea that pairs well with a family meal, try my recipe for garlic butter beef bites with potatoes. The same buttery, garlicky spirit shows up in that dish and they make a great combo for a cozy dinner.
Simple Variations to Try
- Cheesy breadsticks: Brush with butter and sprinkle generously with shredded mozzarella or sharp cheddar before baking. Finish with a sprinkle of parmesan after baking.
- Herb butter breadsticks: Mix chopped fresh rosemary, thyme, and parsley into the melted butter. Brush twice, once before baking and once after for layered flavor.
- Spicy garlic: Add 1/8 to 1/4 teaspoon red pepper flakes to the garlic butter for a gentle heat that wakes up the taste buds.
- Garlic knots: Instead of logs, tie each portion into a knot. They look charming and have more buttery edges to crisp up.
- Pocket breadsticks: Roll each piece flatter, add a thin slice of prosciutto or cheese, then seal and roll up for a stuffed version.
- Whole wheat version: Substitute up to half the flour with whole wheat flour. The texture will be a bit denser but still delicious. Let the dough rise a little longer if using whole wheat.
These small changes keep the base recipe intact while letting you play with flavors. If you try one, note which change you liked so you can repeat it next time.

Fluffy Garlic Butter Breadsticks
Ingredients
Method
- Measure 1 cup plus 2 tablespoons of warm water into the mixer bowl. Sprinkle 1 1/2 teaspoons of instant yeast and 2 tablespoons of sugar into the water. Stir gently to dissolve.
- Add 3 tablespoons of melted unsalted butter and 1 3/4 teaspoons of kosher salt into the mixer bowl.
- On low speed, gradually add 3 cups of bread or all-purpose flour until the dough cleans the sides of the bowl.
- Increase mixer speed to medium and knead for about 7 minutes until the dough is smooth and elastic.
- Transfer the kneaded dough to a lightly oiled bowl and cover with a dry towel. Let rise in a warm place until doubled in size, about 1.5 hours.
- Once risen, divide dough into 12 equal portions and roll each into a 7-inch log.
- Place logs on a nonstick baking mat or parchment-lined baking sheet and cover. Let rise until doubled in size, about 1 hour.
- Preheat the oven to 400°F (200°C). Bake breadsticks for about 12 minutes until golden brown.
- While baking, combine 3 tablespoons of melted butter, 1/2 teaspoon of kosher salt, 1/4 teaspoon of garlic powder, and 1/4 teaspoon of Italian seasoning in a small bowl.
- Remove breadsticks from the oven and brush immediately with the butter mixture. Serve while warm.
Nutrition
Notes
Tried this recipe?
Let us know how it was!FAQs About Fluffy Garlic Butter Breadsticks
Can I make this recipe without a stand mixer?
Yes. You can mix the dough by hand in a large bowl and knead on a lightly floured surface for 10 to 12 minutes. The goal is the same: smooth, elastic dough. Use the same rises and the rest of the steps unchanged.
Can I use active dry yeast instead of instant yeast?
Yes. If you use active dry yeast, proof it in the warm water with the sugar for 5 to 10 minutes until foamy, then proceed with the recipe. Active dry yeast takes a little longer to wake up, but it will work well.
How do I know the dough has risen enough?
When the dough has doubled in volume and holds a gentle indentation after you press it with your finger, it is ready. Both the first rise in the bowl and the second rise on the tray should show a noticeable increase in size.
Can I prepare the dough ahead of time?
Yes. For a slow schedule, place the dough in a lightly oiled bowl, cover tightly, and refrigerate overnight. The cold slows the yeast. Take the dough out in the morning to come to room temperature and complete the second rise before shaping and baking.
What makes the breadsticks so fluffy?
A combination of proper hydration, kneading to develop gluten, and giving the dough time to rise twice creates a light interior. Bread flour helps too, thanks to its higher protein content, but all-purpose flour works when handled well.
Conclusion
I hope this Fluffy Garlic Butter Breadsticks recipe helps you find joy in simple, homemade baking. The steps are gentle, the flavors are familiar, and the process builds real kitchen confidence. If you want more variations and inspiration for garlic-forward sides, check out this detailed collection on Fluffy Garlic Butter Breadsticks – The Comfort of Cooking and a flavorful tutorial at Homemade Garlic Butter Breadsticks ~ Recipe | Queenslee Appétit.
You have everything you need to make these breadsticks come to life. Trust the dough, enjoy the process, and share the warmth. You’ve got this.