

There’s something special about How To Make The Best Homemade Garlic Aioli the way its warm, garlicky scent drifts through the kitchen and calls everyone to the counter. It’s the kind of sauce that turns simple fries into a treat and brings quiet satisfaction to a weeknight dinner. I want you to feel confident making this, even if it’s your first time whisking, tasting, and adjusting flavors.
If you like learning small skills that change how you cook, you might enjoy pairing this with a hearty main from my kitchen notes, like the tips I use when working with tougher cuts in the bottom round steak guide. That kind of small, reliable technique helps you feel at home in the kitchen right away.
Why You’ll Love Making This How To Make The Best Homemade Garlic Aioli or The Story Behind My How To Make The Best Homemade Garlic Aioli
There’s a simple joy in making a sauce from scratch that tastes better than store-bought. This garlic aioli is creamy, bright, and quick. It asks for only a few pantry ingredients and delivers a big payoff at the table.
I make this when friends drop by, when we’re having simple fish tacos, or when I want to turn plain roasted vegetables into something memorable. It’s forgiving, so if you tweak the garlic or lemon a touch, it still sings. You’ll find that once you know the basic balance, you can make a jar and keep it for several days, freeing up time for other parts of the meal.
This recipe is especially good for cooks who want clear steps and real results. I’ll walk you through texture cues, easy swaps, and small adjustments that help you trust your instincts.
Step-by-Step: How to Make How To Make The Best Homemade Garlic Aioli or Your Kitchen Game Plan
“Cooking isn’t about perfection. It’s about enjoying every delicious step.”
Before you begin, set up a small station: a medium bowl, a whisk or fork, a knife for mincing, and a measuring spoon. Use fresh garlic and a good lemon. The olive oil should be mild and not overpowering. Taste as you go. Trust your nose and your spoon.
A quick overview:
- Prep the garlic and lemon first so you can focus on texture.
- Work slowly when adding oil if you want the silkiest texture.
- Chill for at least 30 minutes so the flavors can settle.
Now gather ingredients and we’ll move into the exact method.
Ingredients You’ll Need for How To Make The Best Homemade Garlic Aioli
6 Tablespoons mayonnaise (use full-fat for best creaminess; homemade or high-quality store brand works well)
2 Tablespoons olive oil (choose a mild, fruity oil; a peppery extra virgin can be strong)
2 cloves garlic, (minced) (freshly minced gives the best flavor; roast if you prefer a milder taste)
1 teaspoon lemon juice (freshly squeezed for bright acidity)
¼ teaspoon coarse ground pepper (freshly cracked is best; adjust to taste)
These few items make a rich, balanced aioli. If you have fresh herbs or a pinch of smoked paprika, keep them handy for variations.
Directions: Cooking with Confidence
- Put the mayonnaise to a small mixing bowl.
- Add in the minced garlic and then slowly drizzle in the olive oil.
- Squeeze in fresh lemon juice.
- Then, add in a liberal amount of coarse ground pepper.
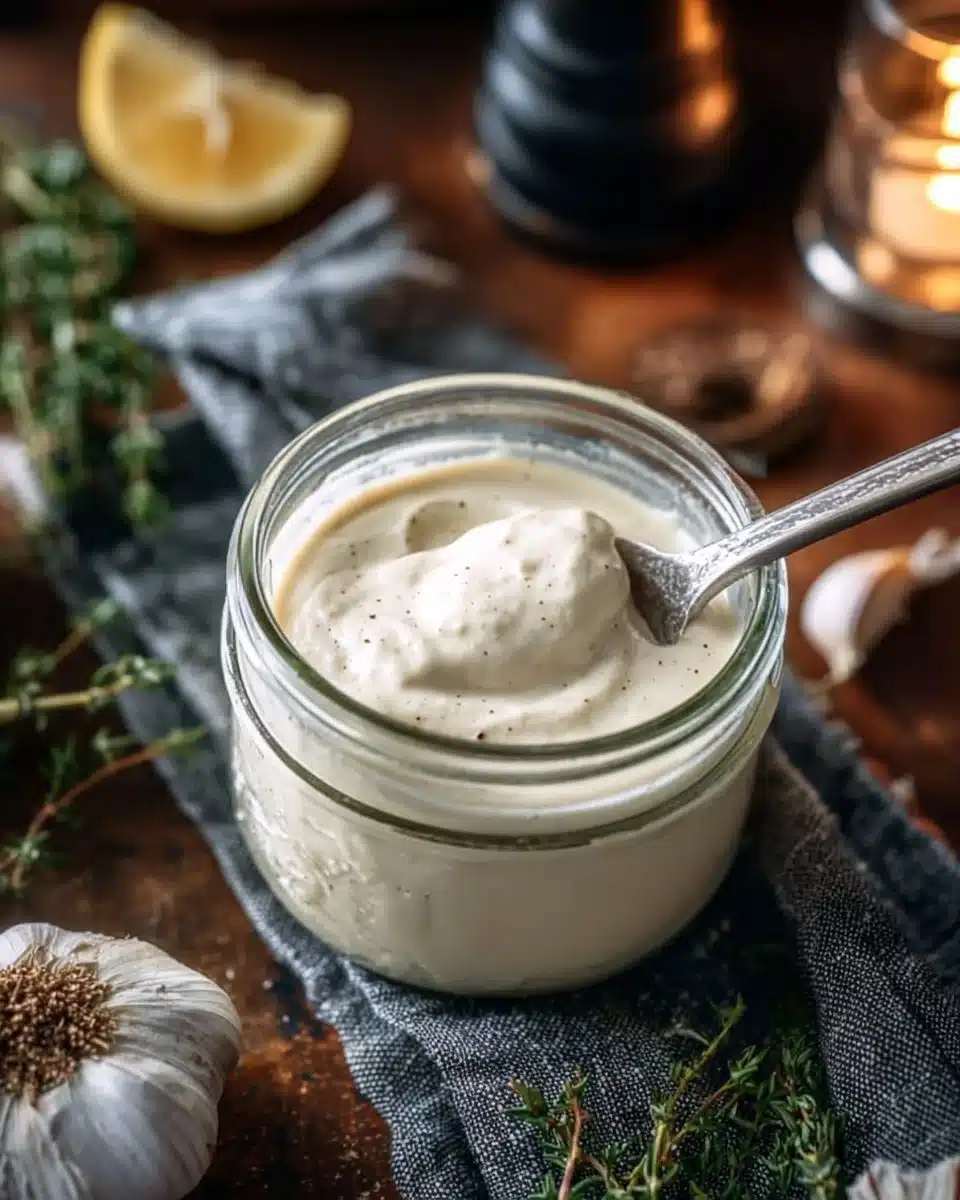
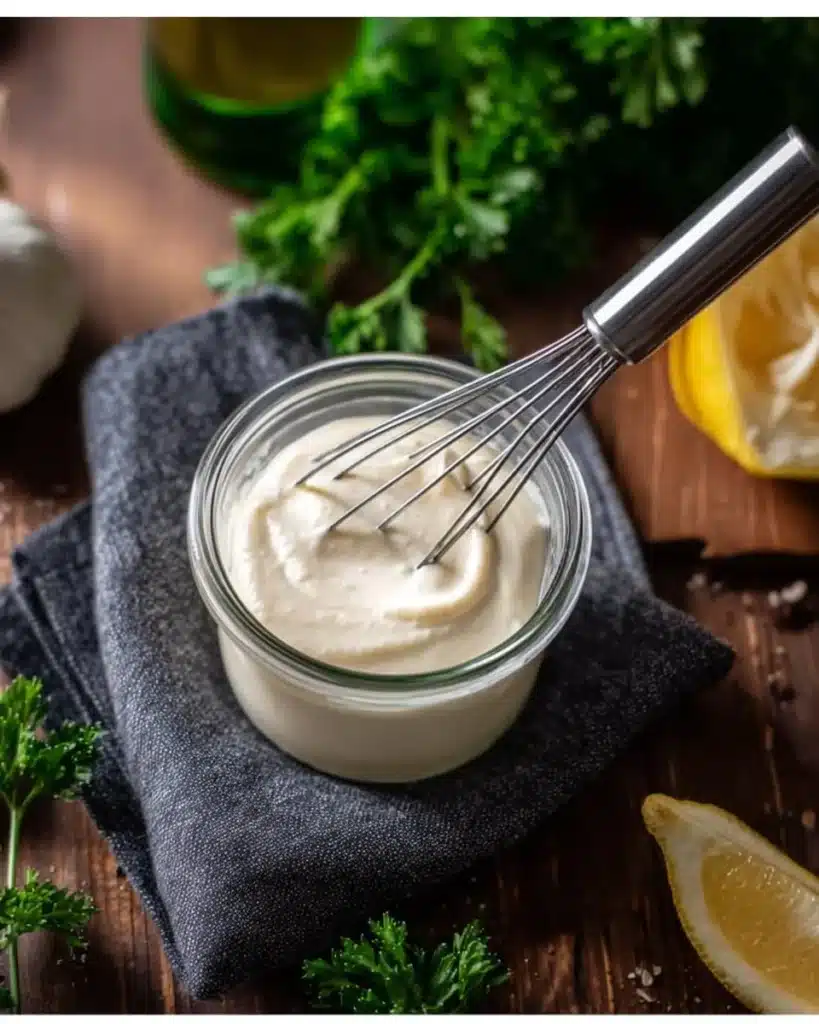
- Whisk all the ingredients until mixed well. The texture should be velvety and creamy.
- Cover and store in the refrigerator for at least 30 minutes before serving.
These steps are simple and direct. As you whisk, watch the texture change. The mixture should move smoothly, without lumps. If the aioli feels too thick, add a few drops of water or another small squeeze of lemon to loosen it until the texture is creamy and easy to spread.
If you want to refine it further:
- Taste and adjust. If the garlic is too sharp, a small teaspoon of extra mayonnaise will calm it.
- If it feels flat, add a pinch more salt and a squeeze of lemon.
- If it’s too thin, a small spoonful of mayonnaise or a touch more olive oil will thicken it.
Work at a relaxed pace. This is one of those little kitchen wins that builds confidence.
How to Serve How To Make The Best Homemade Garlic Aioli and Make It Shine
Aioli is a team player. It makes fries feel fancy, lifts roasted vegetables, brightens fish steps, and spreads beautifully on sandwiches. Serve it in a small bowl with a drizzle of olive oil and a sprinkle of cracked pepper for a simple presentation.
Pairing ideas:
- With crispy potato wedges or hand-cut fries.
- Dolloped onto grilled shrimp or fish tacos.
- As a spread for roasted vegetable sandwiches.
- Served alongside fresh crudités or warm bread.
For a dinner plate, spoon a generous dollop beside a golden piece of grilled fish. Run the tip of a spoon through it for a casual streak that looks intentional. If you serve it with fries, offer lemon wedges so each person can add extra brightness.
If you like hearty soups, this aioli adds a creamy note when swirled into a steaming bowl of potato soup. It’s a lovely contrast of hot and cool, and I often recommend it when sharing a bowl of my favorite creamy potato soup. Small touches like that make weeknight dinners feel cared for.

How to Store How To Make The Best Homemade Garlic Aioli for Later
Store your aioli in an airtight container or a small jar. It keeps well in the refrigerator for up to 4 days when made with pasteurized mayonnaise and fresh lemon. Label the jar with the date so you know its freshness.
If you make a larger batch, keep a clean spoon in the jar and avoid double-dipping. The garlic flavor will intensify over time. That’s fine, but if you want a milder sauce on day three, stir in a little extra mayonnaise or a squeeze of lemon.
To refresh slightly thickened aioli, stir in a teaspoon of warm water or a tiny splash of olive oil until it loosens to the desired texture. Do not heat aioli in the microwave it can separate or lose its bright flavor. If you need a warm sauce, make a fresh small batch or gently whisk in warm stock to a tiny amount just before serving.
If you want to freeze aioli, it’s not ideal because the mayonnaise base may separate when thawed. I suggest making fresh batches within the week for best texture and flavor.
Clara’s Tips for Success
- Use fresh garlic, but let it sit after mincing for a few minutes if you want it to mellow. That short rest softens the bite while keeping the aromatics bright.
- Add oil slowly if you aim for extra creaminess. A steady drizzle while whisking helps the mixture bind more smoothly.
- Taste while you go. A little salt or another drop of lemon juice can make a big difference.
- If your aioli looks grainy, whisk in a small spoonful of boiling water to smooth it, then chill.
- For a milder garlic flavor, roast the garlic first and then mash it into the mayonnaise. That gives you a sweet, caramelized depth.
When I teach someone to make aioli, I encourage them to trust their senses. Smell, taste, and feel the texture. Each small action teaches you what “right” feels like.
In case you are building a full meal, consider using your aioli as a quick sauce for slow-cooked chicken. I often pair it with a family favorite, like my crockpot garlic parmesan chicken pasta recipe, to add a creamy, garlicky contrast at the table.
Simple Variations to Try
Garlic Lover’s Aioli:
- Double the garlic for a bold punch. Let it sit a little longer for the flavors to settle, and balance it with extra lemon.
Herb Aioli:
- Stir in a tablespoon of chopped fresh herbs like parsley, dill, or chives for a fresh, green note.
Smoky Aioli:
- Add a pinch of smoked paprika or a dash of liquid smoke for a backyard barbecue vibe.
Lemon-Forward Aioli:
- Add the zest of half a lemon along with the juice for a brighter, citrus-forward result.
Roasted Garlic Aioli:
- Roast a head of garlic until soft and caramelized, then mash and fold into the mayo base for a sweeter, gentler garlic flavor.
Spicy Aioli:
- Mix in a teaspoon of sriracha or a pinch of cayenne for heat. Start small and add more until it’s right for your palate.
Each variation follows the same method, so once you know the base, you can play freely. Keep small test jars when experimenting, and label each one so you remember what you liked.
Homemade Garlic Aioli
Ingredients
Method
- Put the mayonnaise in a small mixing bowl.
- Add in the minced garlic and slowly drizzle in the olive oil.
- Squeeze in fresh lemon juice.
- Add in a liberal amount of coarse ground pepper.
- Whisk all the ingredients until mixed well. The texture should be velvety and creamy.
- Cover and store in the refrigerator for at least 30 minutes before serving.
- Serve aioli in a small bowl with a drizzle of olive oil and a sprinkle of cracked pepper.
- Pairs well with crispy potato wedges, grilled shrimp, roasted vegetable sandwiches, or fresh crudités.
- Store aioli in an airtight container in the refrigerator for up to 4 days.
- For a thicker consistency, stir in water or olive oil to refresh.
Nutrition
Notes
Tried this recipe?
Let us know how it was!FAQs About How To Make The Best Homemade Garlic Aioli
Can I make this ahead of time?
Yes. This aioli keeps well in the refrigerator for about 3 to 4 days. The garlic flavor will deepen with time, so if you prefer a fresher garlic bite, make it the same day. Store in an airtight jar.
Is it safe to use raw garlic?
Yes, when handled properly. Fresh garlic is safe to eat raw in small quantities. If you plan to store aioli for longer than a few days, consider using roasted garlic or refrigerate promptly and consume within the recommended time.
Can I skip the oil?
You can make a simple garlic mayonnaise without adding extra olive oil. The oil adds silkiness and sheen. If you prefer lower fat, increase mayonnaise slightly and skip the olive oil. The texture will be thicker.
What can I use instead of lemon juice?
A mild vinegar, like white wine vinegar or apple cider vinegar, will work. Use a half teaspoon at a time and taste. Lemon is generally best for bright, clean acidity.
How do I fix a separated aioli?
If it separates, whisk in a teaspoon of hot water slowly until it re-emulsifies. If that doesn’t work, start a new teaspoon of mayonnaise in a clean bowl and whisk the separated aioli into it slowly. This rebuilds a stable emulsion.
Can I make this without store-bought mayonnaise?
Yes, but making mayonnaise by hand requires a bit more technique. If you want to make homemade mayo, use a pasteurized egg yolk and whisk in oil slowly until emulsified. If you are new to emulsions, the store-bought mayonnaise base makes this aioli quick and reliable.
Conclusion
I hope this How To Make The Best Homemade Garlic Aioli helps you discover how simple and rewarding homemade cooking can be. You’ve got this. If you want to compare a few other approaches for inspiration, take a look at The Kitchn’s garlic aioli recipe for a short, straightforward version, and explore The Food Charlatan’s two-way aioli guide for creative twists.