

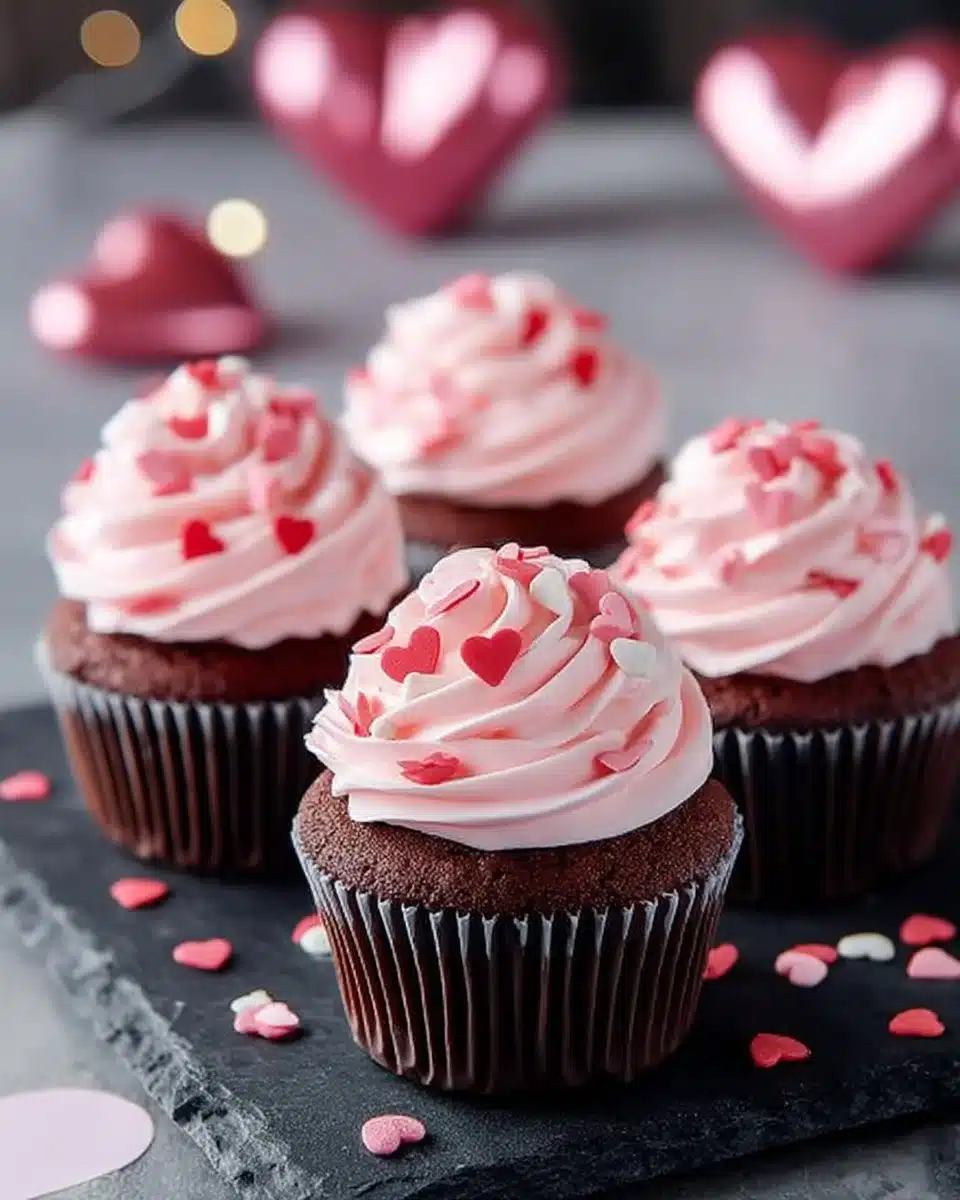
There’s something special about Valentine’s Day Cupcakes the way their warm, chocolatey scent fills the kitchen and draws smiles from everyone nearby. They feel like a small, thoughtful gift you can make at home, even if you have never dressed a cupcake before. These cupcakes are simple, comforting, and honest. Clara will walk you through each step so you feel calm, confident, and ready to share a little sweetness.
If you like recipes you can make ahead or adapt for different tastes, take a look at this planning guide for balanced meal ideas to help with weeknight timing high-protein, high-fiber meal planning. It’s a helpful nudge for planning time in the kitchen and keeping stress low so you have more room to enjoy baking.
Why You’ll Love Making This Valentine’s Day Cupcakes
These cupcakes are built to be approachable and reliable. They come together with basic pantry ingredients, and the frosting is creamy and forgiving. I created this recipe because I love how small treats can hold big gestures. You can make them for a partner, a friend, or just to treat yourself after a long day.
They are forgiving for beginners and satisfying for confident bakers. The batter mixes quickly, the bake time is short, and the frosting is easy to spread or pipe if you like a tidy finish. Most importantly, they invite creativity. Add a strawberry on top, a sprinkle of cocoa, or a heart of jam in the middle.

Step-by-Step: How to Make Valentine’s Day Cupcakes or Your Kitchen Game Plan
“Cooking isn’t about perfection. It’s about enjoying every delicious step.”
Before you begin, gather your equipment. You will need:
- A muffin pan
- Paper liners or foil liners
- Measuring cups and spoons
- A medium bowl and a large bowl
- A whisk and a wooden spoon or spatula
- An electric mixer or stand mixer with a whisk attachment, if available
- A cooling rack
Overview: We will make the cupcake batter, bake the cupcakes, let them cool, then prepare a pink buttercream and frost. I’ll walk you through times, textures, and small checkpoints so nothing is a surprise.
- Preheat your oven to 350 degrees F (175 degrees C) and line a muffin pan with either paper or foil liners.
- Tip: Set the oven rack in the center so heat circulates evenly. If you use dark metal pans, lower the oven by 10 degrees F to avoid over-browning.
- Mix the flour, baking powder, baking soda, cocoa, and a touch of salt in a bowl. Keep this aside for later use.
- Look for a fine, cocoa-rich aroma. If lumps of cocoa remain, press them through a sieve or whisk until smooth.
- In a larger bowl, whip the butter and sugar until it’s fluffy and light in color. This mixture forms the base of your cupcakes.
- Sensory cue: When the butter and sugar are ready, the mixture will look pale and a bit airy. It should hold a soft ribbon when the whisk lifts.
- Add the eggs to the butter and sugar mixture one by one, thoroughly mixing after each addition, then blend in the vanilla extract.
- Mix just until combined. Overbeating once the eggs are in is not necessary.
- Alternately mix in the dry ingredients and milk to the butter mixture, ensuring a smooth consistency.
- Start and end with the dry ingredients: add one-third dry, half the milk, another third dry, the rest of the milk, and the last of the dry. Mix gently until the batter is smooth and glossy.
- Pour the batter into the liners, filling each about three-quarters full.
- Use a scoop or two spoons to keep portions even. If you want a rounded cupcake top, smooth the batter level in each cup.
- Bake in the oven for 15 to 17 minutes, or until a toothpick comes out clean when inserted into a cupcake.
- Visual cue: The edges will set and pull slightly away from the liner. The center will spring back gently when touched.
- Allow the cupcakes to cool down completely before you start frosting them.
- Place them on a cooling rack. Frosting too soon will melt and run.
- In a standing mixer with a whisk attachment, blend icing sugar and butter on low speed until combined, then increase to medium speed for three minutes.
- The mixture should turn light and fluffy. Stop and scrape the bowl once or twice to keep the mix even.
- Add vanilla extract, a bit of pink food coloring, and cream, and continue to beat for an additional minute, adjusting the cream as necessary to achieve the right spreading consistency.
- Aim for a frosting that holds a soft peak but is spreadable. If it is too stiff, add a small splash more cream. If it is too loose, add a tablespoon of icing sugar at a time.
These steps keep things simple and clear. If something feels off batter too thick, cupcakes browning too fast pause, breathe, and adjust. Baking is as much feel and attention as it is measurement.
Ingredients You’ll Need for Valentine’s Day Cupcakes
1 & 1/3 cup All-purpose flour use real butter for rich flavor and better texture.
1/4 teaspoon Baking soda fresh is best for reliable rise.
2 teaspoon Baking Powder measure carefully so cupcakes rise evenly.
3/4 cup Unsweetened cocoa pick a good cocoa for deep chocolate notes.
1/8 teaspoon flaky sea salt to serve sprinkle lightly on top for a bright finish.
3 tablespoon Butter (softened) room temperature for easy creaming.
1 & 1/2 cup White sugar balances the cocoa without overshadowing it.
2 Large eggs add structure and lift.
3/4 teaspoon Vanilla Extract enhances flavors; use pure if possible.
1 cup Milk room temperature helps batter come together smoothly.
3 cups Icing sugar sifted so the buttercream is silky.
1 cup Unsalted butter (softened) unsalted lets you control salt levels.
1 teaspoon Vanilla Extract for the buttercream’s flavor base.
1 to 2 tablespoons Heavy cream for smooth, spreadable frosting.
1 teaspoon Pink food colouring a tiny amount goes a long way for that Valentine pink.
Notes: Swap whole milk for a nut milk if needed, keeping texture in mind. Fresh herbs make all the difference in savory dishes, but for these cupcakes keep flavorings simple so the chocolate and buttercream shine.
Directions: Cooking with Confidence
- Preheat the oven to 350 F and line your muffin pan with liners.
- Make sure the oven is fully up to temperature before baking.
- Sift or whisk together the all-purpose flour, baking powder, baking soda, unsweetened cocoa, and a pinch of salt in a medium bowl.
- This ensures even distribution and fewer lumps.
- In a larger mixing bowl, cream the softened butter and white sugar until light in color and fluffy.
- Use an electric mixer on medium speed for 2 to 3 minutes, scraping down the sides halfway through.
- Add the eggs one at a time to the creamed butter and sugar, mixing thoroughly after each egg.
- Add the vanilla extract with the last egg and mix until just combined.
- Begin alternating the dry mixture and milk into the butter mixture, starting and ending with the dry ingredients.
- Mix gently and avoid overbeating. The batter should be smooth and pourable but not runny.
- Spoon or scoop the batter into the liners, filling each about three-quarters full.
- Even portions give an even bake. Use a cookie scoop for consistency.
- Bake for 15 to 17 minutes. Test with a toothpick in the center; it should come out clean or with a few moist crumbs.
- If the tops begin to brown too quickly, tent loosely with foil for the last few minutes.
- Remove the cupcakes from the oven and let them cool in the pan for 5 minutes, then move them to a cooling rack to finish cooling.
- Patience here matters. Frosting warm cupcakes will melt the buttercream.
- While cupcakes cool, make the buttercream. In a standing mixer, mix icing sugar and unsalted butter on low until combined.
- Once combined, increase to medium speed for about 3 minutes until pale and fluffy.
- Add vanilla extract, a small drop of pink food coloring, and 1 tablespoon of heavy cream. Beat for another minute.
- Adjust cream to reach a spreadable consistency. If too loose, add a little more icing sugar. If too stiff, add a teaspoon of cream at a time.
- Frost cooled cupcakes using a spatula, piping bag, or a simple spoon. Finish with a sprinkle of flaky sea salt or a small heart decoration.
- For neat swirls, hold the piping bag at a 90-degree angle and pipe from the outside in.
Every step here is built with clarity. If something changes, like oven behavior or ingredient temperatures, adapt gently. Baking is a conversation between you and the ingredients.
How to Serve Valentine’s Day Cupcakes and Make It Shine
Serve these cupcakes at room temperature so the buttercream is soft and creamy. Arrange them on a simple cake stand or a pretty plate. A small garnish makes a big difference: a single freeze-dried strawberry, a few chocolate shavings, or a tiny fondant heart.
Pair with a warm cup of coffee, a rich hot chocolate, or a bright, fruity tea. If you want a more formal touch, dust with a fine snow of icing sugar over a tea strainer for a soft frosted look.
If you are serving for a small party, place cupcakes in two layers with parchment between. For a romantic setup, scatter a few rose petals around the platter and keep the lighting soft.
How to Store Valentine’s Day Cupcakes for Later
Short-term storage: Keep cupcakes in an airtight container at room temperature for up to 2 days. Room temperature preserves the texture of the cake and keeps the frosting creamy.
Refrigeration: If your kitchen is warm or you made a frosting with cream, refrigerate in an airtight container for up to 4 days. Before serving, bring them back to room temperature for 30 to 60 minutes so the buttercream softens.
Freezing: Wrap cupcakes individually in plastic wrap and place them in a freezer-safe container for up to 3 months. Thaw in the refrigerator overnight and then bring to room temperature before serving. If possible, freeze unfrosted cupcakes and freeze the buttercream separately for easier texture control.
Reheating: If you prefer a warm cupcake, microwave a frosted cupcake for 6 to 8 seconds. Taste as you go; you want it warmed but not the frosting melted. For unfrosted cupcakes, wrap in a damp paper towel and microwave for 10 to 12 seconds.
If you want ideas for storing and prepping treats ahead of a party, this guide to fun dessert treats can help with planning and timing creative party-ready treats.
Clara’s Tips for Success
- Use room temperature ingredients. Butter and eggs at room temperature blend more easily and give a smoother batter.
- Don’t overfill the liners. Filling each to three-quarters prevents spill-over and gives a nicely domed top.
- Taste as you go. A small taste of your frosting before you add color or salt will help you calibrate sweetness.
- If batter seems too thick, add a tablespoon of milk at a time until you reach a smooth, pipeable consistency.
- Keep the frosting chilled slightly if your kitchen is warm. Pop it in the fridge for 5 minutes and then stir to regain spreadability.
These short tips are things I’ve learned by doing. They save time and help avoid small problems that can make a recipe feel complicated.
Simple Variations to Try
- Strawberry-filled cupcakes: press a small piece of jam into the center of each cupcake after baking, or sandwich a tablespoon of strawberry jam between the cupcake and the frosting.
- Nutella swirl: spoon a teaspoon of Nutella into the batter before baking and swirl gently with a toothpick.
- Red velvet twist: add a teaspoon of red food coloring and a splash of white vinegar to the batter, and use a cream cheese frosting instead of buttercream.
- Espresso boost: add 1 teaspoon of instant espresso powder to the dry ingredients for a mocha note.
- Gluten-free option: use a 1:1 gluten-free flour blend and add 1/4 teaspoon xanthan gum if your blend lacks binding agents; bake time should be similar, but check doneness with a toothpick.
These variations keep the foundation the same while letting you personalize flavors for your event or guest preferences.

Valentine’s Day Cupcakes
Ingredients
Method
- Preheat your oven to 350 degrees F (175 degrees C) and line a muffin pan with either paper or foil liners.
- In a medium bowl, mix the flour, baking powder, baking soda, cocoa, and a touch of salt together. Set aside.
- In a larger bowl, whip the butter and sugar until fluffy and light in color.
- Add the eggs one at a time, mixing thoroughly after each addition, then blend in the vanilla extract.
- Alternately mix in the dry ingredients and milk, starting and ending with dry ingredients until smooth and glossy.
- Fill each muffin liner about three-quarters full with batter.
- Bake in the oven for 15 to 17 minutes or until a toothpick comes out clean when inserted.
- Allow the cupcakes to cool completely on a cooling rack before frosting.
- In a standing mixer, blend icing sugar and butter on low speed until combined, then increase to medium speed for three minutes.
- Add vanilla extract, a bit of pink food coloring, and cream, and continue to beat for an additional minute until it reaches spreading consistency.
- Frost cooled cupcakes and garnish as desired.
Nutrition
Notes
Tried this recipe?
Let us know how it was!FAQs About Valentine’s Day Cupcakes
Can I make this ahead of time?
Yes. You can bake the cupcakes a day ahead and store in an airtight container at room temperature. Frost them the morning you plan to serve for the freshest look.
Can I freeze the frosted cupcakes?
You can freeze frosted cupcakes, but I recommend freezing unfrosted cupcakes and making the frosting fresh. If you freeze frosted ones, wrap them well and thaw slowly in the fridge before bringing back to room temperature.
How can I prevent cupcakes from sinking in the middle?
Avoid opening the oven while they bake. Also, make sure your baking powder is fresh and measure ingredients accurately. Overmixing can also cause sinking mix until just combined.
What if my frosting is too sweet?
Brighten it with a tiny pinch of fine sea salt or a small squeeze of lemon juice. Add slowly and taste as you go.
Can I make these dairy-free?
Yes. Use a dairy-free butter substitute for both batter and frosting and a plant-based milk. The texture will be slightly different but still delicious.
Final Encouragement or Closing Note
I hope this recipe helps you brew confidence and joy in your kitchen. These Valentine’s Day Cupcakes are meant to be simple, thoughtful treats you can make with a warm heart and a little time. Trust your senses, follow the steps, and remember that small imperfections make homemade desserts feel personal.
Conclusion
If you want extra inspiration for fruit-forward or filled cupcake ideas, I often look at creative recipes like Valentine’s Day Cupid Cupcakes – Sally’s Baking for plating and flavor pairings. For chocolate-focused decoration ideas and shaped cupcakes, check out Chocolate Valentine’s Heart Cupcakes – Glorious Treats which can spark fun finishing touches.
You’ve got this. Enjoy the process, and enjoy sharing these cupcakes with people you care about.