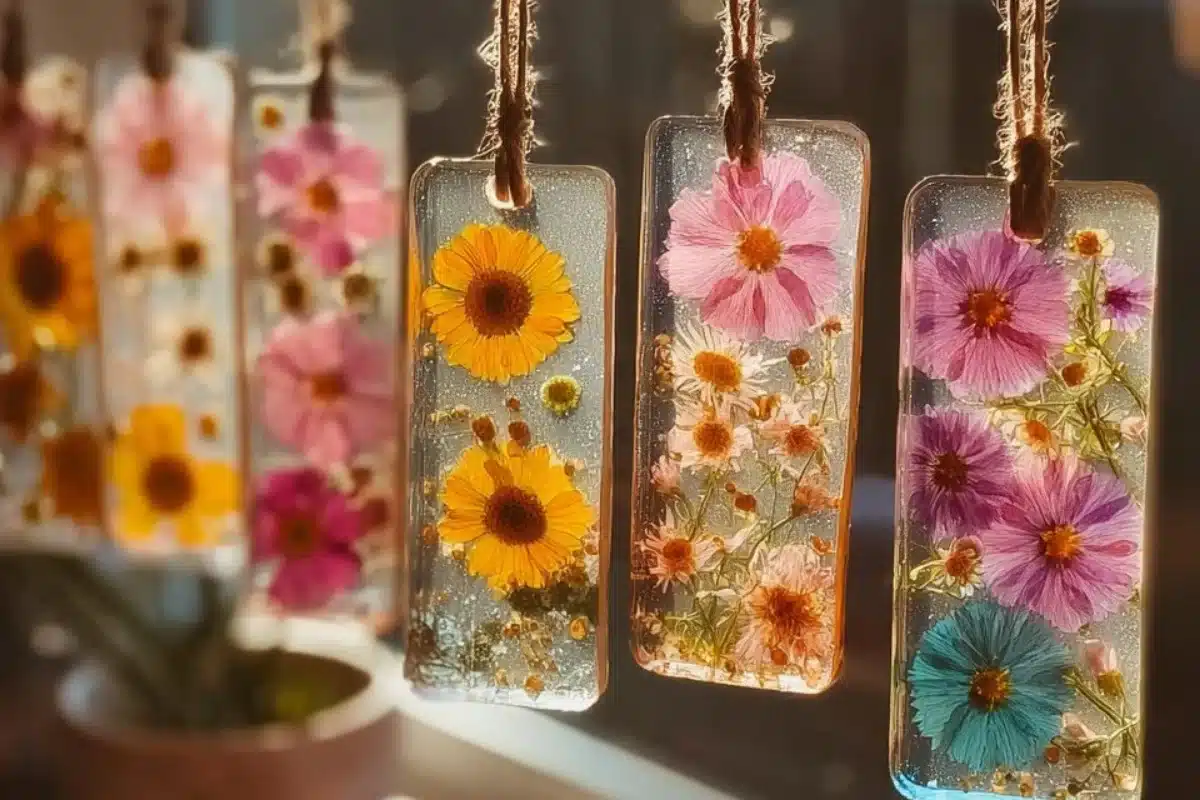
There’s something special about DIY Bioplastic Suncatchers – the way they catch the light and fill your space with colorful beauty. Creating these little works of art isn’t just rewarding. It’s a delightful project that connects you to nature, creativity, and a little bit of science. As you embark on this journey, you’ll see how the simple act of making suncatchers can turn your kitchen into a vibrant art studio, bringing joy to everyone who sees them.
Why You’ll Love Making DIY Bioplastic Suncatchers
Making DIY Bioplastic Suncatchers is not just a fun activity; it’s a wonderful way to let your creativity shine. You’ll be amazed by what you can create with a few simple ingredients. The process is straightforward enough for beginners, yet the results are impressive.
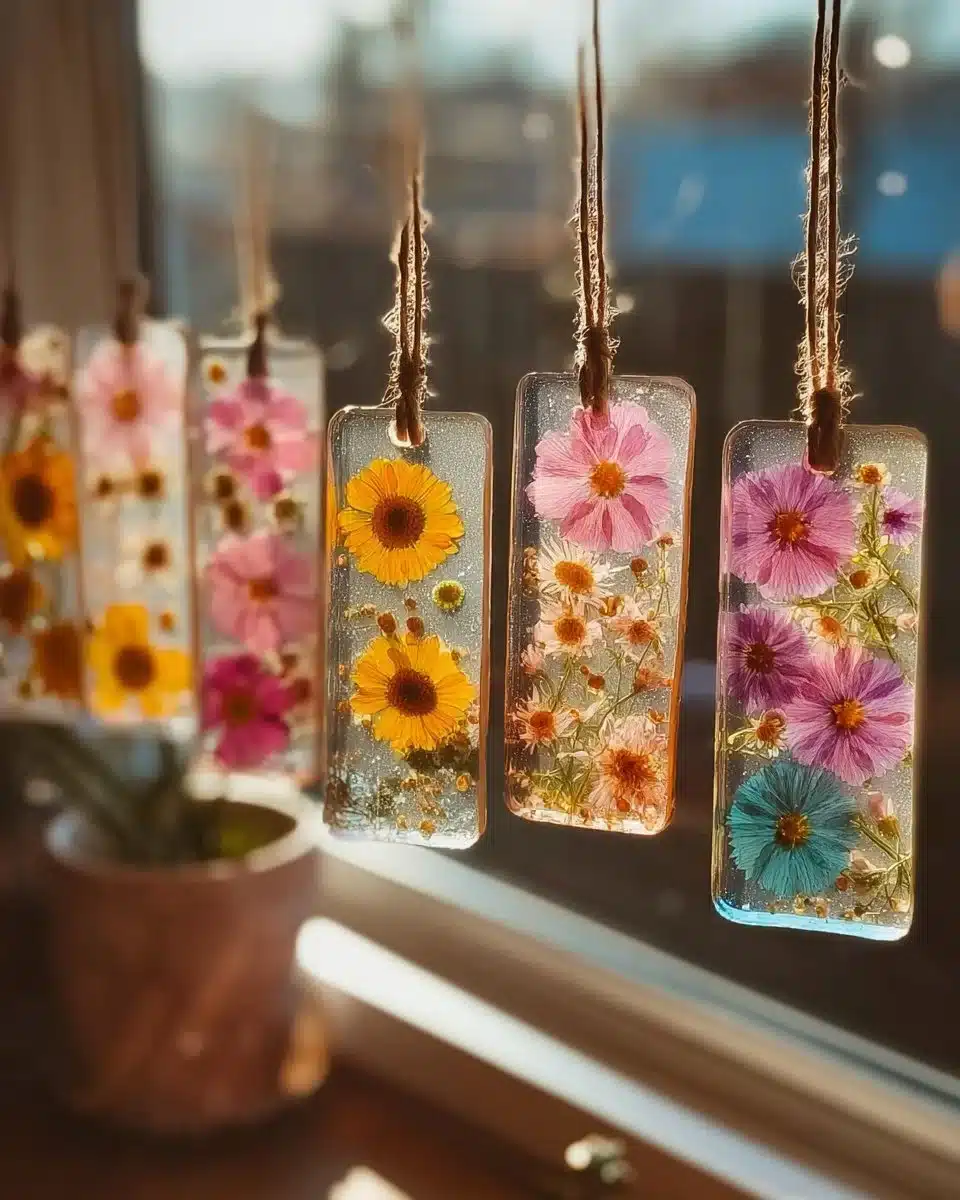
These suncatchers can brighten up any window. As the sun hits them, they light up with colorful reflections. You’ll find that your family will likely get involved, sharing ideas on designs and color combinations. It fosters a sense of togetherness, turning a simple craft into cherished family memories.
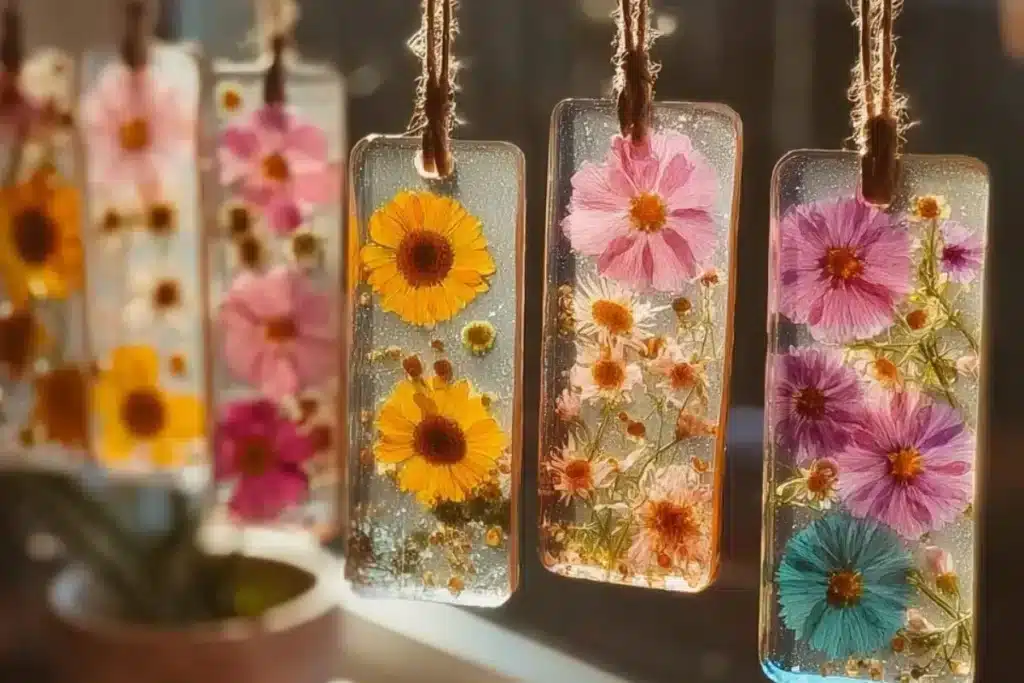
This project is also a great way to utilize natural items like flowers and leaves. It encourages a connection with nature, showing how beautiful and inspiring the world around us can be. Plus, you’ll feel proud knowing that you created something innovative from materials that are often overlooked.
Step-by-Step: How to Make DIY Bioplastic Suncatchers
“Cooking isn’t about perfection. It’s about enjoying every delicious step.”
Before diving into the fun of crafting, let’s gather our materials and discuss the steps involved. Making DIY Bioplastic Suncatchers is an enjoyable journey that will reward you with stunning results.
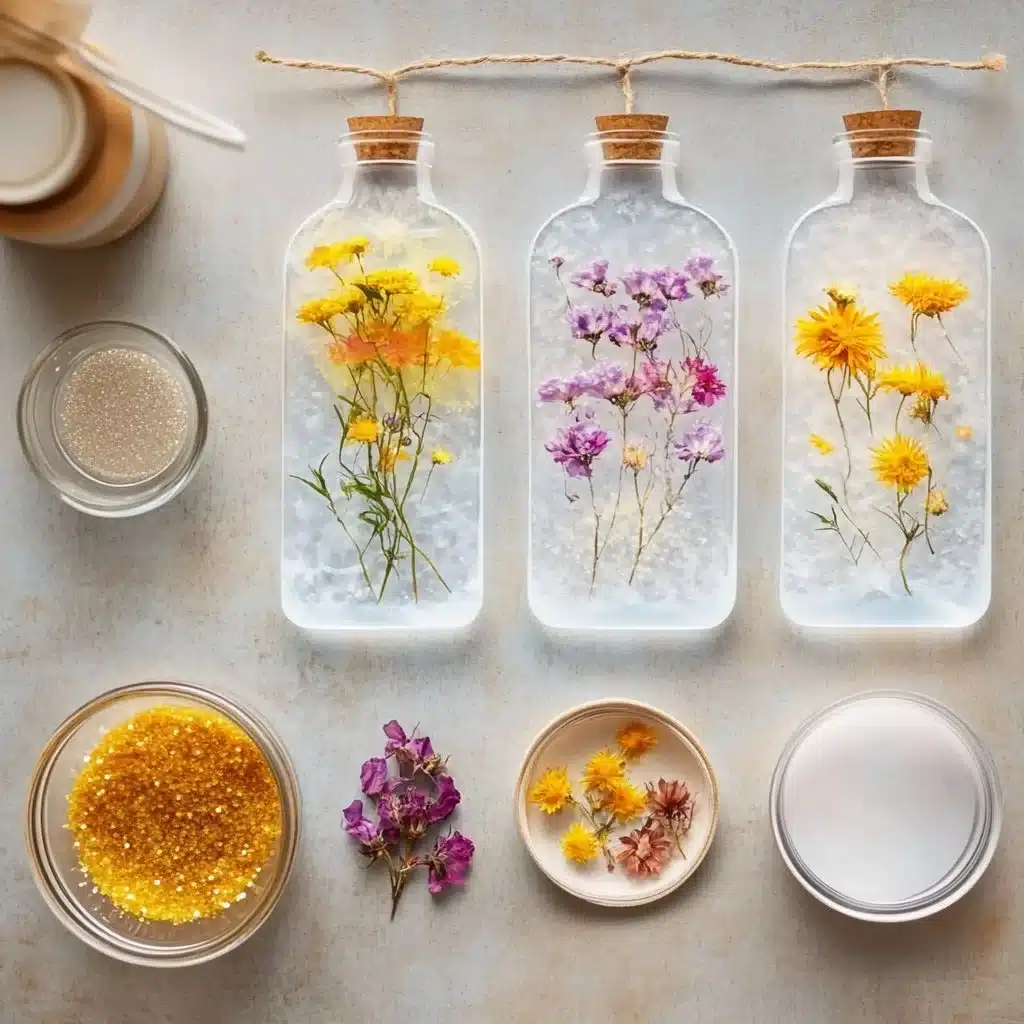
Ingredients You’ll Need for DIY Bioplastic Suncatchers
When it comes to making suncatchers, you’ll need a few key ingredients. Here’s the list to get you started:
- Gelatin powder or cornstarch: Use gelatin for a more pliable suncatcher. It’s easier to handle, while cornstarch gives a firmer finish.
- Food-grade glycerin (optional): This ingredient helps make your suncatchers flexible and adds a nice sheen.
- Filtered water or distilled water: This is your base for mixing, so the purer, the better.
- Assorted botanicals, pressed flowers, leaves, or small translucent papers (optional): These elements will personalize and beautify your suncatchers. Choose vibrant colors for a magical effect.
- Cotton twine, embroidery thread, or thin ribbon for hanging: This will allow you to display your creation proudly.
Remember, quality ingredients matter, so if you can, use real products. Fresh botanicals will give your suncatchers that extra charm.
Directions: Cooking with Confidence
Now, let’s get into the process. Each step below will guide you through making your DIY Bioplastic Suncatchers.
-
Measure and mix your base gently: Start by stirring one tablespoon of gelatin or two tablespoons of cornstarch into half a cup of cold water until it’s smooth.
-
Warm the mixture over low heat: You want to do this gradually, stirring continuously until it thickens and becomes glossy. Be careful not to boil it, as you want to preserve the clarity.
-
Stir in glycerin if desired: This step is optional, but adding glycerin will enhance the flexibility of your suncatcher. It’s worth considering if you want a more durable piece.
-
Strain the warm mixture into a prepared tray: This ensures the mixture is free of lumps and will set evenly.
-
Press botanicals or small items onto the warm film: Arrange these decoratively. Let your creativity take the lead here.
-
Let the sheet cool and set undisturbed: This can take several hours or overnight, so be patient. It’s worth the wait!
-
Lift and trim the cooled piece: Once set, carefully peel the suncatcher from the tray and trim any uneven edges.
-
Pierce holes for hanging: Use a hole punch or a sharp object to create holes for stringing.
-
String your suncatcher: Use the twine, thread, or ribbon to hang it in your favored window, where the light can bounce through beautifully.
With each step, you’re actively creating something special. I believe in your ability to make these wonderful suncatchers.
How to Serve DIY Bioplastic Suncatchers and Make It Shine
Once your suncatchers are complete, it’s time to display them! Hang them in windows where sunlight streams in. You can vary the heights for a more dynamic look.
Get creative with your placements. They can be lovely in children’s rooms, hanging in a sunny kitchen, or even as decorative elements in your garden. They also make wonderful gifts. Imagine the joy of sharing a handmade suncatcher with a friend or loved one.
Instead of traditional outdoor decorations, consider hanging them from tree branches or placing them in a spot where wind can play with them. It adds a whimsical touch that will make your heart smile.
How to Store DIY Bioplastic Suncatchers for Later
If you find yourself with extra suncatchers, storing them is easy. Just keep them in a cool, dry place. Avoid areas with extreme temperatures or humidity, as this can cause them to warp or break.
If you’re concerned about damage, wrap them individually in tissue paper for extra protection. This will help maintain their shape and color. When you’re ready to display them again, you can simply take them out and find the perfect spot for them.
Clara’s Tips for Success
Here are a few friendly tips to help you along the way as you create your DIY Bioplastic Suncatchers:
-
Experiment with colors: Feel free to dye your mixture with a few drops of food coloring. This can add a fun twist to the appearance.
-
Use fresh botanicals: If you can, choose flowers and leaves that have vibrant colors. They’ll stand out beautifully when the sunlight hits.
-
Try different shapes: You can use cookie cutters or molds to create unique suncatcher shapes. Let your imagination run wild.
-
Be patient: Allow your suncatchers to set for a complete duration. Rushing this can lead to fragile pieces that might not hold up.
-
Include kids in the fun: This is a perfect project to do with children. Let them choose their botanicals and help with the design process.
Simple Variations to Try
Once you’ve mastered the basic recipe, you can start experimenting with variations. Here are a few ideas to get you started:
-
Layer your botanicals: Instead of placing everything flat, layer different items to create depth in your suncatcher.
-
Use different sizes: Create a set of smaller suncatchers to group together for a brighter impact.
-
Incorporate pressed leaves: For a more natural look, use pressed leaves between layers of your mixture.
-
Create themes: Design suncatchers based on seasons or holidays.
-
Add glitter: For an extra sparkle, sprinkle some eco-friendly glitter into the mixture before it sets.
FAQs About DIY Bioplastic Suncatchers
Here are some common questions many people have about making DIY Bioplastic Suncatchers. I hope these answers help set your mind at ease.
Can I make this ahead of time?
Yes! These suncatchers can be made ahead of time. Just make sure to keep them stored properly.
What kind of flowers work best?
Smaller flowers with vibrant colors look fantastic. Think pansies or daisies.
How long do they last?
When stored well, these suncatchers can last a long time. Exposure to sunlight will gradually fade colors, so be mindful of where you hang them.
Can I add scents to the mixture?
Absolutely! If you want charming suncatchers with delightful fragrances, consider adding essential oils to the mixture before it sets.
Are these safe for children to make?
Yes, as long as an adult is supervising the process, this is a safe and fun activity for kids.
Final Encouragement or Closing Note
I hope this DIY Bioplastic Suncatchers project helps you discover how simple and rewarding homemade crafting can be. Each step you take fosters creativity and artistry while bringing a little sunshine into your home. Remember, you’ve got this. You are capable of creating beautiful things, and I’m excited for you to get started on this delightful journey.
DIY Bioplastic Suncatchers
Ingredients
Method
- Measure and mix your base gently by stirring one tablespoon of gelatin or two tablespoons of cornstarch into half a cup of cold water until it’s smooth.
- Warm the mixture over low heat, stirring continuously until it thickens and becomes glossy, being careful not to boil it.
- Stir in glycerin if desired for added flexibility.
- Strain the warm mixture into a prepared tray to ensure it's free of lumps.
- Press botanicals or small items onto the warm film decoratively.
- Let the sheet cool and set undisturbed for several hours or overnight.
- Lift and trim the cooled piece to remove any uneven edges.
- Pierce holes for hanging using a hole punch or a sharp object.
- String your suncatcher with twine, thread or ribbon, and display it in a sunny window.