
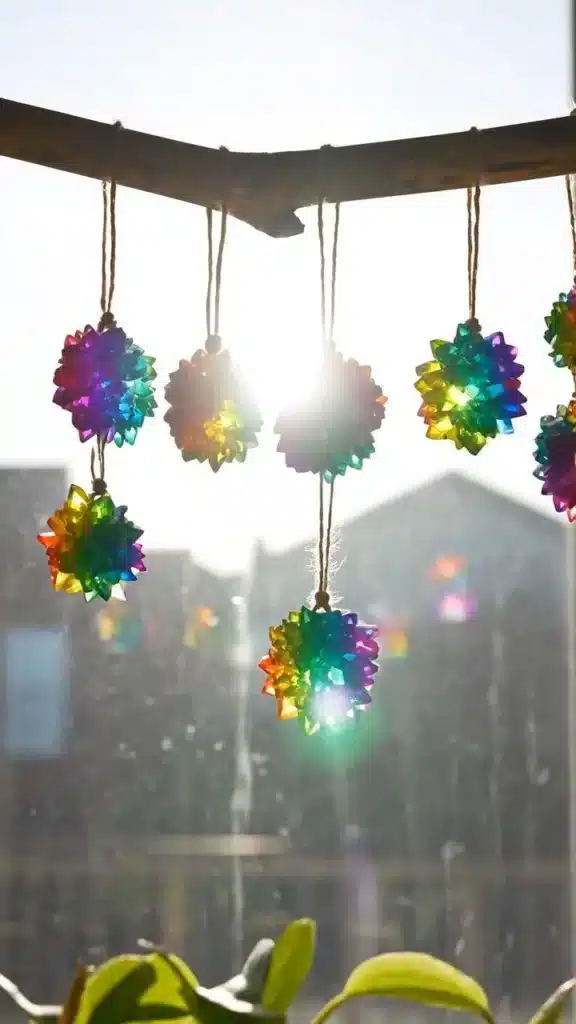
DIY crystal seashells turn ordinary shells into sparkling gems. Kids love watching crystals form over time. Save this ocean-inspired experiment! Picture a busy afternoon when your children are restless and eager to create something fun and eye-catching. All you need is a few simple items from around the house to transform ordinary seashells into dazzling crystals they can proudly display. This simple project is perfect for a quick, hands-on activity that captures curiosity and imagination.
Why This DIY crystal seashells turn ordinary shells into sparkling gems Works So Well
This project shines because it’s low-prep and approachable. You don’t need fancy supplies or extensive planning. The ingredients are common household items, which saves you a trip to the store. With just a little setup, you can dive into this crystal-growing adventure right at home.
What makes this project particularly delightful is the anticipation of watching the crystals grow over time. Kids find the process fascinating, signaling that something magical is happening. This natural curiosity keeps them engaged as they await their sparkling sea treasures. That sense of wonder balances out the modest prep required, making this activity fit nicely into even the most hectic schedules.
A Quick Look Before You Begin
Before you jump into the project, here’s a quick overview of what to expect. The setup is straightforward and takes just a few minutes. You will need a place where the shells can sit undisturbed for about 12 to 24 hours while the crystals form. It’s a low-mess project, but be mindful of spills when handling the solution. An adult should oversee the initial mixing to keep an eye on safety, especially if kids are young. Once everything is set, kids can be hands-on while watching the crystals grow!
Materials You’ll Need
- Clean seashells (any size will do, but larger ones work better)
- Borax (common household item)
- Water (tap water works fine)
- A heat-resistant container (like a glass jar)
- A spoon for stirring
- A small piece of string (optional, for hanging)
- Food coloring (optional, for added color)
Step-by-Step Directions
- Start by cleaning your seashells with warm, soapy water. Rinse them thoroughly and let them dry. They should be clear of dirt so the crystals can attach properly.
- In a heat-resistant container, bring 2 cups of water to a boil. This step can take a few minutes, so feel free to involve your kids in the waiting part, discussing what they expect to see.
- Once the water boils, carefully add 1/2 cup of Borax to the container. Stir the mixture slowly until the Borax dissolves completely. You may notice some bubbles and texture changes in the water.
- If you want to add color, this is the time! A few drops of food coloring can create beautiful results. Mix it in gently.
- Carefully lower the clean seashells into the solution using a spoon. Make sure they are fully submerged. If you’d like, you can use a small piece of string to hang them, as this helps with even crystal growth.
- Set the container in a safe location where it won’t be disturbed. This could be a countertop or a table. Just remember where you placed it!
- After about 12 to 24 hours, return to check on your project. You should see your seashells adorned with crystals! The longer you leave them, the more substantial the crystals can become.
- Once you’re happy with how the shells look, carefully remove them from the solution. Let them dry on a paper towel, and marvel at the sparkly results!
The Simple Science or Skills at Work
This DIY project teaches kids fascinating science concepts. As the hot water cools, it cannot hold as much Borax, and that’s where the magic happens. The Borax crystallizes on the seashells, creating a dazzling effect. Watching this transformation helps kids understand key principles like solubility and crystallization in a fun and engaging manner.
Their fine motor skills improve as they handle the delicate shells and work with the string. Additionally, this project encourages patience. Anticipating the final result fosters excitement and teaches them that good things often take time.
Troubleshooting Common Issues
Sometimes, things may not go exactly as planned. Here are some common problems you might encounter and their easy fixes.
If your shells don’t form crystals, ensure that the Borax was fully dissolved. Not dissolving it completely can stop the growth process. If you see a cloudy solution on the shells, it might mean the Borax was added too quickly or that there wasn’t enough heat.
Another issue might be uneven crystal growth. If only part of the shell is covered, make sure they were fully submerged in the solution. You can even give them a little swirl as they sit in the container to help evenly distribute the crystals.
Easy Variations to Try
- Add glitter to the Borax solution for sparkling shells that catch the light beautifully. Just a sprinkle can make a big difference!
- Try using different types of shells, like clams or snail shells, to see how the size and shape influence the crystal formation.
- Experiment with layering different colors of food coloring. Kids will love seeing how the colors mix on their shells.
- If your kids are older, invite them to design their own hanging display for the shells using string or twine. They can create a mobile!
- During the summer, make this an ocean-themed learning lesson. Collect different shells at the beach and explore ocean life while making crystals.
Storing or Reusing This Project
Once you’ve completed your crystal seashells, consider how to keep or reuse them. Store the shells in a safe, dry place. They can make charming decorations on a shelf or a beach-themed centerpiece. If you have leftover Borax solution, it’s best to discard it. Borax solutions can lose effectiveness over time, so it’s not ideal to save for another crafting session.
For younger kids, make cleanup part of the fun by letting them help with rinsing and drying the containers. This way, they feel involved from start to finish while learning about taking care of their crafting space.
FAQs About DIY crystal seashells turn ordinary shells into sparkling gems
Are there any safety concerns for children while doing this project? This project is generally safe, but it’s always good to supervise children when using boiling water. Borax is not meant for consumption, so ensure kids understand not to taste any materials.
How messy is this activity? The project is quite clean overall, but there may be some spills when pouring the solution. Just set up on a surface that is easy to wipe down, and have paper towels handy for any minor messes.
Can I substitute the Borax with something else? Borax is key for creating crystals, but if you’re in a pinch, you can try using other substances like sugar or Epsom salt, although results may vary.
How realistic are the results? While the sparkling seashells are impressive, the results can vary based on several factors like temperature and the amount of Borax used. Embrace the variability as part of the learning experience!
Can we reuse any materials from this project? Any leftover seashells can be saved for future crafts or decorating projects. However, it’s best to discard the Borax solution after use.
A Final Helpful Note
As you embark on this DIY crystal seashell adventure, remember that the journey is just as important as the final product. Each step is a chance to explore, create, and learn with your kids. Feel free to adapt the process to fit your schedule and your children’s interests. Enjoy the ease and fun of bringing a little sparkle into your home. Your kids are sure to be proud of their creations!
DIY Crystal Seashells
Ingredients
Method
- Start by cleaning your seashells with warm, soapy water. Rinse them thoroughly and let them dry.
- In a heat-resistant container, bring 2 cups of water to a boil.
- Once the water boils, carefully add 1/2 cup of Borax to the container. Stir the mixture slowly until the Borax dissolves completely.
- If you want to add color, add a few drops of food coloring and mix it gently.
- Carefully lower the clean seashells into the solution using a spoon, ensuring they are fully submerged.
- Set the container in a safe location where it won’t be disturbed and wait for 12 to 24 hours.
- Check back after 12 to 24 hours to see the crystals that have formed on your seashells.
- Once satisfied with how the shells look, carefully remove them from the solution and let them dry on a paper towel.