There’s a quiet kind of peace that comes when a pot of Butterfinger Cheesecake simmers slowly on the stove. The air fills with a gentle sweetness, mingling with the warmth of vanilla and the comforting aroma of peanut butter. It is in these moments, surrounded by the soft sounds of ingredients coming together, that we discover the true essence of cooking a nurturing act of love that soothes both body and soul.
A Gentle Recipe for Body & Soul
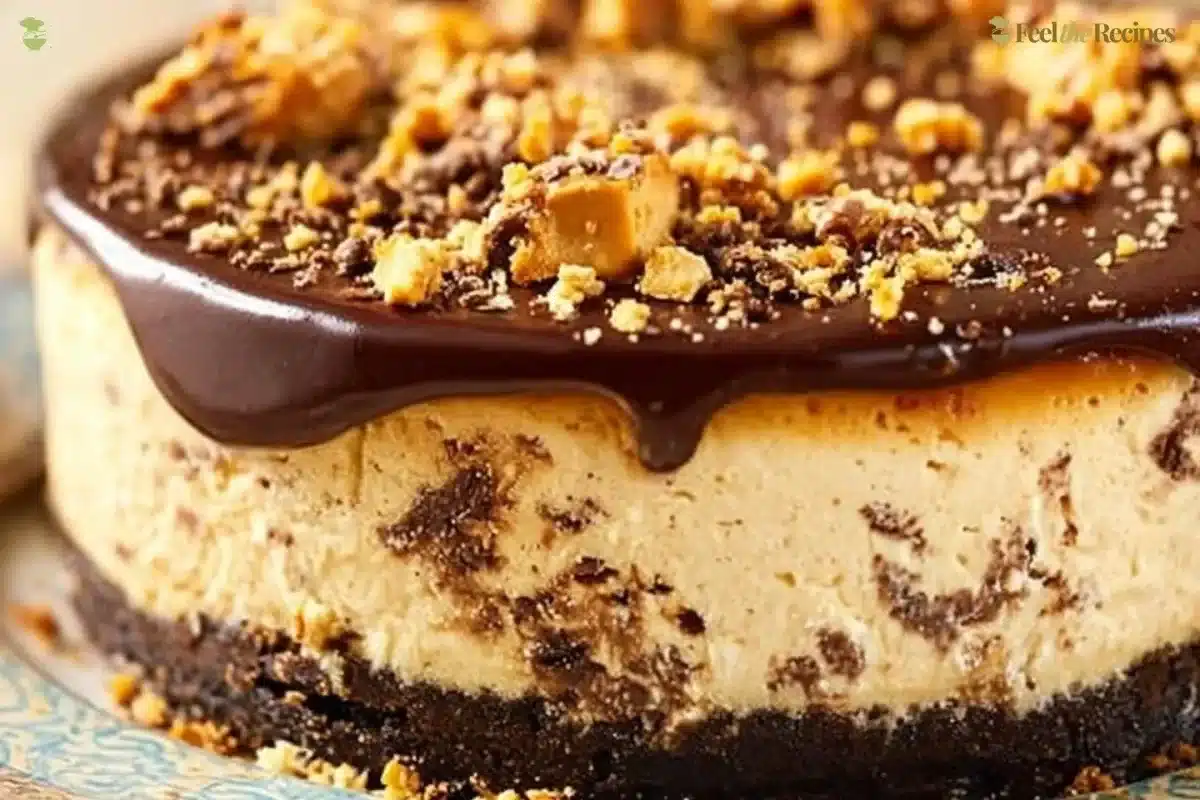
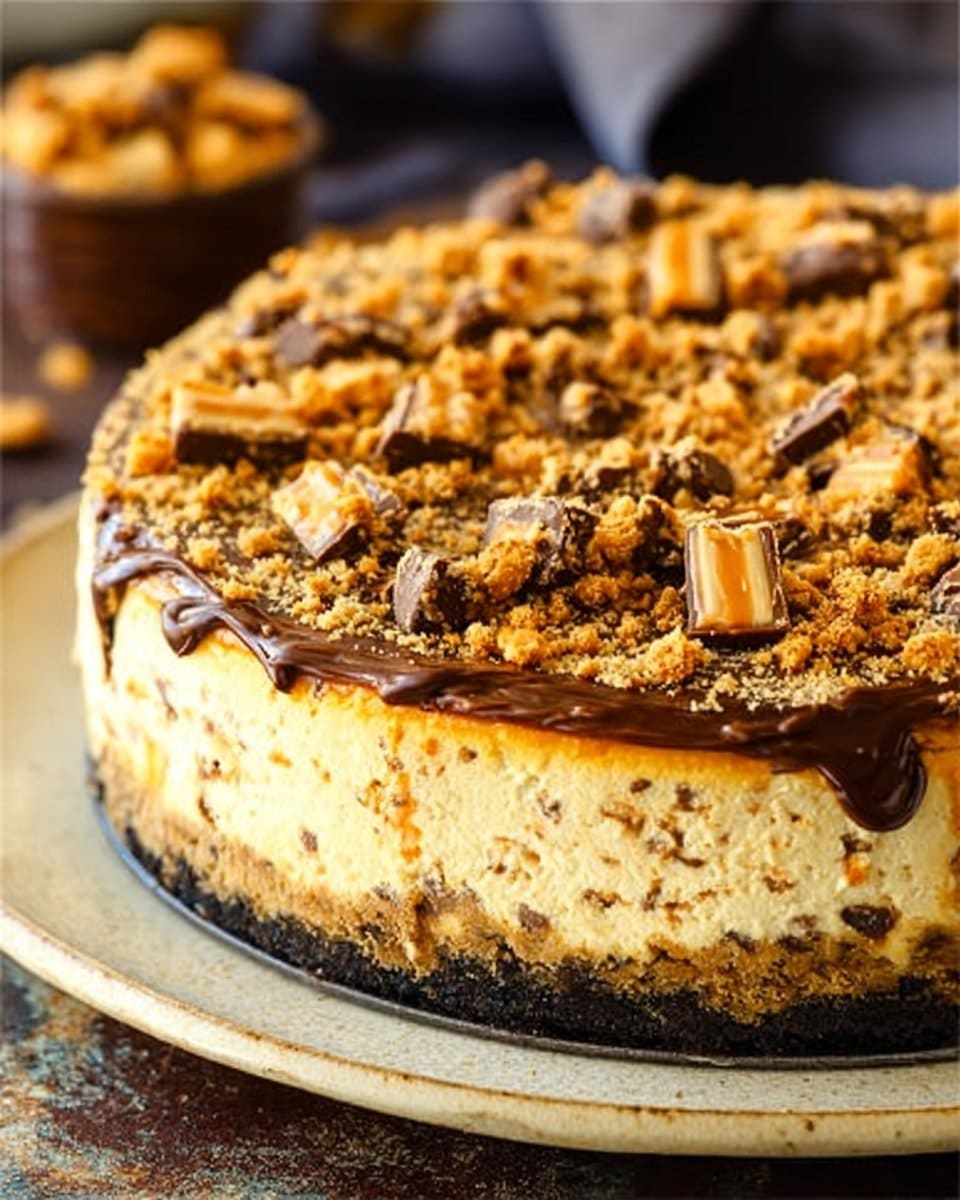
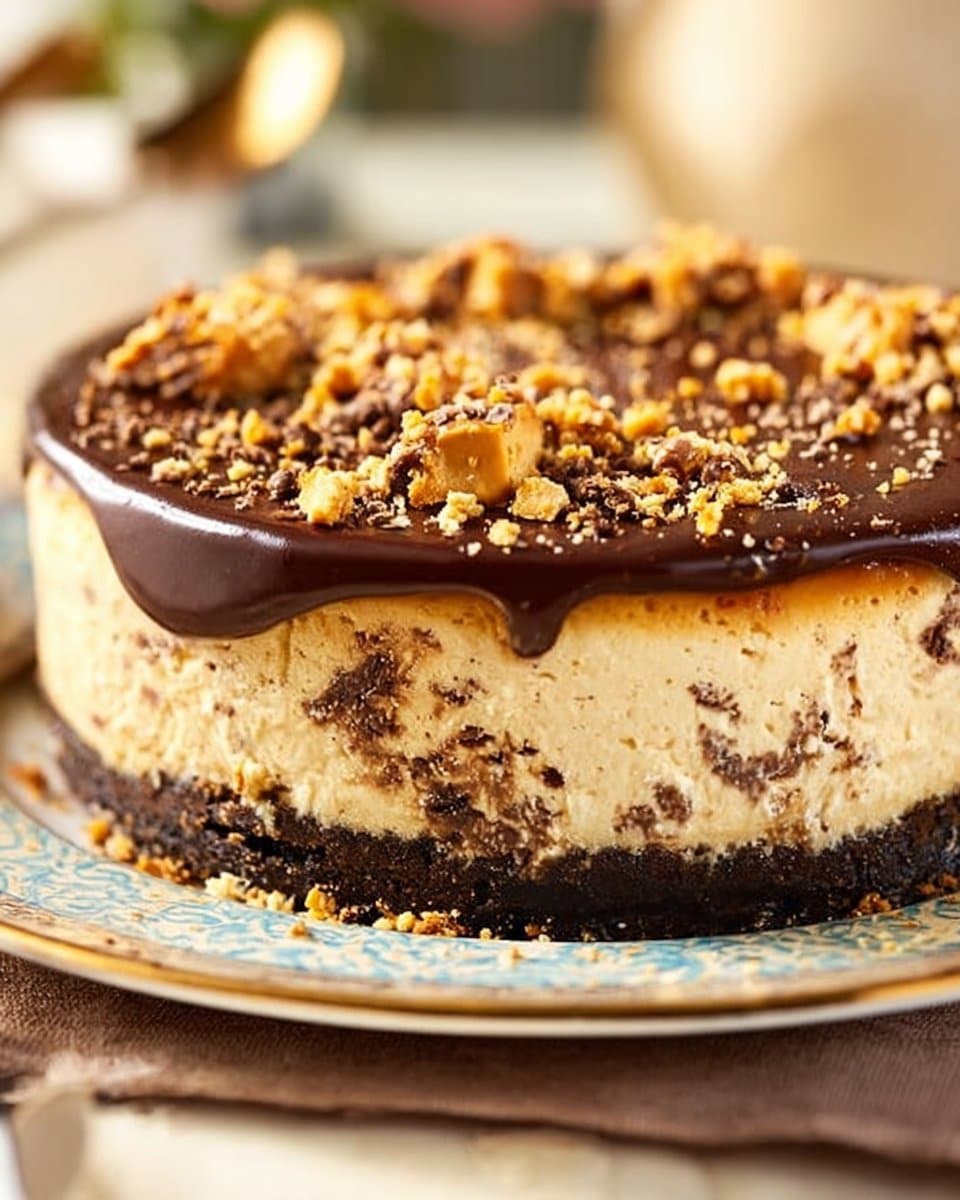
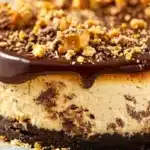
Butterfinger Cheesecake serves as a beacon of comfort in a busy world. Each layer tells a story, from the crumbly crust that embraces the creamy filling to the rich chocolate drip that glimmers on top. This dessert embodies a harmonious blend of flavors that lift the spirit and bring joy to the heart. It reminds us of family gatherings, celebrations, and quiet evenings spent sharing sweet moments with loved ones.
But beyond just indulgence, this cheesecake offers nourishment. With each bite, we savor not only the delightful textures but also the memories we create as we cook and share. The act of creating this Butterfinger Cheesecake serves as a way to connect. It invites you to pause, to breathe, and to truly engage in the present moment.
Preparing Butterfinger Cheesecake with Care
“Cooking is a quiet way of caring for yourself and the ones you love.”
As we embark on this delightful culinary journey, let us prepare our minds and hearts for a slow and mindful experience. Cooking is an invitation to express love and creativity, so embrace each step with kindness. The following guiding overview will help you navigate this comforting recipe with ease.
Wholesome Ingredients You’ll Need for Butterfinger Cheesecake
Gathering the right ingredients is the first step to creating a wonderful Butterfinger Cheesecake. Allow yourself a moment to appreciate each item you will be working with.
- 2 1/4 cups (302g) Oreo crumbs
- 4 tbsp (56g) salted butter, melted
- 24 ounces (678g) cream cheese, room temperature
- 1 cup (207g) sugar
- 3 tbsp (24g) all-purpose flour
- 3/4 cup (173g) sour cream, room temperature
- 1/2 cup (140g) peanut butter
- 1 tsp vanilla extract
- 4 large eggs, room temperature
- 1 1/2 cups (12 fun-sized bars) chopped Butterfingers
- 6 oz semi-sweet chocolate chips
- 1/2 cup heavy whipping cream
- 3/4 cup heavy whipping cream
- 1/2 cup (58g) powdered sugar
- 2 tbsp (35g) peanut butter
- 1/4 tsp vanilla extract
- Chopped Butterfingers for garnish
As you gather these ingredients, choose the freshest items you can find. You will feel the positive energy they carry, adding a touch of love to your final dish.
Step-by-Step How to Prepare Butterfinger Cheesecake
- Prepare the Crust
Begin by preheating your oven to 325°F (163°C). Find a sturdy mixing bowl and combine the Oreo crumbs with the melted butter. Breathe deeply as you mix; feel the texture transform as the crumbs soak up the warmth of the butter. Once all the crumbs are evenly coated, press this mixture firmly into the bottom of a springform pan. Allow it to rise up the sides slightly, creating a gentle barrier for the creamy filling that is to come. Place this crust into the oven for about 10 minutes. The warmth will awaken the flavors, giving your crust a delightful crunch.
- Prepare the Cheesecake Filling
In a large mixing bowl, blend the room-temperature cream cheese until it is smooth, light, and fluffy. You may find comfort in the sound of your mixer; let it be a soothing rhythm in your kitchen. Gradually add the sugar and flour, mixing until well combined. You can almost feel the sweetness infusing the air. Next, add the sour cream and peanut butter, followed by the vanilla extract. Stir gently and mindfully, allowing the flavors to meld together harmoniously.
Once the mixture is smooth, crack in the eggs, one at a time, mixing slowly after each addition. Take your time with this it is in these little moments that the cheesecake gains its character. Finally, fold in the chopped Butterfingers, watching as they add delightful bits of joy to the mixture. Pour this lovely filling over your prepared crust, smoothing the top gently with a spatula.
- Bake the Cheesecake
Now it’s time for a little patience. Place the cheesecake in the oven and allow it to bake for 55 to 65 minutes, until the edges are set, but the center still has a slight jiggle. During this time, your kitchen will begin to fill with the sweet aroma of baking cheesecake a true comfort for the senses.
Once ready, turn off the oven and crack the door open slightly. Let the cheesecake rest for about an hour. This small step helps to minimize cracks, allowing it to cool gradually while maintaining its creamy texture.
- Cool and Decorate the Cheesecake
After the hour has passed, carefully remove the cheesecake from the oven and let it cool at room temperature. As it cools, prepare the chocolate ganache by placing the semi-sweet chocolate chips in a heatproof bowl. In a small saucepan, gently heat the heavy whipping cream until it begins to steam, then pour it over the chocolate chips. Allow it to sit for a moment before stirring gently until smooth and glossy.
Once the cheesecake is fully cooled, pour the ganache over the top, letting it flow beautifully down the sides. You can then whip the remaining heavy whipping cream with the powdered sugar, peanut butter, and vanilla extract until soft peaks form. Use a piping bag or a simple spatula to decorate the edges of your cheesecake with this fluffy topping. Finally, sprinkle chopped Butterfingers on top, creating a beautiful and tempting finish.
How to Serve Butterfinger Cheesecake with Intention
Serving Butterfinger Cheesecake can be as simple or as elegant as you wish. Take a moment to admire the vibrant layers, the contrasting colors, and the rich textures. Consider placing your cheesecake on a beautiful platter, one that welcomes the gaze and draws your loved ones closer.
As you slice into the rich cake, be present in this gesture. Let each piece represent a bit of joy and love. You might want to pair this delightful treat with a cup of herbal tea or rich coffee, creating a warm atmosphere where conversations flow as easily as the sweetness from your dessert.
How to Store Butterfinger Cheesecake the Right Way
Storing your Butterfinger Cheesecake properly is essential for preserving the wonderful flavors you have crafted. Once completely cooled, you can cover the cheesecake with plastic wrap or foil. Be gentle, allowing the delicate toppings to remain intact.
Refrigerate for up to one week, although many find that flavors deepen beautifully after a day or two. When ready to enjoy again, simply slice and savor, allowing yourself a moment to reconnect with the love infused in your cooking.
Mama Lila’s Helpful Tips
- Ingredient Alternatives: If you are looking for a lighter option, consider using Greek yogurt in place of sour cream. This will maintain a creamy texture with an added nutritional benefit.
- Healing Properties: Peanut butter contains protein and healthy fats that can be nourishing for the body. Enjoy it without guilt, knowing it provides sustenance as it comforts.
- Avoiding Cracks: Remember to cool your cheesecake slowly by letting it sit in the turned-off oven. This gentle method can really help maintain its appearance.
- Adding Freshness: A hint of lemon zest can brighten your cheesecake if you desire a more vibrant flavor. This small addition might surprise you with its uplifting notes.
- Tools of Comfort: Never underestimate the power of a good whisk and a sturdy spatula. Having trusted tools in your kitchen can make each step a little smoother and more enjoyable.
Discover More Nourishing Recipes
Head over to our Recipe Trends page and uncover a world of fresh, plant-forward ideas that fit right into your daily routine. From vibrant seasonal flavors to calming, wholesome dishes, each recipe is designed to spark inspiration and bring a sense of balance to your kitchen. Find comfort, joy, and connection in every meal while exploring what’s trending right now.
Peaceful Variations to Explore
While this Butterfinger Cheesecake is a delightful classic, consider exploring variations that reflect your creativity and the seasons.
- Swap in crushed peppermint candies for a festive twist during the holidays.
- Experiment with different crust options, such as a graham cracker or chocolate cookie crust, to find what brings you joy.
- As fruits come into season, consider a layer of fresh berries on top for a beautiful and flavorful contrast.
Butterfinger Cheesecake
Ingredients
Method
- Preheat your oven to 325°F (163°C).
- Combine the Oreo crumbs with the melted butter in a mixing bowl.
- Press the mixture firmly into the bottom of a springform pan.
- Bake in the oven for about 10 minutes.
- Blend the room-temperature cream cheese until smooth and fluffy.
- Gradually add the sugar and flour, mixing until well combined.
- Add the sour cream and peanut butter, followed by the vanilla extract, stirring gently.
- Crack in the eggs one at a time, mixing slowly after each addition.
- Fold in the chopped Butterfingers.
- Pour the filling over your prepared crust.
- Bake the cheesecake for 55 to 65 minutes, until the edges are set.
- Turn off the oven and crack the door open slightly; let the cheesecake rest for about an hour.
- Remove the cheesecake from the oven and let it cool at room temperature.
- Prepare the chocolate ganache by heating the heavy whipping cream until steaming, then pour it over the semi-sweet chocolate chips.
- Stir until smooth and glossy, then pour it over the cooled cheesecake.
- Whip the remaining heavy cream with powdered sugar, peanut butter, and vanilla extract until soft peaks form.
- Decorate the edges of the cheesecake with the whipped cream and sprinkle chopped Butterfingers on top.
Nutrition
Notes
Tried this recipe?
Let us know how it was!Common Questions About Butterfinger Cheesecake
Can I make this ahead of time?
Yes, and it often tastes even more comforting the next day as the flavors blend. Prepare it a day prior to serving for an even richer flavor experience.
How long does it take to set?
After baking, allow the cheesecake to cool at room temperature for at least one hour. It will then need additional chilling in the refrigerator for a couple of hours, or overnight for best results.
What can I do if my cheesecake cracks?
If you’re met with a crack, remember it’s not the end of the world. Whipped cream or chocolate ganache can be a lovely cover-up, turning a little flaw into a creative touch.
Can I freeze leftovers?
Yes, you can freeze slices of cheesecake. Wrap them well in plastic wrap, and they can last up to three months. When you are ready to enjoy them again, let them defrost naturally in the refrigerator.
How can I make it gluten-free?
By substituting Oreos with gluten-free chocolate cookies, you can easily make this recipe suitable for gluten-sensitive friends and family members.
Final Reflection or Closing Note
As our cooking journey comes to a close, take a moment to reflect on the nurturing experience you have created in your kitchen. Every stir, every fold, and every sprinkle has added to the warmth of this Butterfinger Cheesecake. I hope this recipe brings you the same peace and warmth it brings to my home each time I cook it. Enjoy every bite and every shared moment as you savor this sweet labor of love.
Connect with Feel the Recipes
Cooking is more than making a meal it’s a way to care for ourselves and those we love. Lila shares simple, nourishing recipes and mindful kitchen moments to bring calm and joy to your table.
Join a community of home cooks who value balance, wellness, and the beauty of seasonal ingredients. Together, we can create food that heals and inspires.
🌿 Facebook: Follow us for thoughtful tips and new recipes
📌 Pinterest: Save nourishing recipes and seasonal ideas
🐦 X (Twitter): Gentle reminders and plant-based inspiration
📸 Instagram: @feeltherecipes for peaceful kitchen moments
Let’s create meals with intention. Whether you’re starting your plant-based journey or simply seeking balance, we’re here to support you one recipe at a time.