The kitchen smells like sugar and peppermint, warm and bright. A wooden spoon taps the edge of the bowl and someone laughs, and in that moment you know you are home. The radio plays a soft song in the corner while sunlight slides across the table. I stir the butter until it is creamy and think of my abuela, who taught me how to press a mint between my thumb and finger and taste a memory.
I love how simple treats make big memories. These Old-Fashioned Butter Mints are tiny, sweet pieces of joy that show up at weddings, birthdays, and ordinary afternoons when visitors drop by with a story. They are the kind of candy you unwrap slowly, let the coolness melt on your tongue, and then ask for another. If you love small, make-ahead sweets that travel well to picnics and potlucks, you might also enjoy this playful twist like a creamy butterbeer cheesecake I sometimes make for fiesta nights.
The Story Behind My Old-Fashioned Butter Mints
This recipe comes from a box of memories. My tia used to keep a tin of butter mints on her coffee table. The tin clinked when you opened it, and everyone reached in. Little hands, old hands, all wanting that cool peppermint bite after the meal. I remember sneaking one before mass, feeling guilty and giggling because the mint left my mouth cool as a secret.
We made these mints every holiday season. My mamá would roll ribbons of the dough on the counter while we made paper snowflakes. My cousin would steal a colored piece and leave a trail of pastel footprints across the flour-dusted floor. It makes me smile to think about how food keeps a family’s stories alive, mi familia sitting close, sharing a plate and a laugh.
Old-Fashioned Butter Mints bring people together because they are simple, pretty, and full of cariño. They are like a small talker at a big family event. Kids love the colors, adults love the mint, and everyone loves the memory that forms with every bite. The first time I made them for a new neighbor, she asked for the recipe before the coffee was cold. That is how you know a treat has heart.
How to Make Old-Fashioned Butter Mints
“In my kitchen, every good recipe starts with laughter and a little music.”
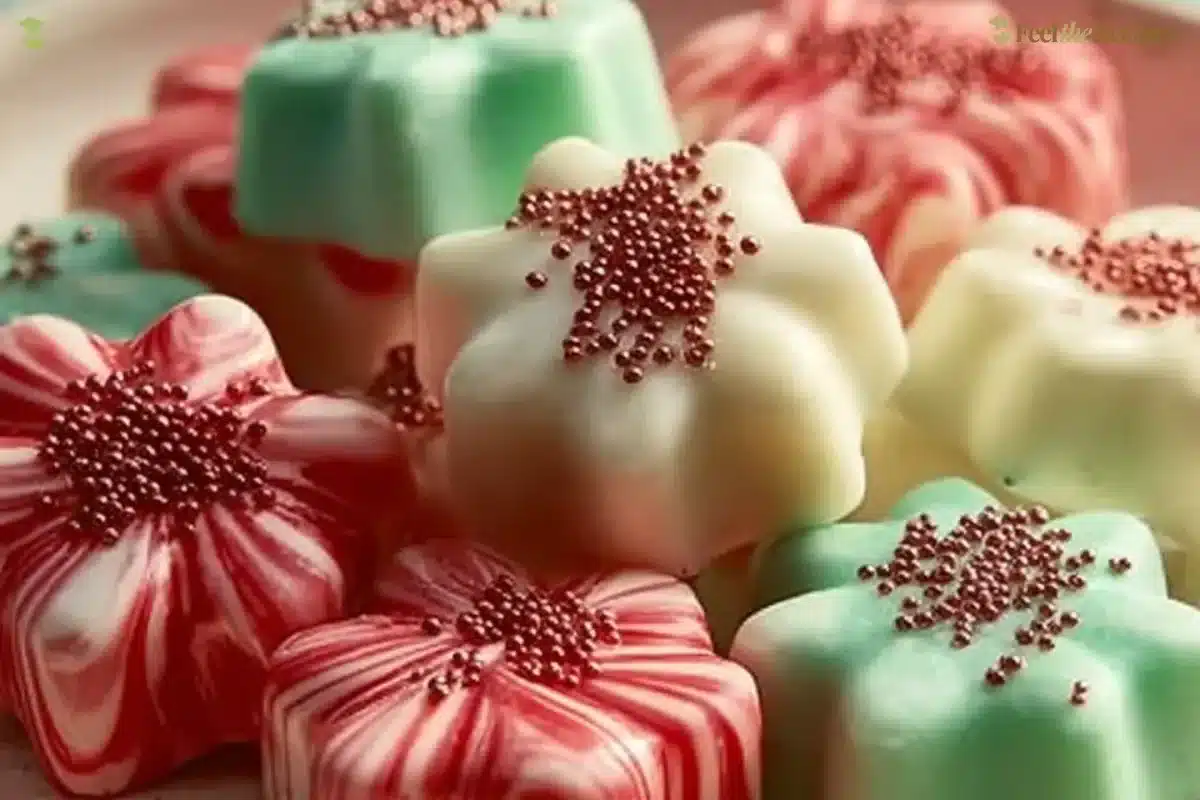
These mints are special because they are quick to make, and the aroma of butter and peppermint fills the room while you work. The dough is soft and silky, and when you roll it into ropes, the bright colors look like candy bracelets. When they dry, they take on a smooth matte finish, and the first bite gives a quiet, cooling peppermint that is both old-fashioned and joyful.
Before we begin, keep a small bowl of powdered sugar ready for your hands. If you plan to make different colors, divide the dough and knead a tiny amount of gel color in each piece. The scent is clean and sweet, and the texture is tender. These mints love being shared on a small plate beside coffee or after-dinner tea.
Ingredients You’ll Need for Old-Fashioned Butter Mints
1/2 cup unsalted butter, softened
4 cups powdered sugar
1 tablespoon heavy cream or milk
1/2 teaspoon peppermint extract
1 pinch salt
gel food coloring (optional)
Tía’s tip: Use a good unsalted butter for the best flavor. If your butter is very soft, chill it a little so it creams nicely. Heavy cream gives a richer taste, but milk works fine if that is what you have. A tiny pinch of salt brings out the sweet and cool notes. If you want pastel colors, gel food coloring gives a bright tone without watering the dough.
Step-by-Step: How to Cook Old-Fashioned Butter Mints
- Beat the softened butter in a large mixing bowl until smooth and creamy.
Use a hand mixer or stand mixer. Start slow, then beat until the butter looks pale and feels silky. This gives your mints a fine, tender texture. - Add peppermint extract, salt, and cream. Mix well.
Pour in the heavy cream or milk and the peppermint. Mix until the aroma spreads through the bowl. When it starts to smell like home, you are almost there. - Gradually mix in powdered sugar until a soft dough forms.
Add the powdered sugar in small batches. Mix after each addition so it blends without a cloud of sugar flying. The dough should be soft but not sticky. - If using coloring, divide dough and knead in gel food coloring.
Dust your hands lightly with powdered sugar and divide the dough into pieces. Use a toothpick of gel coloring, not liquid, so the dough keeps its right feel. Knead gently until the color is even. - Roll dough into thin ropes on a powdered sugar surface.
Sprinkle powdered sugar on the counter. Roll each piece of dough with your hands into ropes about the thickness of a pencil. Keep them even so the mints are the same size. - Cut ropes into bite-sized pieces using a scraper or knife.
Use a bench scraper or small knife to cut the ropes into pieces about 3/4 inch long. Press the ends gently to round them if you like a smooth look. - Spread mints on parchment and allow to dry at room temperature for 8 hours or overnight.
Place each mint on a sheet of parchment paper with small space between. Let them dry somewhere cool and dry. Do not cover. When they feel firm on top, they are ready.
Cooking notes and friendly cues: If the dough feels too dry, add a few drops more cream. If it is too soft, add a spoonful more powdered sugar. The dough is forgiving. While the mints dry, you can tidy the kitchen, set the plates, and call the family to the table. The waiting is part of the fun.
How to Serve Old-Fashioned Butter Mints for Family and Friends
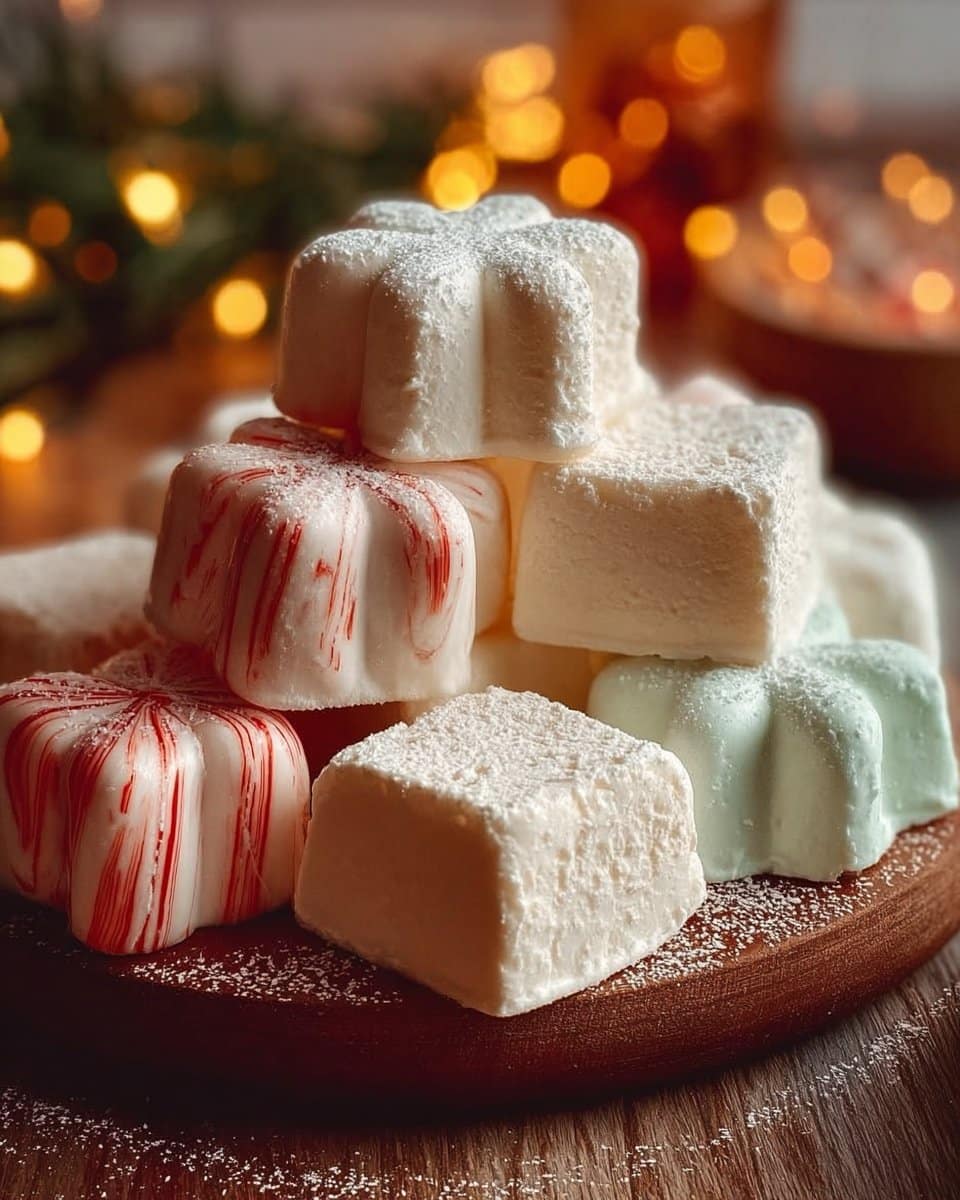
These little mints look lovely in groups. A simple white ceramic plate makes the colors pop. You can scatter a few on a lace doily for a vintage touch, or place them in small paper cups for a bridal shower. For a casual family afternoon, line them in a small wooden bowl and set on the coffee table with a pot of tea.
Think about pairing them with coffee or after-dinner espresso. The mint cuts through the richness of dessert and refreshes the palate. For a fiesta style dessert table, mix colors and put a few in a glass jar tied with a ribbon. They become little gifts to hand out as guests leave.
Presentation tip: Arrange mints in a circle around a small dish of chocolates for contrast. Or place a single mint on each dessert plate as a finishing hello. At my house, we put a mint on the napkin at the end of a meal and watch grandchildren zoom in like hummingbirds. These moments are food and laughter joined together.
Keeping Old-Fashioned Butter Mints Fresh for Later
Store your mints in an airtight container layered between sheets of parchment. They keep well at room temperature for about two weeks. If your kitchen is warm, place the container in the refrigerator, but allow the mints to come to room temperature before serving so the texture softens.
For longer storage, freeze the mints on a tray until firm, then transfer to a freezer-safe container. Thaw in the fridge and then sit at room temperature for a short while before serving. Most of the time, these mints taste even better the next day, like many family stories that settle and warm up over time.
Caring note: If the mints get a little dry, a tiny dab of cream kneaded into a small batch will restore tenderness. Keep them away from strong-smelling foods so the peppermint stays bright.
Tía Maribel’s Flavor Secrets
- Use high-quality butter. The fat in real butter gives these mints a smooth, melt-in-your-mouth feel. When I use good butter, the whole kitchen smells richer and everyone leans in to ask what I’m making.
- Measure the powdered sugar by weight, if you can. Four cups usually works, but powdered sugar can vary. If it feels too soft, add a little more until the dough is right. This is the secret of texture.
- Peppermint extract matters. A pure peppermint extract tastes clean and sharp. If you like a softer mint, use half the amount, or try mixing peppermint with a drop of vanilla for a rounder flavor.
- Gel coloring keeps the dough from getting watery. Liquid colors change the dough’s feel. For bright, even shades, a little gel works wonders.
- Let them dry in a dry room. Humidity slows the drying. If you live in a humid place, use a low oven set at its lowest with the door cracked and a bowl of dry rice in the oven to absorb moisture. Be careful and check often.
Here is a fun moment: once I mixed a tiny bit of orange oil into a white batch for a summer party and called them mint-sunflowers. My niece stuck them on her dress like buttons and wore them home. Everyone laughed and ate the flowers.
I also keep experimenting with pairings. If you like a creamier sweet, try a mint with a trace of almond extract. For a grown-up version, a drop of liqueur can make a small batch feel festive. If you want a chocolate companion, a plate of simple truffles next to the mints makes a beautiful duo. If you want to see a playful cheesecake I pair with coffee sometimes, try the butterfinger cheesecake link I use for party nights: butterfinger cheesecake.
Make It Your Own: Fun Twists on Old-Fashioned Butter Mints
There are many small changes that make these mints feel new. Try these ideas when you want to play with flavor:
- Lavender-Infused Mints: Add 1/8 teaspoon culinary lavender, ground fine. Mix gently for a floral note that pairs well with afternoon tea. Use less if you prefer a hint.
- Citrus-Mint: Add a few drops orange extract with the peppermint, or add a tiny bit of zest. Bright and surprising for summer tables.
- Chocolate-Dipped: Once the mints dry, dip half in melted dark chocolate. The contrast of smooth mint and rich chocolate is like a tiny celebration.
- Spiced Mint: Add a pinch of cinnamon or nutmeg for winter gatherings. The warm spice with cool mint gives a balanced and cozy feeling.
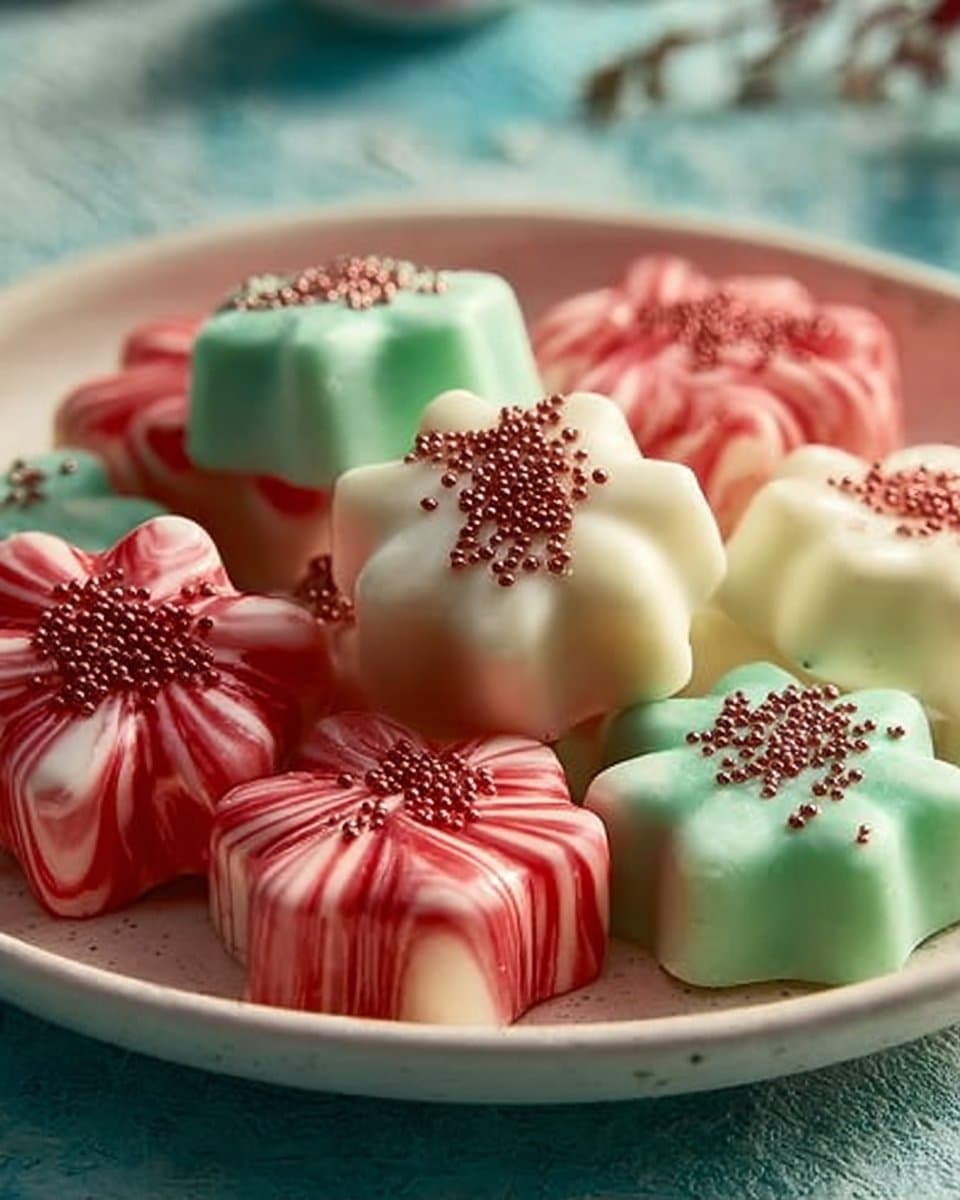
- Color Themes: Make pastel sets for baby showers or bold jewel-toned mints for holiday gift jars. Use gel coloring sparingly for pretty shades.
- Miniature Sandwiches: Sandwich two small mints with a dab of ganache in the center for a richer bite. It feels fancy but is very simple.
Try combining colors and flavors for special events. For example, make red and green for holiday platters, or blue and white for a baptism. Simple changes create new memories, and the kitchen fills with more stories.

Old-Fashioned Butter Mints
Ingredients
Method
- Beat the softened butter in a large mixing bowl until smooth and creamy.
- Add peppermint extract, salt, and cream. Mix well.
- Gradually mix in powdered sugar until a soft dough forms.
- If using coloring, divide dough and knead in gel food coloring.
- Roll dough into thin ropes on a powdered sugar surface.
- Cut ropes into bite-sized pieces using a scraper or knife.
- Spread mints on parchment and allow to dry at room temperature for 8 hours or overnight.
Nutrition
Notes
Tried this recipe?
Let us know how it was!FAQs About Old-Fashioned Butter Mints
Can I make this ahead of time?
Absolutely, mija! Make them a day or two ahead for the best texture. The flavors get friendly with each other overnight. Store in an airtight container until serving.
How long do they last?
At room temperature, keep them in a dry container for up to two weeks. If your kitchen is warm, refrigerate them. They freeze well for longer storage.
Can I use one of those liquid peppermint flavors?
You can, but I prefer pure peppermint extract for a clean taste. Liquid food flavorings often have a different strength. Start with a small amount and taste.
My dough is too sticky. What now?
Dust your hands and counter with powdered sugar and knead in a little more until it firms. If it becomes too dry, add a few drops of cream to soften.
Are these safe for little kids?
Yes, they are a tiny sweet and usually safe. Supervision is good for small children to keep pieces small and to watch for any sensitivities to peppermint.
Final Note From Tía Maribel
I hope this Old-Fashioned Butter Mints fills your home with the same joy it brings mine. When you make them, think of the people you love and invite them in. Let the music play, share a laugh, and pass the bowl. There is something very loving about small things made with care. ¡Buen provecho and mucho amor from my kitchen to yours!
Conclusion
For more ideas and to compare different ways people make these treats, check out this classic take from Salty Side Dish at Best Butter Mints (Homemade) | Salty Side Dish. If you enjoy reading a few variations and seeing step photos, this recipe collection offers a friendly, tested version at Old-Fashioned Butter Mints. For a rural, homey twist on holiday versions, this post shares small changes and presentation ideas at Old Fashioned Holiday Butter Mints – Handmade Farmhouse.
Gracias for letting me share this little piece of my family with you. May these mints bring laughter, memory, and a cool, sweet smile to your table.