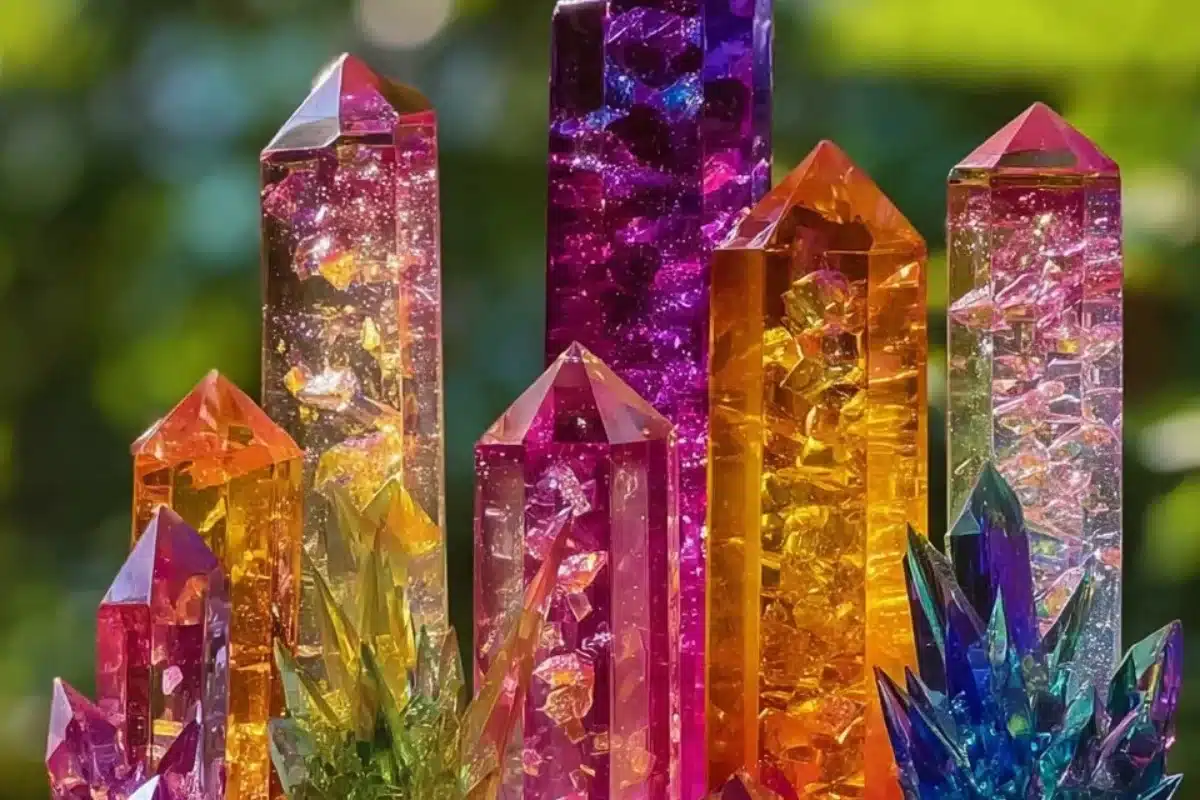
There’s something quietly magical about Baking Soda Rainbow Crystal Forest — the way simple ingredients meet patience and curiosity, and suddenly your kitchen is full of tiny, sparkling trees. It smells faintly of warm water and something mineral, and the joy is mostly in the watching: the slow forming of crystals, the bright surprise of color, and the little moment when you lift a finished crystal and it catches the light. Clara is right beside you, and you can do this.
Why You’ll Love Making This Baking Soda Rainbow Crystal Forest
This project is perfect whether you are a curious beginner or someone who likes hands-on projects that reward time and attention. It blends the calm of a craft with the gentle science of crystal formation. You do not need specialized tools, and the ingredients are familiar and inexpensive. Kids can watch and learn, and adults can enjoy the quiet focus of making something beautiful.
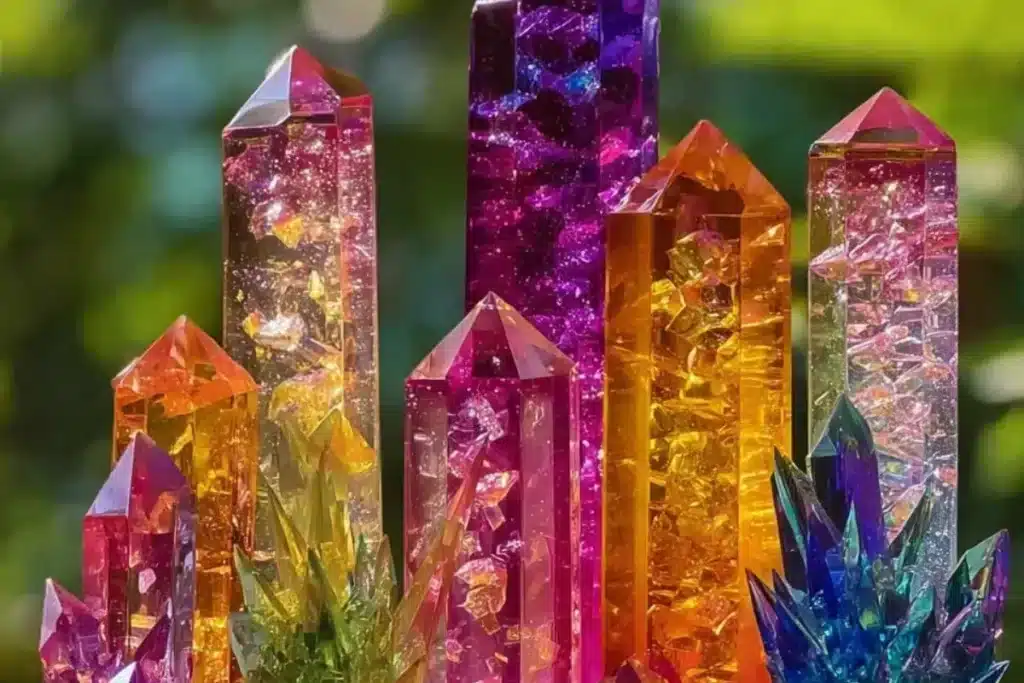
The finished crystals look joyful on a shelf, in a lunchbox science show, or as a colorful decoration. They teach patience, observation, and a little chemistry without any scary language. You’ll find yourself checking them at odd moments, smiling at how different colors form slightly different textures. Try to look at the process as an experiment you share with the people around you.
Step-by-Step: How to Make Baking Soda Rainbow Crystal Forest
“Cooking isn’t about perfection. It’s about enjoying every delicious step.”
Before you begin, set aside an hour for the active work and then plan to leave your crystals undisturbed for several hours or overnight. You will mostly mix, separate, color, and then wait. Choose a counter or a table that can sit quietly for a day.
Gather bowls or cups for dividing the solution, an ice cube tray or small containers for forming the crystals, and a stirring spoon. Work near a sink or have a jug of hot water on hand so you can pour without fuss. Clear a little space in your refrigerator or a shelf where the trays can sit without being knocked.
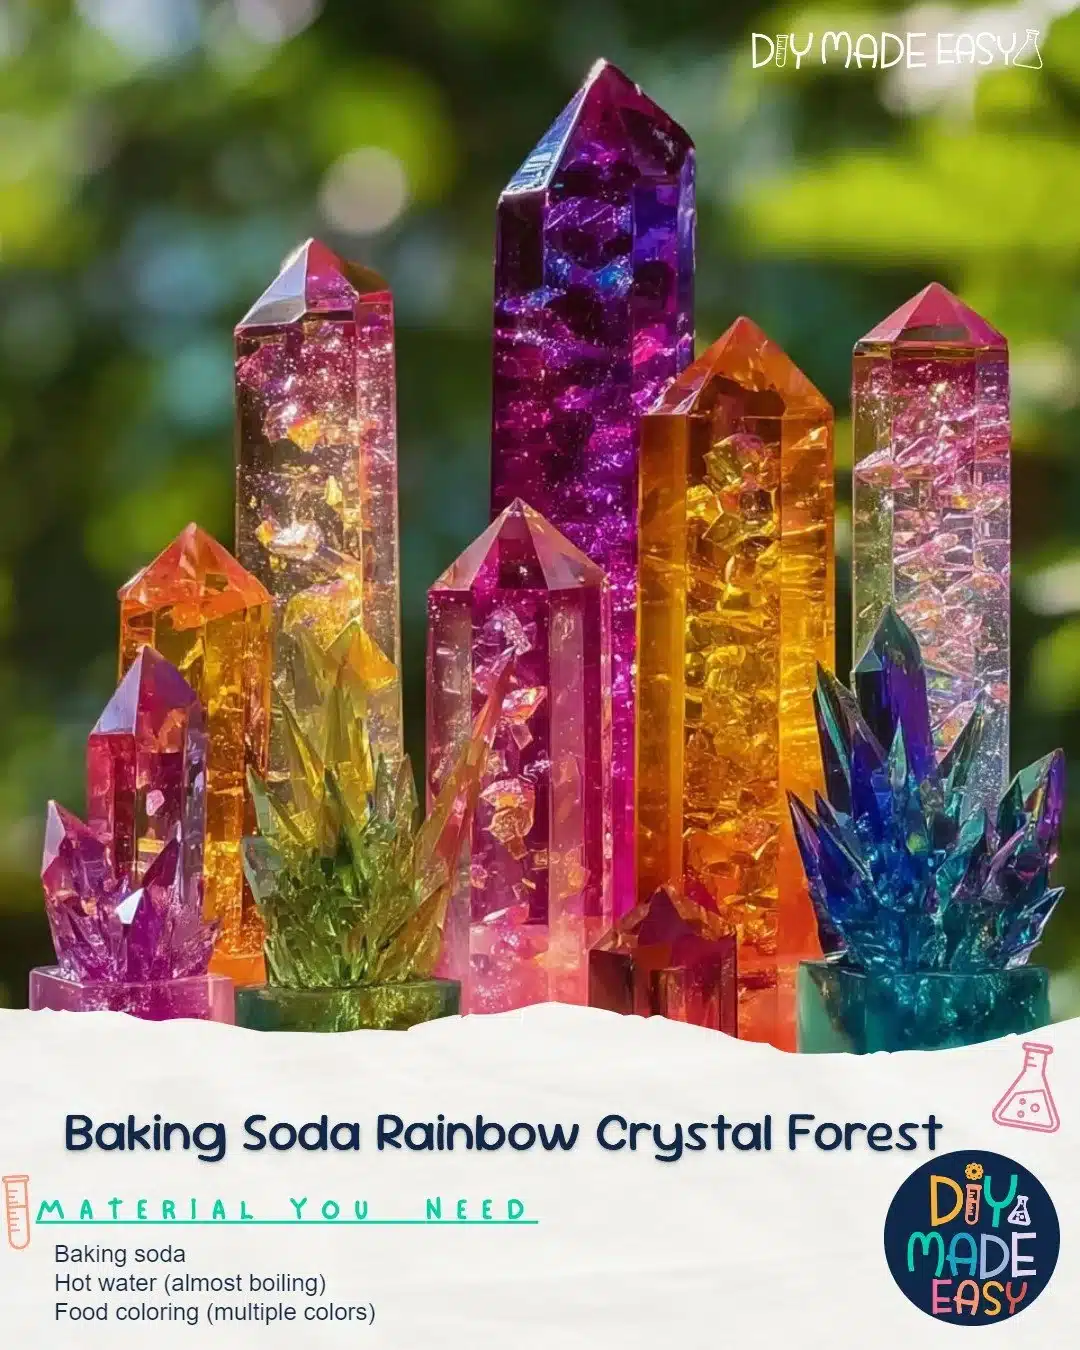
Ingredients You’ll Need for Baking Soda Rainbow Crystal Forest
Baking soda — fresh, not old. Fresh baking soda dissolves better and gives crisper crystals.
Hot water (almost boiling) — very hot water helps dissolve the baking soda fully. Let it cool a minute if needed.
Food coloring (multiple colors) — use a mix of colors. Gel or liquid both work; gels give brighter hues.
Small clear containers or an ice cube tray — clear sides let you watch the crystals grow.
Spoons or small stirrers — one per color keeps things tidy.
Optional: wooden sticks or small twigs — to place centrally and encourage vertical growth.
Optional: white glue or salt touches — for texture experiments and to see how additives change the crystals.
Directions: Cooking with Confidence
-
In a bowl, mix baking soda with hot water until it’s completely dissolved.
Stir gently and watch the solution go from cloudy to clear. If any grit remains, pour the mixture through a fine sieve or let the undissolved parts settle and pour the clear liquid off the top. Use about one part baking soda to two parts hot water as a starting ratio, and adjust if you want denser crystals. -
Divide the mixture into several containers.
Measure evenly or roughly; you do not need perfect precision. Small glass jars, ramekins, or paper cups work fine. Leaving a little headspace makes pouring easier. Label each container in your mind by color so you do not mix them up. -
Add different food coloring into each, creating a delightful rainbow.
A drop or two can be enough with gel colors. For gentler shades, use less; for bold colors, add a bit more. Stir each cup until the color is even. Notice how the colored solution looks; this helps you anticipate how the crystals will appear. -
Pour the colored mixtures into an ice tray or small containers to let them crystallize.
Pour slowly to avoid mixing colors. If you want separate “trees” of color, pour each color into its own well. If you want a layered effect, pour carefully so the layers settle. Place a wooden stick or twig into the center of a well to encourage vertical crystal growth. -
Allow them to sit undisturbed for several hours or overnight.
Covering lightly with a paper towel keeps dust away but still allows evaporation. Evaporation is the quiet magic here: as the water leaves, the baking soda must arrange itself into solid crystals. Check gently once in a few hours, but try to avoid moving the trays. -
Once crystallized, gently remove them from the tray and admire your colorful creations!
Use a butter knife or a spoon to loosen edges if needed. Lift slowly; the crystals can be fragile. Place them on a clean plate or tray to dry further. If some pieces melt or deform, that is okay. Each crystal is unique, and the irregular ones are often the most charming.
How to Serve Baking Soda Rainbow Crystal Forest and Make It Shine
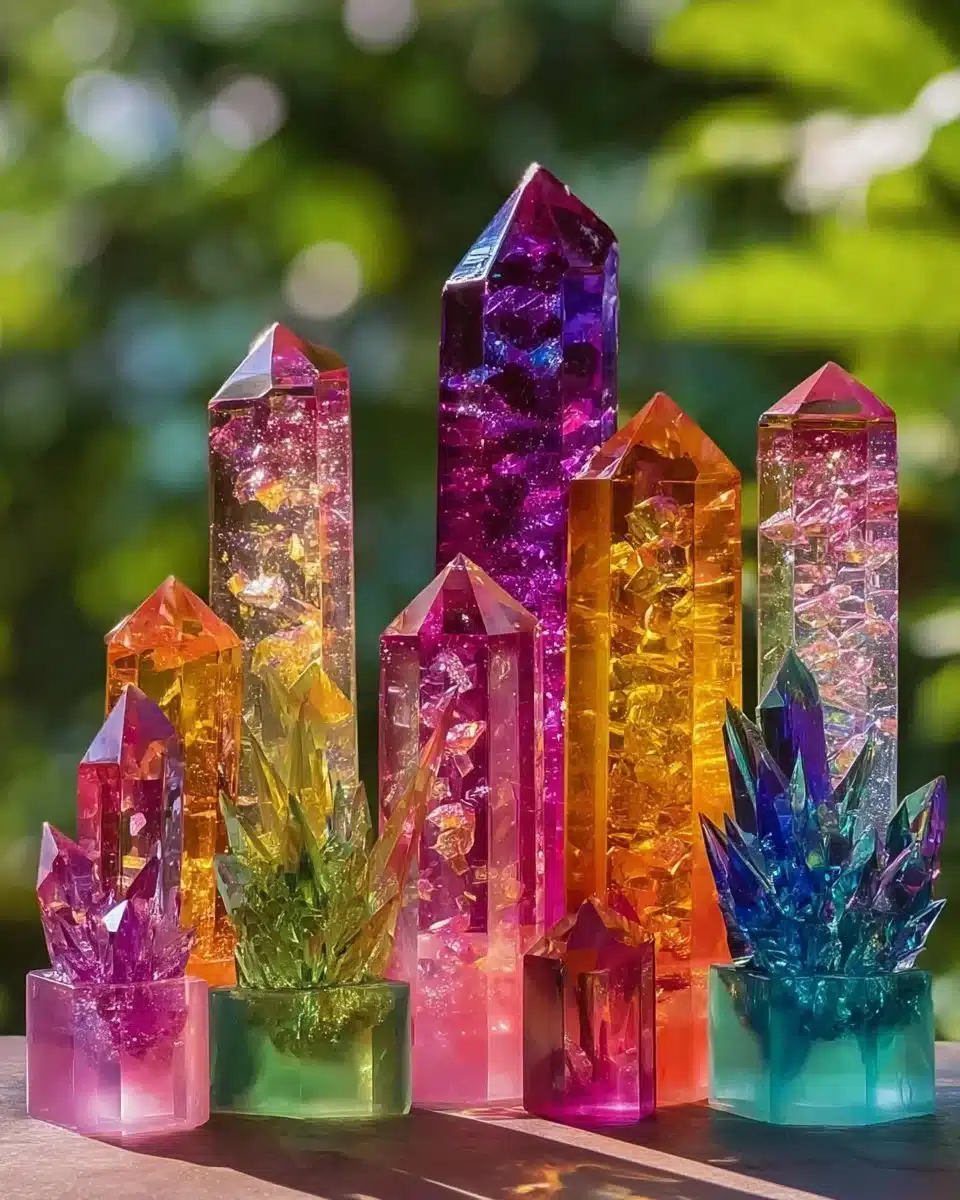
Serving here means presenting and enjoying your finished crystals. Arrange small clusters on a shallow dish or a piece of white paper to show their colors and shapes. Use a small tabletop lamp or a window ledge so light can pass through them. If you displayed them as part of a science table, label the colors and ask viewers which texture they prefer.
For a playful touch, place a few crystals on small wooden sticks and stand them like tiny trees in a jar filled with dry rice or sand. This creates a miniature forest effect that catches the eye. If you are using them for a class or a party, set them in clear plastic cups so people can hold and examine them without breaking the most delicate pieces.
How to Store Baking Soda Rainbow Crystal Forest for Later
Store your finished crystals in a dry place. Moisture will soften and partially dissolve them, so a sealed container with a packet of rice or a small silica gel pack helps keep them crisp. Place tissue paper between layers if you stack them.
If they gather any dust over time, brush gently with a soft paintbrush. Do not place them in direct sunlight for very long if colors might fade. For long-term keeping, a glass display box is ideal; it prevents moisture and accidental knocks while letting you enjoy the shapes.
If a crystal becomes slightly damp, let it air dry fully before returning it to storage. Be patient. These are made by slow evaporation, and they reward gentle handling.
Clara’s Tips for Success
- Use very hot water to dissolve the baking soda fully. Warm or cool water slows the process and can leave grit.
- Work with one color at a time to avoid accidental mixing. Keep a damp paper towel or cloth for quick cleanups.
- If you want taller, tree-like crystals, place a small twig or wooden skewer in the center of each well so crystals can climb it as they form.
- Try different tray materials. Plastic and ceramic give slightly different textures. Transparent containers let you watch growth from the sides.
- Be patient. The most striking crystals form when the solution is left undisturbed, so resist the urge to move or test them frequently.
Simple Variations to Try
Color fades and texture changes offer small experiments that are fun and educational. Try these gentle variations and see what changes.
-
Layered Rainbow Forest: Pour one color gently on top of another so you get a layered cube in each well. Let each layer set for 10 to 15 minutes before adding the next to avoid immediate mixing.
-
Spiky Forest: Add a tiny pinch of table salt to one cup before crystallizing. Salt can change the shape of crystals and often encourages more spiky or irregular formations.
-
Twig Trees: Use different types of twigs or small pipe cleaners. Rough bark or textured surfaces give the crystals something to cling to, and you will notice vertical growth.
-
Glitter Test: If you want a reflective surface, add a small pinch of non-water-soluble glitter once the mixture is partly cooled. The glitter sits on the surface of forming crystals and makes them sparkle. Note: glitter is for display only; avoid ingestion and keep it away from children who might put it in their mouths.
-
Seasonal Themes: Use only autumn tones or pastel spring shades to match a table or party. You can even shape the tray arrangement into a heart or a circle.
Each variation helps you learn how small changes in the recipe and process affect the results. Keep notes on what you tried and what you liked.
FAQs About Baking Soda Rainbow Crystal Forest
Can I make this ahead of time?
Yes. Crystals keep well in a dry display container for weeks or months if you avoid humidity. Make them the day before your event for the freshest look.
Are these crystals edible?
No. These crystals are made from baking soda and are not meant to be eaten. They are for display and experiments. Keep them away from small children who might think they are candy.
What if my mixture never forms crystals?
First, check that your baking soda fully dissolved in hot water. If it was lumpy, strain and try again. Also ensure the trays were left undisturbed and that evaporation could occur. If it is humid where you live, place the trays in a drier room or near a fan on low.
How long will it take for crystals to form?
You will see the first signs in a few hours. For full, solid crystals, plan on leaving them overnight or up to 24 hours for the best results.
Can I make large crystals?
Yes, but it takes longer. Use a larger container, more concentrated solution, and a central support like a twig or a string. Large crystal growth benefits from steady conditions and slow evaporation.
Final Encouragement or Closing Note
You are doing something small and wonderfully patient when you make Baking Soda Rainbow Crystal Forest. There is a quiet kind of joy in watching a solution give itself over to structure and color. Clara believes in steady hands, simple tools, and kindness to your projects. If the first batch is imperfect, that is part of learning. Try again, tweak one thing at a time, and enjoy the discoveries.
Conclusion
If you want a step-by-step resource with photos and background on the science behind the crystals, you can explore a practical experiment guide at Growing Crystals Experiment | ARM & HAMMER Baking Soda Project. For additional colorful ideas and ways to present your crystals as a creative STEM activity, see Baking Soda Rainbow Crystal Forest | Easy Colorful STEM Science ….
I hope this Baking Soda Rainbow Crystal Forest helps you discover how simple and rewarding homemade projects can be. You’ve got this.
Baking Soda Rainbow Crystal Forest
Ingredients
Method
- In a bowl, mix baking soda with hot water until it's completely dissolved.
- Stir gently and watch the solution go from cloudy to clear.
- Divide the mixture into several containers.
- Add different food coloring into each to create a rainbow.
- Pour the colored mixtures into an ice tray or small containers.
- Allow them to sit undisturbed for several hours or overnight.
- Once crystallized, gently remove them from the tray and admire your colorful creations.