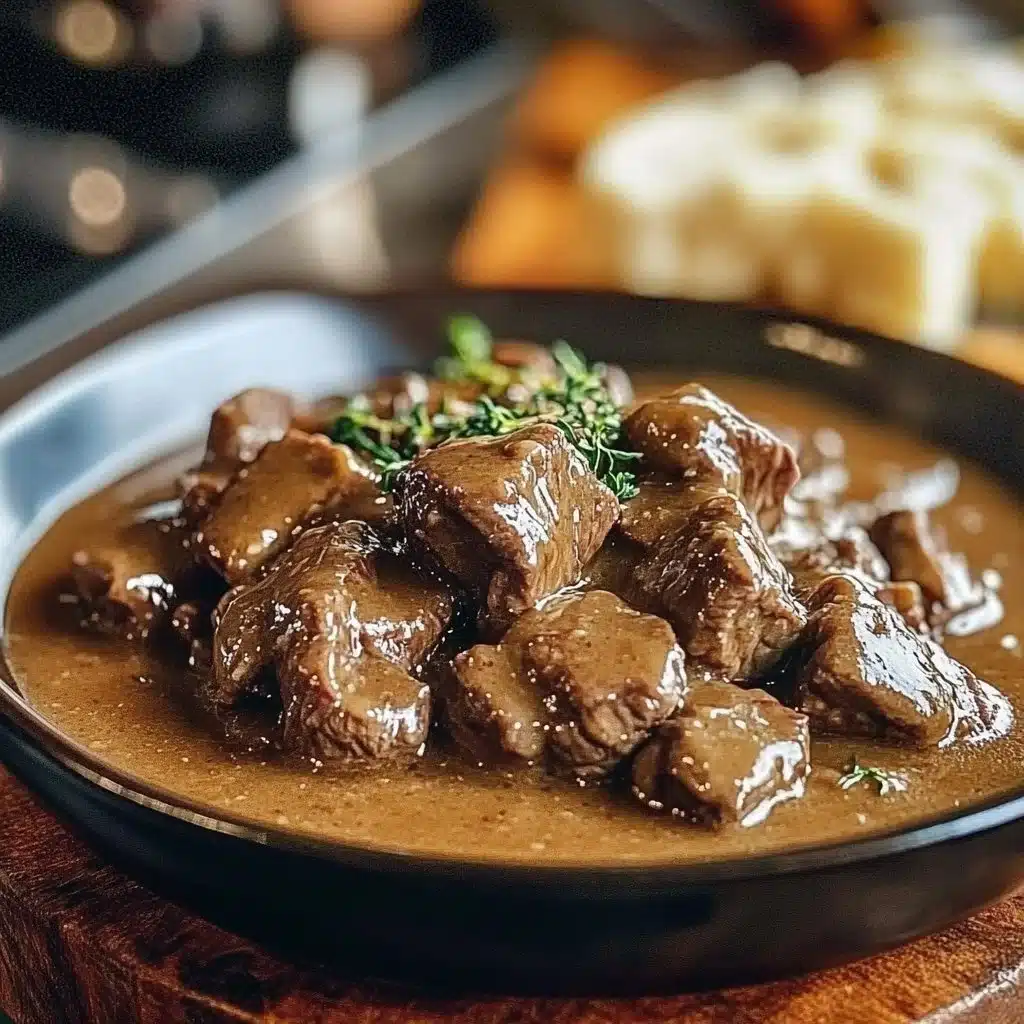
There’s something special about Beef Tips and Gravy the way its aroma fills the kitchen and makes everyone wander in for a taste. It is the kind of home cooking that turns an ordinary evening into something warm and memorable. The rich, glossy gravy, the tender bites of beef, the small steam clouds that rise when you lift the lid all of that says comfort and care.
This recipe is forgiving and friendly. You do not need fancy equipment or perfect timing. A simple skillet or Dutch oven, a little patience, and a few pantry staples will do the rest. If you like cozy dishes that taste like they took more effort than they really did, you are in the right place. And if you want a sweet finish afterward, try a reliable, easy dessert like this apple crisp and crumble recipe to round the meal.
Why You’ll Love Making This Beef Tips and Gravy
I learned this version of Beef Tips and Gravy on a chilly evening when I needed something quick, satisfying, and a little indulgent. The beauty of this dish is its balance between speed and depth. A quick sear builds flavor, browned mushrooms and onions add sweetness, and the simple flour-thickened gravy brings everything together with a velvety texture.
You will love how it fills the house with a savory scent while the sauce reduces and thickens. It is a recipe that welcomes improvisation. If different vegetables are on hand, or if you want to swap a cut of beef, you can do that without stress. It always comes out comforting and full of character, and that dependable success is why I keep writing it into my weeknight rotation.
Step-by-Step: How to Make Beef Tips and Gravy
“Cooking isn’t about perfection. It’s about enjoying every delicious step.”
Before we start, take a moment to gather your ingredients and tools. A heavy skillet or Dutch oven gives the best browning. Use a wooden spoon or silicone spatula for stirring and a good chef knife to get clean, even beef chunks. When you have everything laid out, cooking moves confidently and quickly.
This recipe is built on simple technique: brown, build flavor, thicken, and simmer. Browning is where the meat develops deep flavor. Toasting the flour cooks away any raw taste and helps the gravy become glossy. Simmering lets the beef relax and become tender. Keep your movements deliberate, trust your senses, and remember that small adjustments in seasoning at the end make a big difference.
Ingredients You’ll Need for Beef Tips and Gravy
- 1.5 lbs beef sirloin or tenderloin, cut into bite-sized chunks (choose a lean but flavorful cut)
- 2 tablespoons olive oil (use extra virgin for flavor or neutral oil for high heat)
- 1 onion, diced (yellow or sweet onion works well)
- 2 cloves garlic, minced (fresh garlic gives the best aroma)
- 8 oz mushrooms, sliced (cremini or button mushrooms add earthiness)
- 2 cups beef broth (use low-sodium if you want to control salt)
- 2 tablespoons all-purpose flour (for a smooth, thick gravy)
- 1 teaspoon Worcestershire sauce (adds savory depth)
- Salt and pepper to taste (season at the end to avoid over-salting)
- Chopped fresh parsley for garnish (optional) (fresh herbs brighten the dish)
A quick note on butter. If you have real butter, add a small pat with the oil when browning for extra richness. And if you prefer a gluten-free version, swap the flour for a cornstarch slurry at the end.
Directions: Cooking with Confidence
- In a large skillet or Dutch oven, heat olive oil over medium-high heat. Sizzle the oil until it shivers gently. You should see a faint ripple and feel warmth rising. This tells you the pan is hot enough to brown the meat.
- Add the diced onions and cook until translucent, about 3-4 minutes. Stir occasionally so the edges soften and just begin to color. The scent of softened onion will become sweet and inviting.
- Add the minced garlic and sliced mushrooms to the skillet. Toss and stir so the garlic does not burn. Cook until the mushrooms are golden brown and the moisture has evaporated, about 5-6 minutes. You want the mushrooms to have color, not steam.
- Push the vegetables to the side of the skillet and add the beef chunks. Give the beef room to brown instead of steam. Cook until browned on all sides, about 5-6 minutes. Resist crowding the pan; if needed, brown the beef in batches for better color.
- Sprinkle the flour over the beef and vegetables. Stir well to coat everything evenly and cook the raw flour taste out, about 1-2 minutes. You should see the flour absorb the pan juices and start to form a roux that smells toasty.
- Slowly pour in the beef broth, stirring constantly to avoid lumps. Bring the mixture to a simmer. Reduce the heat to low and let the mixture simmer uncovered for about 10-15 minutes, or until the gravy has thickened and the beef is tender. Stir occasionally, scraping any browned bits off the bottom for added flavor.
- Stir in the Worcestershire sauce and season with salt and pepper to taste. Remove from heat and garnish with chopped fresh parsley if desired. Taste and adjust seasoning; sometimes a pinch of salt or a few turns of black pepper at the end wakes up the flavors.
- Serve hot with sautéed asparagus or roasted broccoli and French baguettes for dipping. Arrange the beef and gravy over mashed potatoes, egg noodles, or rice if you like, and spoon a generous amount of gravy on top.
Those numbered steps are straightforward, but a few sensory checkpoints help. Look for a deep brown on the meat, a toasted smell from the flour, and a silky sheen to the gravy. If the sauce is too thin, simmer a bit longer. If it gets too thick, whisk in a little extra broth.
How to Serve Beef Tips and Gravy and Make It Shine
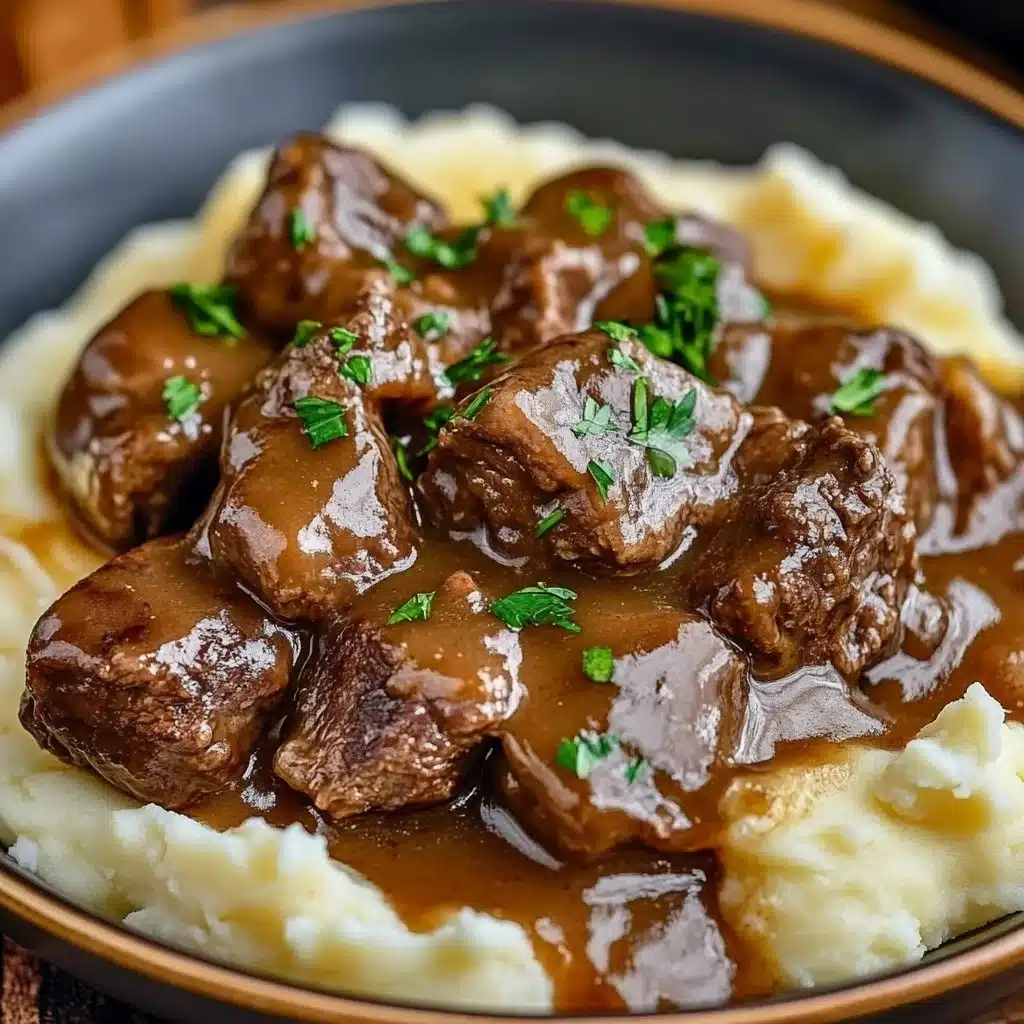
Serving is where you get to show off a little, even if you kept it simple in the kitchen. Beef Tips and Gravy looks wonderful ladled over creamy mashed potatoes. The contrast between soft potato and glossy gravy is classic and satisfying.
If you prefer a lighter base, try wide egg noodles tossed in butter and a touch of black pepper. Rice is another reliable option, especially jasmine or long grain that soaks up sauce nicely. For greens, quick sautéed asparagus or roasted broccoli adds color and a fresh crunch. A warm, crusty baguette is practically required for mopping up every last drop.
To plate, spoon a bed of your starch onto the plate, arrange generous spoonfuls of beef and gravy, and finish with a scattering of chopped parsley. A few whole mushrooms on top and a crack of pepper make it look like you planned it all along. Small touches matter: a warm plate, neat spooning, and a towel-wrapped bread basket make the meal feel cared for.
How to Store Beef Tips and Gravy for Later
Leftovers are one of the best parts of this dish. Store cooled Beef Tips and Gravy in an airtight container in the fridge for up to 3 days. Let it cool to room temperature before sealing to avoid condensation and dilution of flavors.
For longer storage, freeze in portioned containers for up to 3 months. Leave a little headspace because liquids expand when frozen. Thaw overnight in the fridge before reheating.
To reheat, warm gently on the stove over low heat, stirring occasionally so the gravy loosens and the beef heats through evenly. If the gravy seems thick after refrigeration, whisk in a splash of beef broth or water until it reaches the desired consistency. Avoid microwaving at high power, which can make the meat tough. Instead use short bursts at medium power, stirring between intervals to preserve texture.
If you want to refresh the dish when reheating, add a small knob of butter near the end for a silkier finish, and a squeeze of lemon if you want brightness. These small adjustments bring the flavors back to life.
Clara’s Tips for Success
- Brown in batches. If your pan gets crowded, the beef will steam instead of brown. Browning in batches gives each piece a caramelized crust and better flavor.
- Toast the flour. Stir the flour into the hot pan and cook for a minute or two. This removes the raw taste and helps the gravy develop a pleasant nuttiness.
- Control salt at the end. Broth and Worcestershire sauce add saltiness, so season with salt after simmering and tasting. A final pinch of salt can transform the dish.
- Use a thermometer for thickness. If you want to be exact, the gravy will coat the back of a spoon when it is ready. If it clings and leaves a clear line, it is done.
- Simple garnish counts. Fresh parsley or a grind of black pepper at the end brightens the plate and makes the dish feel finished.
A quick note on substitutions. If you do not have Worcestershire, a splash of soy sauce plus a pinch of brown sugar gives a similar savory-sweet depth. If you have a fattier cut of beef, you can trim it or use it as-is for extra richness when slow-cooked.
Simple Variations to Try
- Slow Cooker Style. Brown the beef and veggies on the stove, then transfer to a slow cooker with broth and flour or use a cornstarch slurry later. Let it cook on low for 6-8 hours for fall-apart tenderness.
- Red Wine Twist. Add 1/2 cup of red wine when you pour in the broth for a wine-kissed gravy. Let the alcohol cook off during the simmer.
- Creamy Version. Stir in 1/4 to 1/2 cup of heavy cream at the end for a richer, silky gravy. This pairs beautifully with mashed potatoes.
- Pepper Steak Style. Add a couple teaspoons of crushed black pepper and a dash of soy sauce for a pepper steak flavor. Serve with rice for a weekday favorite.
- Mushroom-Forward. Increase mushrooms to 12 oz and cook them low and slow to emphasize their earthy character.
If you are curious about using other beef cuts or exploring how tougher cuts handle slow cooking methods, this short guide on how tougher beef cuts behave can help you choose the right approach for a different texture or budget.
FAQs About Beef Tips and Gravy
Can I make this ahead of time?
Yes. This recipe keeps beautifully. Make it a day ahead, cool, and refrigerate. Reheat gently on the stove and add a splash of broth if needed to loosen the gravy.
What cut of beef is best?
Sirloin or tenderloin work well for quick cooking. If you want to use a tougher cut like chuck, plan for a longer, gentler simmer or use a slow cooker. For more reading about alternative cuts and how they behave, see this beef back ribs guide for general ideas about different cuts and techniques.
My gravy is lumpy. How do I fix it?
If lumps form, first try whisking vigorously over low heat. If that does not work, strain the gravy through a sieve for a silky result. Next time, sprinkle the flour evenly and stir continuously as you add the broth to avoid lumps.
How do I make it gluten-free?
Replace the all-purpose flour with a cornstarch slurry. Mix 1 tablespoon cornstarch with 1 tablespoon cold water, stir into simmering gravy, and cook until thickened.
Can I add other vegetables?
Absolutely. Carrots and celery add great flavor. Add carrots early so they soften during simmering. Spinach or peas can be folded in at the end for a burst of color.
Final Encouragement or Closing Note
I hope this Beef Tips and Gravy helps you discover how simple and rewarding homemade cooking can be. Each step matters a little, but none are hard. Take your time with the browning, trust your senses, and know that small adjustments are part of the process. You have everything you need to make a meal that comforts and delights.
Conclusion
If you want a slow cooker version with clear step-by-step guidance, check this slow cooker and stove top method for an easy alternative: Beef Tips and Gravy (Stove Top or Crock Pot!) – The Cozy Cook. For another trusted technique that focuses on tender results and extra tips, this detailed recipe is a helpful reference: Beef Tips and Gravy Recipe (So Tender) | The Kitchn.
You’ve got this. Make the kitchen yours, enjoy the sizzle, and savor a dinner that warms more than the stomach.

Beef Tips and Gravy
Ingredients
Method
- In a large skillet or Dutch oven, heat olive oil over medium-high heat until shimmering.
- Add the diced onions and cook until translucent, about 3-4 minutes.
- Add minced garlic and sliced mushrooms to the skillet, cooking until mushrooms are golden brown, about 5-6 minutes.
- Push the vegetables to the side and add the beef chunks, browning on all sides for about 5-6 minutes.
- Sprinkle flour over the mixture, stirring well to coat evenly, cooking for 1-2 minutes.
- Slowly pour in the beef broth, stirring constantly to avoid lumps, and bring to a simmer.
- Reduce heat to low and let simmer uncovered for 10-15 minutes until gravy has thickened and beef is tender.
- Stir in Worcestershire sauce and season with salt and pepper to taste. Garnish with parsley if desired.
- Serve hot with mashed potatoes, egg noodles, or rice.