
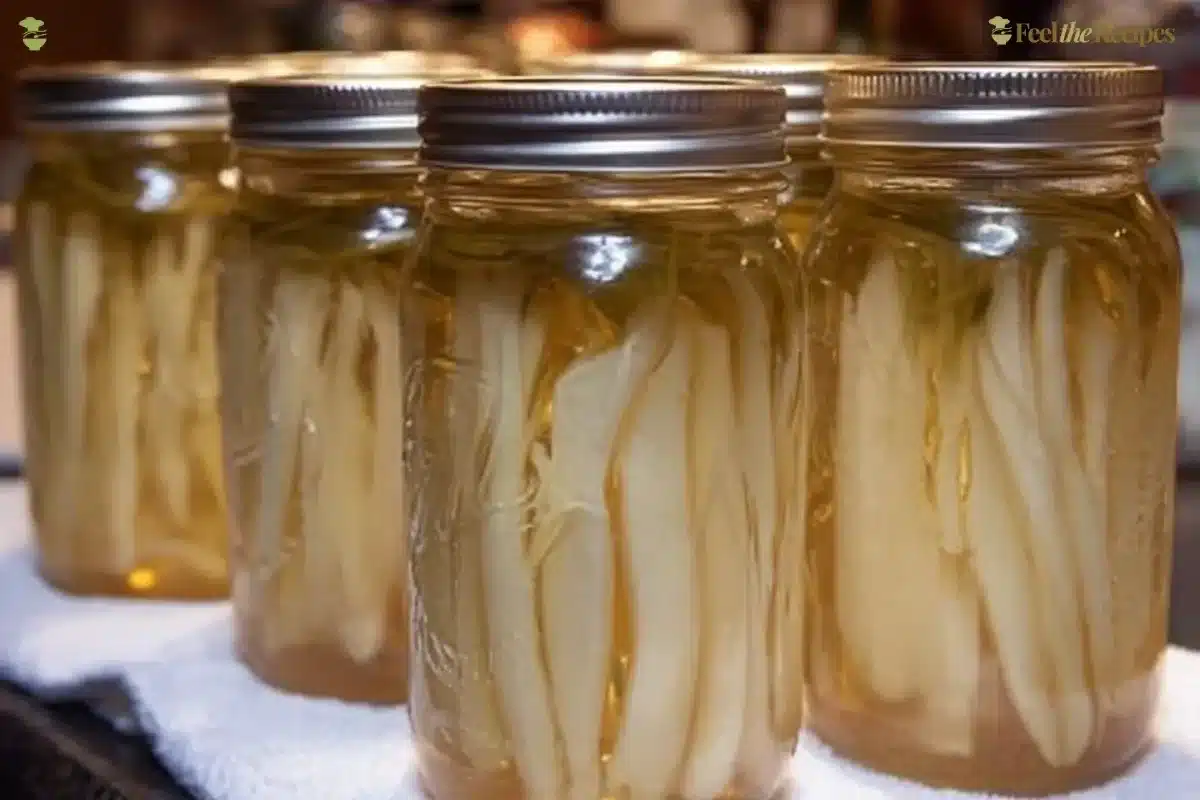
There’s something special about Canning French Fries the way its aroma fills the kitchen and makes everyone wander in for a taste. Picture this: you’ve just opened a jar of perfectly preserved French fries. The crispy exterior gives way to a tender inside, and you experience a wave of nostalgia, all while enjoying the satisfaction of having made something delicious from scratch.
Whether you’re looking to preserve a bountiful potato harvest or simply want a convenient way to enjoy fries any time of year, canning French fries is a delightful and rewarding project. Despite what you might think, canning isn’t just for jams and pickles; it can include your favorite comfort foods too. So, roll up your sleeves and let’s dive into this tasty adventure together.
Why You’ll Love Making This Canning French Fries
Canning French fries might sound like a challenge, but you’ll be pleased to know it’s a simple and enjoyable process. The best part? You’ll have a stash of homemade fries ready to serve at a moment’s notice. There’s something heartwarming about knowing you made these crispy bites yourself, and they taste better than any store-bought alternative.
This recipe combines straightforward techniques and fresh ingredients, ensuring that you can feel confident in your kitchen. The flavor is comforting and familiar; the texture is just right, giving you that classic French fry experience. Plus, canning offers the convenience of ready-to-eat fried potatoes without any fuss.
Just think of all the cozy meals you can create. French fries paired with a juicy burger, served alongside a family-sized sandwich platter, or enjoyed as a midnight snack the possibilities are endless. This gentle introduction to canning will empower you to try more recipes and enhance your culinary repertoire.
Step-by-Step: How to Make Canning French Fries
“Cooking isn’t about perfection. It’s about enjoying every delicious step.”
Let’s break it down into manageable steps. With each phase, you’ll gain more confidence in your abilities. Making French fries for canning is a lovely opportunity to learn about preserving food, and I’ll guide you through it.
Ingredients You’ll Need for Canning French Fries
- Potatoes: Peeled and cut into fry shapes; select a starchy variety, like Russets, for the best fries.
- Water: For soaking; helps to remove excess starch.
- Salt: 1 teaspoon per quart or ½ teaspoon per pint jar for flavor enhancement.
- Boiling water: To fill the jars, ensuring potatoes are submerged.
Gathering your ingredients is the first step in your canning journey. Once you have everything on the counter, you’ll feel ready and inspired to begin.
Directions: Cooking with Confidence
1. Prepare the Potatoes
Start by peeling your potatoes. If you enjoy the flavor and texture of skins, feel free to leave them on. However, peeling is a classic choice for traditional fries. Once peeled, cut the potatoes into uniform fry-shaped strips. Aim for fries about ½ to ¾ inch wide, as this size helps them cook evenly after canning and reheating.
2. Soak the Potatoes
To ensure the best texture, soak the potatoes in water to remove excess starch. Place your cut potatoes in a large bowl and cover them with water. Change the water three times over the next hour, allowing each soak to help draw out the starch. For optimal results, soaking overnight is also an option. After the final soak, drain the fries and give them a quick rinse in cold water.
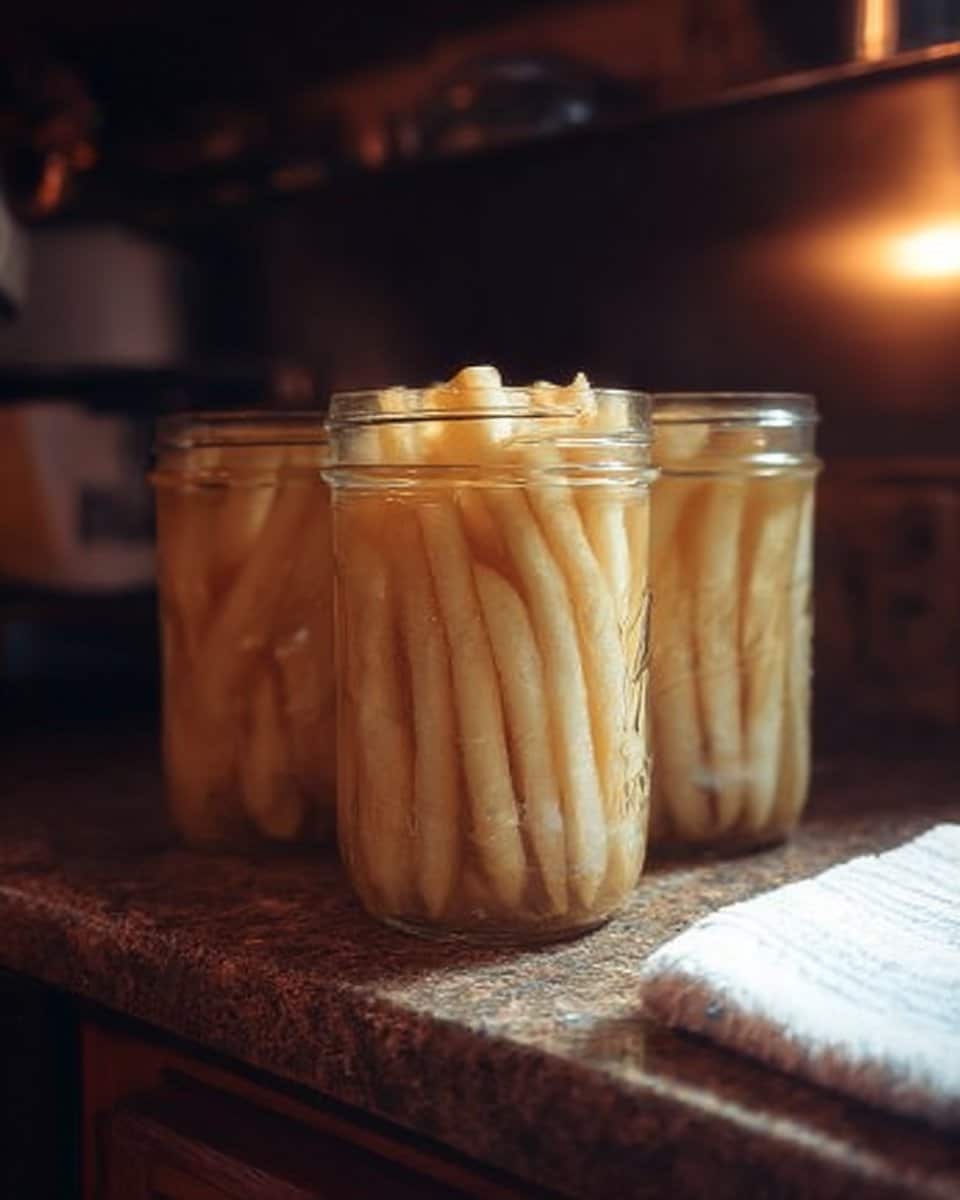
3. Pack the Jars
To prepare for canning, you’ll need to sterilize your jars. You can do this by running them through the dishwasher or placing them in hot water. Once sterilized, add 1 teaspoon of salt per quart jar or ½ teaspoon per pint jar. Next, pack the raw fries into the jars. Be sure to pack them firmly but not too tightly. Leave about 1 inch of headspace at the top of each jar. It’s best to arrange the fries upright to fit as many as possible.
4. Fill with Boiling Water
Bring a pot of water to a boil. Carefully pour the boiling water into the jars over the fries, making sure they are fully submerged while leaving the required headspace. Use a spatula or a non-metallic utensil to remove air bubbles by running it gently along the inside of the jar. Wipe the rims of the jars with a clean towel to ensure a good seal.
5. Pressure Can the French Fries
Now it’s time to place your jars in the pressure canner. Follow the manufacturer’s instructions for your pressure canner for safety and proper processing. Process the jars at 10 pounds of pressure for 35 minutes for pint jars or 40 minutes for quart jars. Remember to adjust the pressure for your altitude.
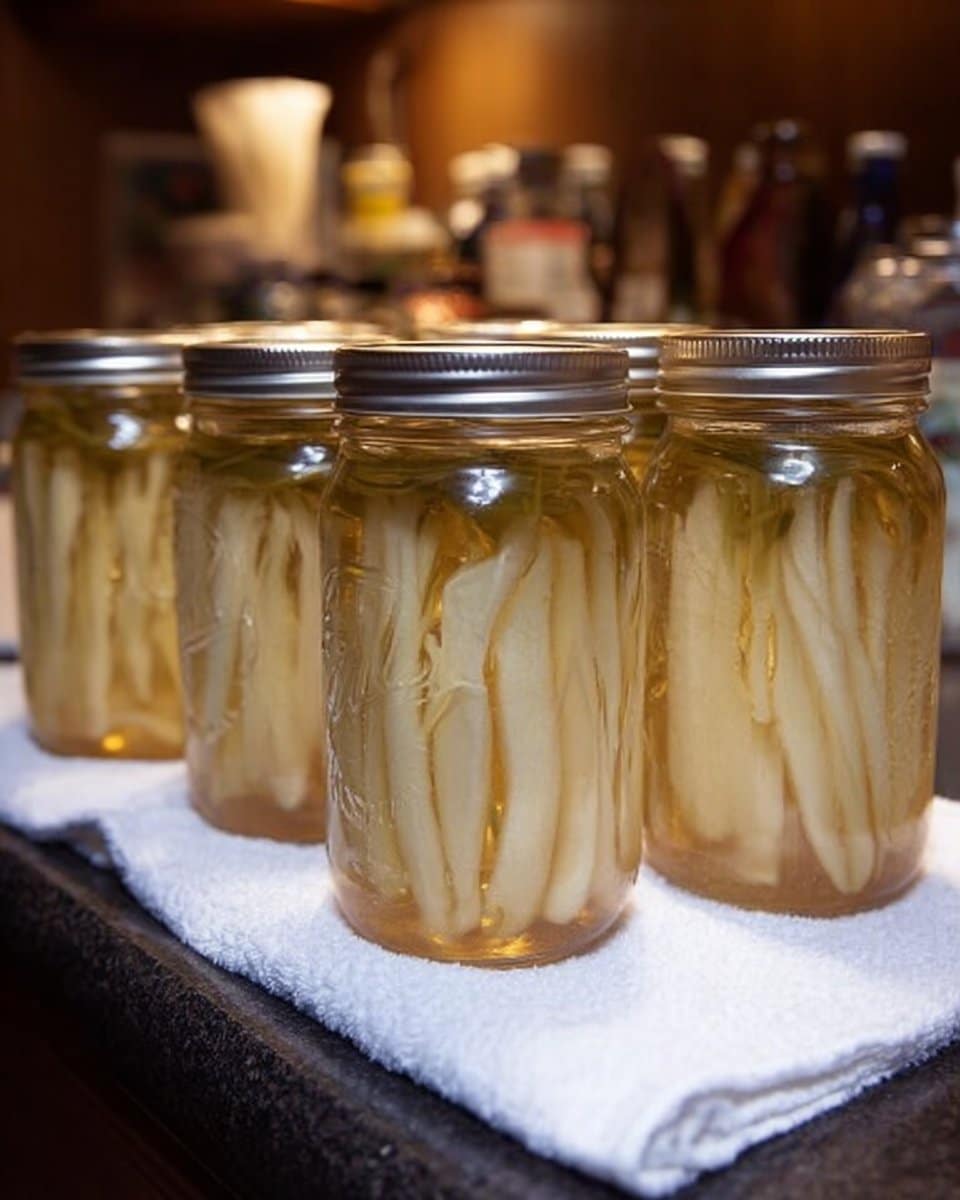
6. Label and Store
Once the processing time is up, turn off the heat and allow the pressure to release naturally. After the pressure has fully released, carefully remove the jars from the canner and let them cool on a towel-lined surface. After the jars have cooled, check the seals to ensure they’re tight. For any jars that do not seal properly, you can refrigerate them and use them within a few days. Label your jars with the date of canning and store them in a cool, dark place.
Discover What’s Trending Now
Wondering what recipes are stealing the spotlight?
Check out our Recipe Trends page for fresh ideas, seasonal favorites, and dishes people can’t stop talking about.
See what’s hot in the kitchen this week and bring the buzz straight to your table!
How to Serve Canning French Fries and Make It Shine
Canning French fries opens up a treasure trove of serving possibilities. Once you’re ready to enjoy those fries, consider how to elevate your meal. You can heat the fries directly from the jar and serve them alongside your favorite dipping sauces or pair them with a delicious homemade burger.
For a gourmet touch, sprinkle the fries with fresh herbs or seasoned salt just before serving. A squeeze of lemon juice adds brightness and flavor, and a drizzle of melted cheese can create a decadent treat. Get creative with toppings: maybe some ranch dressing, garlic aioli, or even a sprinkle of chili powder for some warmth. The options are endless.
How to Store Canning French Fries for Later
Properly storing your canned French fries is essential for preserving their flavor and texture. Keep your jars in a cool, dark pantry where they won’t be exposed to light or temperature fluctuations. With proper sealing, your canned fries have a shelf life of up to a year. When you’re ready to use them, simply remove a jar from the storage area.
To reheat, simply drain the fries and place them in a preheated oven or frying pan. For oven heating, spread them out on a baking sheet and bake at 425°F until crispy, about 15 to 20 minutes. If frying, use a high temperature oil and fry until golden brown and crispy. Enjoy the satisfying crunch of fries that are just like fresh!
Clara’s Tips for Success
- Choose the Right Potatoes: Starchy varieties like Russets yield the best fries. Avoid waxy potatoes for this recipe.
- Proper Salt Ratios: Stick to the recommended salt amounts to ensure flavorful fries without overpowering them.
- Headspace is Key: Always leave about 1 inch of headspace in your jars to allow for expansion during the canning process.
- Check the Seals: After cooling, make sure the lids are sealed properly. Press down in the center; it shouldn’t pop back.
- Experiment with Flavors: Don’t hesitate to add spices or herbs to your boiling water before filling the jars. It enhances the taste profile of your fries.
Simple Variations to Try
Feel free to experiment with your French fries. Here are a few fun ideas to inspire you:
- Herbed Fries: Add dried herbs like rosemary or thyme to the salt for a fragrant twist.
- Cheesy Fries: Mix in some grated Parmesan before packing the jars.
- Spicy Fries: Toss in a pinch of cayenne pepper or chili flakes for added heat.
- Sweet Potato Variation: Substitute with sweet potatoes for a healthier, naturally sweet alternative.
Canning French Fries
Ingredients
Method
- Start by peeling your potatoes. You can leave the skins on if preferred but peeling is traditional.
- Cut the potatoes into uniform fry-shaped strips, aiming for ½ to ¾ inch wide.
- Soak the potatoes in water, changing the water three times over the next hour to remove excess starch. Soaking overnight is an option.
- Drain and rinse the fries in cold water after the last soak.
- Sterilize your jars by running them through the dishwasher or placing them in hot water.
- Add 1 teaspoon of salt per quart jar or ½ teaspoon per pint jar.
- Pack the raw fries into the sterilized jars, leaving 1 inch of headspace at the top.
- Carefully pour boiling water into the jars over the fries, ensuring they are submerged.
- Remove air bubbles using a spatula or non-metallic utensil and wipe the rims of the jars.
- Process the jars in a pressure canner at 10 pounds of pressure for 35 minutes for pint jars or 40 minutes for quart jars.
- After processing, let the pressure release naturally, then cool the jars on a towel-lined surface.
- Check the seals after cooling and label the jars with the canning date.
Nutrition
Notes
Tried this recipe?
Let us know how it was!FAQs About Canning French Fries
Can I make this ahead of time?
Yes! Canning French fries is all about preparing ahead. Just reheat gently before serving.
What if my jars don’t seal?
If a jar doesn’t seal properly, refrigerate it and consume the fries within a few days. They won’t go to waste!
Can I use frozen fries for this recipe?
While fresh potatoes are recommended for best results, you can use frozen, but keep in mind this might change the texture.
How long will canned fries last?
When stored properly, canned French fries can last up to one year. Just make sure to keep them in a cool, dark place.
What dips pair well with canned French fries?
You can’t go wrong with classic ketchup. Other favorites include ranch, honey mustard, or even an herb-infused aioli for a little gourmet flair.
Final Encouragement or Closing Note
Canning French fries is more than just a process; it’s a delightful experience that will make you feel more connected to your food. I hope this recipe helps you discover how simple and rewarding homemade cooking can be. Keep experimenting in the kitchen, and remember, you’ve got this. Enjoy the process and share your results with family and friends!
Stay Connected with Feel the Recipes
Love cooking and sharing good food? Let’s stay connected! Clara posts new recipes, helpful tips, and little moments from her kitchen every day to keep you inspired.
Join our growing community of home cooks who believe food is meant to be simple, joyful, and shared around the table.
👉 Facebook: Follow us on Facebook
📌 Pinterest: Explore our boards for endless recipe inspiration
🐦 X (Twitter): @feeltherecipes for quick tips and updates
📸 Instagram: @feeltherecipes for fresh photos and behind-the-scenes peeks
Let’s keep cooking, creating, and sharing. Whether you’re here for classic comfort food or something new to try, we’re just a click away.