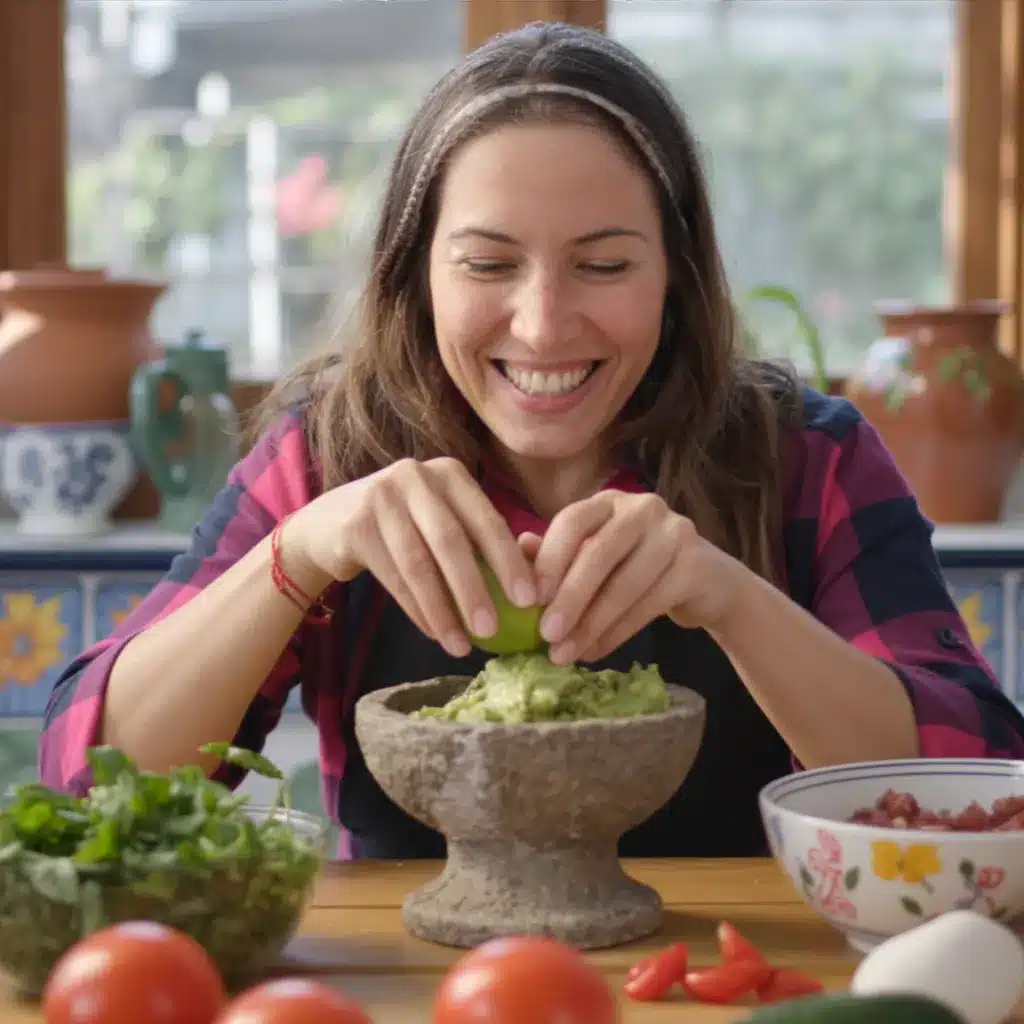
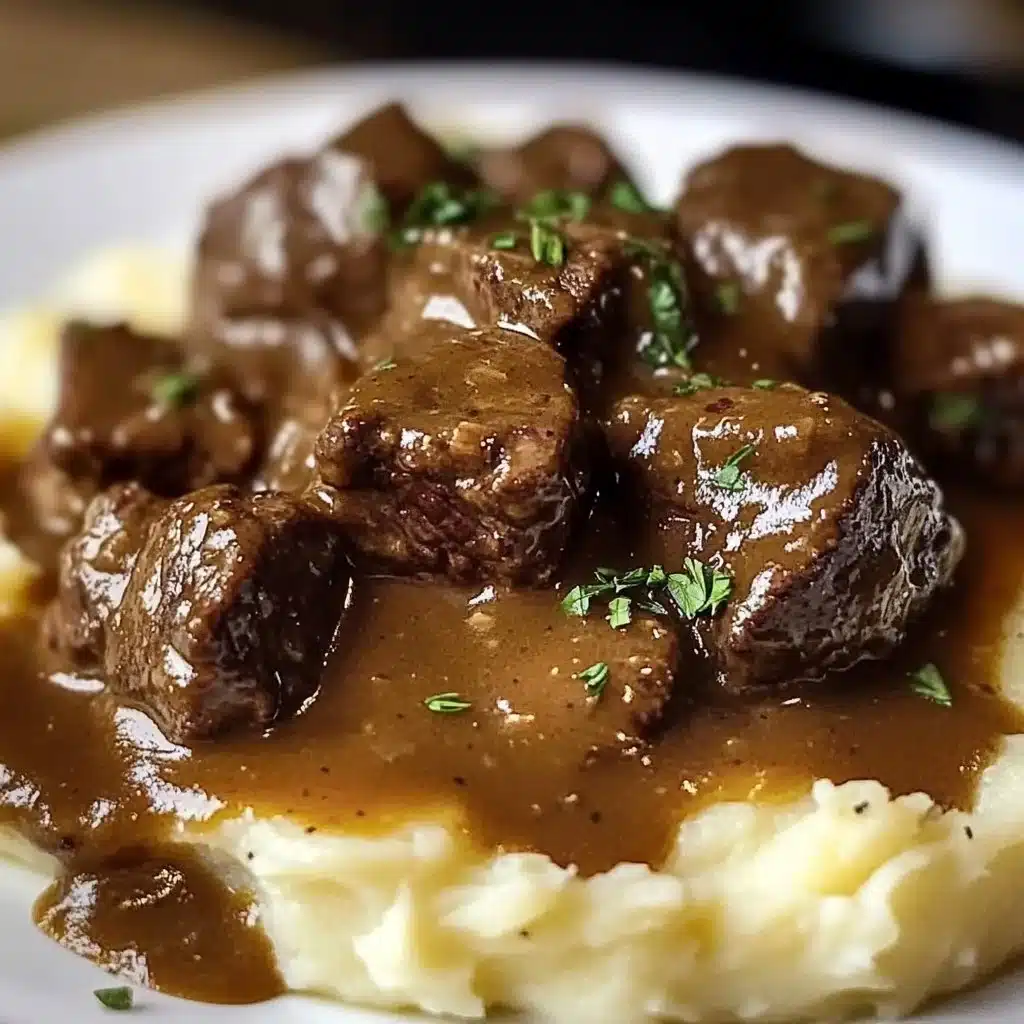
There’s something special about Beef Tips and Gravy the way the kitchen fills with a slow, savory aroma that makes everyone drift toward the stove. It is one of those dishes that feels like a warm hug on a plate. Whether you are cooking for a busy weeknight or a relaxed weekend meal, Beef Tips and Gravy is forgiving, comforting, and deeply satisfying.
If you enjoy meals that pair perfectly with a simple dessert afterward, you might also like this classic apple crisp that finishes a cozy dinner on a sweet note: easy apple crisp and crumble.
Why You’ll Love Making This Beef Tips and Gravy
Beef Tips and Gravy is honest food. It does not need fancy maneuvers or rare ingredients to taste wonderful. A little searing, a slow simmer, and a well-made gravy turn economical cuts of beef into tender, spoonable goodness. This recipe is forgiving for beginners and comforting for home cooks of every level.
This dish is a family favorite for good reasons. It works for a busy weeknight because you can prep quickly and let the slow cooker do most of the work. It shines for a relaxed dinner when you want something hearty without fuss. The flavor is rich, familiar, and makes great leftovers.

Step-by-Step: How to Make Beef Tips and Gravy
“Cooking isn’t about perfection. It’s about enjoying every delicious step.”
Before we dive into the details, here is a quick plan. You will sear the beef to create flavor, add aromatics and liquids, thicken into a silky gravy, and finish with fresh herbs. The slow cooker keeps everything tender and fuss-free. Read the ingredient list, set out your tools, and you are ready to go.
When choosing your beef, you want a cut that becomes tender when cooked low and slow. If you are unsure about different cuts, this short guide will help explain tenderness and options: understanding beef cuts and tenderness.
Ingredients You’ll Need for Beef Tips and Gravy
2 pounds boneless beef, cut into bite-sized pieces.
1 cup beef broth. Use low-sodium if you want better control over salt.
1 medium onion, chopped. Yellow onion adds depth; white or sweet will also work.
2 tablespoons Worcestershire sauce. Adds savory complexity.
1 packet gravy mix, your choice of flavor. Use a packet you like, or substitute cornstarch slurry for a fresher option.
Salt and pepper, to taste. Start light you can always add more at the end.
2 tablespoons vegetable oil. Use a high-smoke oil for searing; olive oil will darken faster.
Fresh herbs (for garnish). Parsley or thyme work beautifully.
Notes:
- Use real butter for a richer finish if you like.
- Fresh herbs make all the difference at the end. Chop them just before serving.
- If you prefer a gluten-free gravy, choose a gluten-free gravy mix or thicken with cornstarch.
Directions: Cooking with Confidence
- Trim any large pieces of fat from the beef and cut into bite-sized pieces. Pat the pieces dry with a paper towel. Season the beef lightly with salt and pepper.
- Experience tip: Dry meat sears much better. Press each piece gently with the towel and season right before it hits the pan. You want the surface to be dry so that a rich brown crust can form.
- Heat vegetable oil in a heavy skillet over medium-high heat. Brown the beef in batches for 2 to 3 minutes until a rich brown crust forms.
- Keep the pan hot but not smoking. Hear that satisfying sizzle when the steak hits the oil. Do not crowd the pan; crowded meat steams instead of browns. Use tongs and let each side develop color before turning.
- Chop the onion while the beef cools, then add the seared beef and onion to the slow cooker. Pour in beef broth and Worcestershire sauce.
- The onions will add sweetness and body to the gravy. If you like, you can sauté the onions briefly in the same pan to soften and pick up any browned bits left behind. Those browned bits are pure flavor.
- In a small bowl, mix the gravy mix with room-temperature broth until smooth, then stir into the slow cooker.
- If you are using a packet, dissolve it completely to avoid lumps. If you prefer, whisk a tablespoon of cornstarch into cold broth for a clear-thickened gravy. Stir gently until well combined.
- Set the slow cooker to low and cook for 6 to 8 hours until beef is tender; check after 6 hours.
- Cooking low and slow is the secret to tender beef tips. The meat will relax and break down, becoming fork-tender. If you are short on time, you can cook on high for 3 to 4 hours, but low is best for texture.
- Taste and adjust seasoning before serving. Finish with fresh herbs and serve over mashed potatoes, rice, or egg noodles.
- Before plating, skim any excess fat from the surface if needed. Add salt and pepper to taste. Fresh chopped parsley or thyme brightens the gravy and makes it feel finished.
Every step is simple but meaningful. The sear builds flavor, the slow cook builds tenderness, and the gravy brings everything together into a creamy sauce that clings to noodles or mashed potatoes.
How to Serve Beef Tips and Gravy and Make It Shine
Think about texture and contrast when you serve this dish. A bed of fluffy mashed potatoes soaks up the gravy beautifully. Soft egg noodles catch the sauce in their folds. Steamed rice gives a clean backdrop for the savory beef. For a lighter plate, serve over cauliflower mash or buttered green lentils.
Plating tips:
- Spoon several ladlefuls of gravy over the base, then add beef on top so each bite has sauce and meat.
- Sprinkle chopped fresh parsley right before serving for color and a bright, herbal note.
- For a homey touch, add a pat of butter to mashed potatoes so they gleam and melt into the gravy.
Side pairings that balance the dish:
- A simple green vegetable like steamed green beans or roasted broccoli adds freshness.
- A crisp salad with a lemon vinaigrette cuts through the richness.
- Warm crusty bread or dinner rolls are perfect for sopping up every last drop.
Serve with care: warm the plates slightly so the gravy stays glossy longer. Family-style serving works great here. Put the slow cooker or a warm serving bowl in the center and let everyone help themselves.
How to Store Beef Tips and Gravy for Later
Beef Tips and Gravy stores and reheats beautifully. Here’s a simple guide to keep it tasting fresh.
Cooling and refrigerating:
- Let the dish cool slightly before transferring to airtight containers. This stops condensation and keeps the texture right.
- Refrigerate within two hours and use within 3 to 4 days for best quality. If the gravy thickens in the fridge, that is normal.
Freezing:
- Portion into freezer-safe containers or heavy-duty zip-top bags. Freeze for up to 3 months. Label with the date and reheating instructions.
- Thaw in the refrigerator overnight before reheating.
Reheating:
- Reheat gently on the stove over low to medium heat, stirring occasionally. Add a splash of beef broth or water if the gravy is too thick.
- If reheating in the microwave, cover loosely and reheat in short intervals, stirring in between to ensure even heating.
Safety note:
- Always reheat until steaming hot and ensure leftovers are reheated thoroughly to at least 165°F if you use a thermometer.
Keeping flavors bright:
- Sometimes gravy can taste muted after refrigeration. Stir in a little fresh Worcestershire sauce, a splash of beef broth, or a pat of butter during reheating to restore flavor and sheen.
Clara’s Tips for Success
- Brown in batches. This short step makes a big difference in flavor. Don’t crowd the pan. Let each piece get a crust.
- Use low-sodium broth if you want better control over seasoning. You can always add salt at the end, but you cannot take it away.
- Skim fat after cooking if the gravy looks greasy. A large spoon or a fat separator does the trick. The flavor remains, but the texture is cleaner.
- Add fresh herbs at the end, not during the slow cook. Fresh parsley or thyme will brighten the sauce and keep it tasting lively.
- If you prefer a thicker gravy, mix a little cornstarch with cold water and stir it into the hot gravy near the end of cooking. Let it simmer a few minutes until it thickens.
If you want more ideas about cuts and how they behave when cooked, check this helpful guide for beef backs and related cuts: a simple beef cut guide.
Simple Variations to Try
Beef Tips and Gravy is flexible. Here are some easy variations to suit what you have and what you love.
- Mushroom and red wine: Sauté sliced mushrooms with the onions and add 1/2 cup red wine before putting everything in the slow cooker. The wine deepens flavor and the mushrooms add a meaty texture.
- Creamy Dijon: Stir in a tablespoon of Dijon mustard and 1/4 cup heavy cream at the end for a tangy, silky finish.
- Spicy kick: Add a teaspoon of smoked paprika and a pinch of cayenne to the gravy mix for warmth.
- Country-style: Use a packet of country gravy mix and a splash of milk for a classic Southern feel.
- Gluten-free option: Use a gluten-free gravy mix or thicken with corn starch. Gluten-free tamari can replace Worcestershire for a gluten-free sauce.
For heartier, bone-in approaches or ideas that use ribs or larger cuts, you can adapt times and techniques. If you have questions about whether a specific cut will become tender, this guide explains common cooking results and textures: answers about beef back ribs and tenderness.
FAQs About Beef Tips and Gravy
Can I make this ahead of time?
Yes. This recipe keeps beautifully. Make it a day ahead and reheat gently. Flavors often deepen overnight. Rewarm on low heat and add a splash of broth if needed to loosen the gravy.
Can I use different cuts of beef?
Absolutely. Chuck roast, sirloin tips, or stew meat all work well. Tougher cuts that cook low and slow will become tender and flavorful. For very quick cooking, choose a naturally tender cut and reduce cook time.
How do I fix a lumpy gravy?
Whisking is your friend. If lumps form when you add the gravy mix, remove a bit of hot liquid and whisk it into the dry mix until smooth before returning it to the pot. For an already lumpy gravy, strain it or use an immersion blender on low until smooth.
Can I make this on the stove instead of a slow cooker?
Yes. Brown the beef, then simmer with the liquids in a heavy pot covered, for 2 to 3 hours on low until tender. Check occasionally. Add the gravy mix toward the end and simmer until thickened.
What sides go best with this dish?
Mashed potatoes, egg noodles, rice, or a simple vegetable like roasted carrots or green beans. A bright salad helps cut through the richness.
Conclusion
I hope this Beef Tips and Gravy helps you discover how simple and rewarding homemade cooking can be. You’ve got this, and the kitchen is ready for more adventures.
For another weeknight-friendly take or step-by-step visuals, I like this practical version that works on the stove or in a crock pot: Beef Tips and Gravy (Stove Top or Crock Pot!) – The Cozy Cook.
If you want a detailed chef-style recipe with tips on tenderness and timing, this guide is a great companion: Beef Tips and Gravy Recipe (So Tender) | The Kitchn.
You’ve followed through a clear plan, learned a few small tricks, and created a dish that comforts. Keep practicing these simple steps and trust your senses. The sizzle, the aroma, and the first spoonful will tell you you did it right.

Beef Tips and Gravy
Ingredients
Method
- Trim any large pieces of fat from the beef and cut into bite-sized pieces. Pat the pieces dry with a paper towel. Season the beef lightly with salt and pepper.
- Heat vegetable oil in a heavy skillet over medium-high heat. Brown the beef in batches for 2 to 3 minutes until a rich brown crust forms.
- Chop the onion while the beef cools, then add the seared beef and onion to the slow cooker. Pour in beef broth and Worcestershire sauce.
- In a small bowl, mix the gravy mix with room-temperature broth until smooth, then stir into the slow cooker.
- Set the slow cooker to low and cook for 6 to 8 hours until beef is tender; check after 6 hours.
- Taste and adjust seasoning before serving. Finish with fresh herbs and serve over mashed potatoes, rice, or egg noodles.