

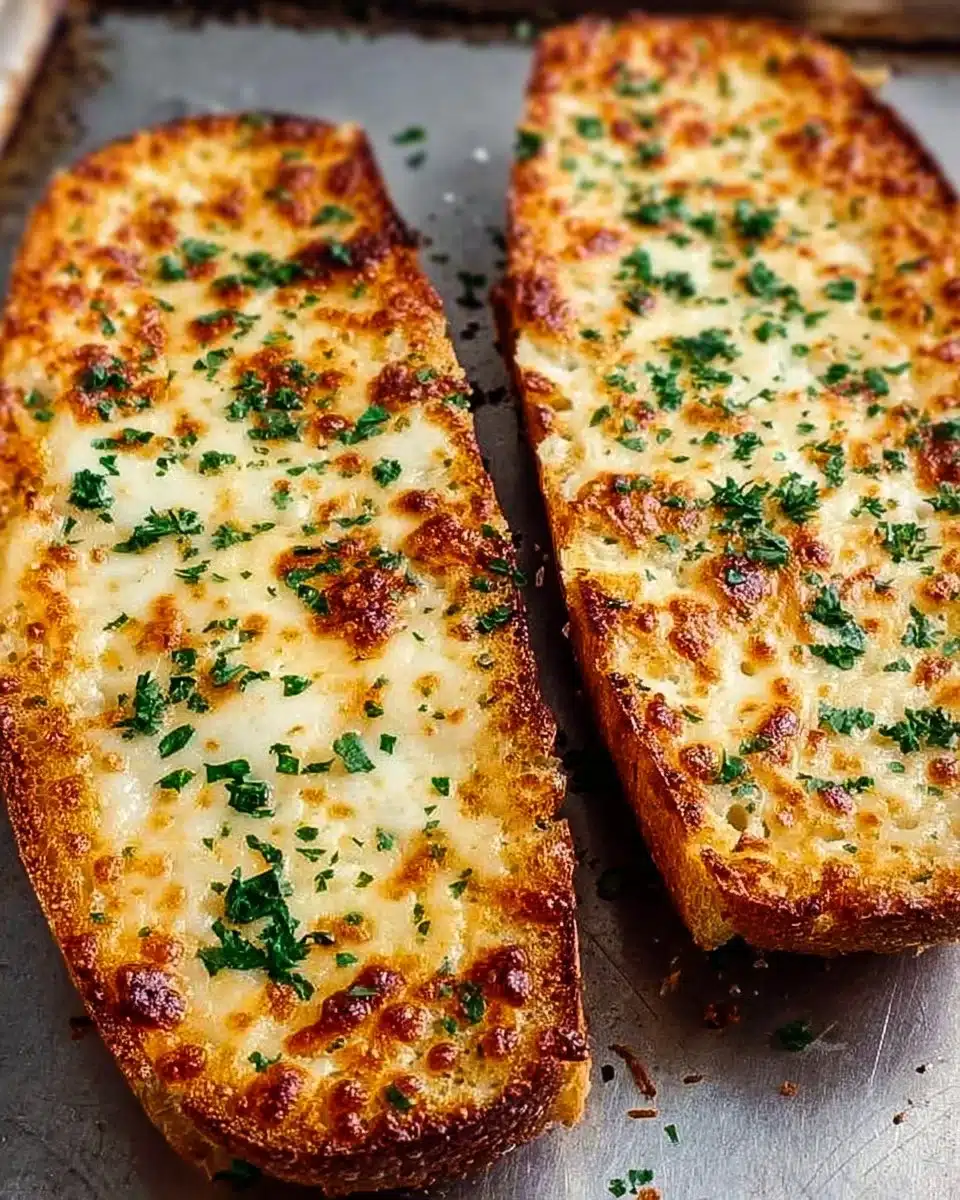
There’s something special about Melty and Irresistible Cheesy Garlic Bread the way its warm aroma curls through the house and pulls everyone toward the kitchen. It is comfort food that feels fancy and familiar at the same time, a simple recipe that turns ordinary bread into something you’ll want to make again and again.
If you’re short on time but want big flavor, this is your recipe. If you want a side that everyone will fight over, this is your recipe. And if you’re curious about small techniques that make a big difference, stick with me. Also, if you like festive, shareable versions of cheesy breads, you might enjoy this playful take on a seasonal treat called cheesy Christmas tree bread, which follows many of the same ideas.
Why You’ll Love Making This Melty and Irresistible Cheesy Garlic Bread
This recipe is honest and straightforward. It uses a few good ingredients and a couple of small techniques that give you a golden crust, a fragrant garlic ribbon, and a cheese pull that makes people smile.
It is quick. From mixing the garlic butter to pulling a bubbling tray from the oven, you’re looking at about 20 minutes of active work and a little patience while it bakes.
It is adaptable. Use different cheeses, fresh herbs, or even a swipe of tomato sauce to match the meal you’re serving. It pairs with weeknight dinners, game-day spreads, or a cozy solo meal with a bowl of soup.
It builds confidence. The method here teaches simple things like how to soften butter properly, how to tell when a loaf is toasted enough, and how to balance salt and herbs so the garlic sings instead of overwhelms.

Step-by-Step: How to Make Melty and Irresistible Cheesy Garlic Bread
“Cooking isn’t about perfection. It’s about enjoying every delicious step.”
Before we dive in, here is a quick plan of attack. You will soften butter, mix in garlic and herbs, slice and butter the bread, pile on the cheese, and bake until everything is bubbly and golden. That’s it. Small steps, big reward.
Take a quick look at the ingredients and then we’ll move through the directions together. If you gather everything first, the assembly feels calm and satisfying.
Ingredients You’ll Need for Melty and Irresistible Cheesy Garlic Bread
1 baguette or Italian bread (about 12 inches) choose a loaf that has a slightly crisp crust and a soft interior. A day-old loaf works well because it soaks up the garlic butter without getting soggy.
1/2 cup unsalted butter, softened use real butter for a rich, silky mouthfeel. If you only have salted butter, reduce added salt later.
4 cloves fresh garlic, minced fresh garlic has brightness you cannot replace. Mince finely so it spreads evenly.
1/4 cup fresh parsley, chopped fresh herbs brighten the bread; parsley adds a fresh, mild flavor.
1/2 cup grated Parmesan cheese use a real Parmigiano-Reggiano or good-quality Parmesan for nutty, savory depth.
1 cup shredded mozzarella cheese choose whole-milk mozzarella for stretch and creaminess. Pre-shredded works, but freshly shredded melts easier.
Short notes:
- Use room-temperature butter so it mixes smoothly with the garlic and herbs.
- Fresh garlic makes the aroma pop; if you must, use 3/4 teaspoon garlic powder as a backup.
- Fresh herbs make all the difference. Dried herbs can be used but add them sparingly.
If you like serving finger foods at gatherings, this same base idea turns into strips or sticks for dipping. Try these warm, cheesy breadsticks for a crowd if you want a portable version: homemade cheesy breadsticks.
Directions: Cooking with Confidence
- Preheat your oven to 375°F (190°C) and line a baking sheet with parchment paper.
- This temperature gives the cheese time to melt and the bread time to crisp without burning too quickly.
- The parchment prevents sticking and makes cleanup easy.
- In a bowl, combine softened butter, minced garlic, chopped parsley, and half of the grated Parmesan cheese until well mixed.
- Stir until the butter is smooth and all ingredients are evenly distributed.
- Taste a tiny smear on a spoon. If it needs more salt, add a pinch. The cheese will add salt, so be cautious.
- Slice the baguette lengthwise into two halves.
- Hold the loaf steady and slice through the top so you have two large flat halves.
- For smaller servings, you can also slice the bread into 1-inch thick slices and lay them on the sheet.
- Generously spread the garlic butter mixture over both halves of the bread.
- Use a knife to spread to the edges for full flavor in every bite.
- Press the mixture lightly into the bread so it sinks into the surface for more even flavor.
- Sprinkle shredded mozzarella and remaining Parmesan over each half.
- Cover the bread evenly but leave a little edge for crisping. Too much cheese at the very edge can run off.
- For visual interest, a light sprinkle of parsley on top before baking makes a pretty, fresh finish.
- Bake for about 10-15 minutes or until bubbly and golden brown.
- Keep an eye on the oven between 10 and 15 minutes. Ovens vary; your cheese should be melted, bubbling, and the edges of the bread should turn a warm, golden color.
- If you like a crispier top, switch to the broiler for 1-2 minutes at the end, watching closely so it does not burn.
- Let the bread rest for 2-3 minutes before slicing.
- This short rest allows the cheese to settle slightly so it does not all slide off when you cut.
- Use a serrated knife for clean slices. A gentle sawing motion gives the best results.
- Slice, serve, and enjoy.
- Serve hot so the cheese is gooey and the garlic butter aroma is at its peak.
- If you prepare slices for a crowd, keep a warm baking sheet in a low oven and add a few slices at a time.
Each step here is small and approachable. If you miss one detail, it will still be delicious, but following these tips will give you the classic melty and irresistible result.
How to Serve Melty and Irresistible Cheesy Garlic Bread and Make It Shine
Serve this bread while it is still warm so the cheese stretches and the butter feels lush. It pairs wonderfully with simple things that balance its richness.
- With soups: A bowl of tomato soup or creamy mushroom soup is a classic match. The bread soaks up the soup and adds a crunchy, cheesy bite.
- With pasta: Set it beside spaghetti, lasagna, or a light pasta with olive oil and lemon. The garlic-cheese flavors feel family-style and comforting.
- As an appetizer: Cut into small fingers and serve with marinara, pesto, or an herbed olive oil for dipping.
- For a casual meal: Add a side salad dressed with lemon and vinegar to cut through the richness.
Plating tips:
- Slice crosswise and fan the pieces on a warm, shallow platter for a homey look.
- For a rustic touch, tuck sprigs of parsley or a lemon wedge on the side.
- If serving at a party, keep the bread warm on a low oven rack and replenish the platter as you go.
How to Store Melty and Irresistible Cheesy Garlic Bread for Later
Short-term storage:
- Leftovers will keep well at room temperature for up to 2 hours if covered. After that, refrigerate.
- Store in an airtight container or wrap tightly with foil or plastic wrap. Refrigerate up to 3 days.
Reheating:
- For one or two slices, toast them in a skillet over medium-low heat until warm and crisp. Cover the skillet with a lid for a minute to help the cheese melt.
- For larger portions, reheat in the oven at 350°F (175°C) for 8 to 10 minutes. If the top needs crisping, broil for 30 seconds but watch carefully.
- Avoid microwaving large slices because the crust will lose its texture; if you must microwave, use short bursts and then finish in a hot skillet or under the broiler.
Freezing:
- You can freeze baked, sliced cheesy garlic bread for up to 1 month. Wrap slices individually in plastic wrap and place in a freezer bag.
- Reheat from frozen by placing slices on a baking sheet in a preheated oven at 350°F (175°C) for 10-12 minutes, or until hot and crispy.
Practical note:
- If you plan to make the bread ahead, assemble it and keep it in the fridge until 30 minutes before baking. Allow the chilled bread to come closer to room temperature while your oven preheats, then bake as directed.
Clara’s Tips for Success
- Soften your butter properly.
- Leave it on the counter for 30-60 minutes or cut it into small pieces to come to room temperature faster.
- Soft butter blends smoothly with garlic and herbs and spreads without tearing the bread.
- Mince the garlic very finely.
- Tiny pieces distribute through the butter and give steady flavor. Large chunks can be sharp and too intense.
- Use a mix of cheeses if you can.
- Mozzarella gives stretch, Parmesan gives savory depth. Try adding a small amount of sharp cheddar or provolone for extra flavor.
- Watch the oven toward the end.
- When the cheese starts to bubble and the edges begin to brown, you are close. A brief broil yields an attractive top but can go from perfect to burned in seconds.
- Don’t be afraid to personalize.
- Add a drizzle of good olive oil after baking or a sprinkling of red pepper flakes if you want heat.
These tips are small, practical actions that make your results more reliable and your bread tastier.
Simple Variations to Try
- Herby Lemon Garlic Bread
- Stir a teaspoon of lemon zest into the butter and add a tablespoon of finely grated lemon to brighten the flavors.
- Use basil or chives with parsley for a lighter, fresher profile.
- Pesto and Cheddar
- Instead of plain garlic butter, spread a thin layer of pesto, then top with mozzarella and a little sharp cheddar.
- A spoonful of pesto makes a fragrant, green twist on a familiar favorite.
- Meat Lover’s Version
- Sprinkle thin slices of cooked pancetta, prosciutto, or crumbled cooked sausage over the cheese before baking.
- Meat adds salt and texture; make sure it is already cooked so the bread only needs to brown.
- Spicy Garlic Pull-Apart
- Cut a crosshatch pattern into the bread, spread garlic butter into the cuts, add cheese in the crevices, and bake.
- Finish with a sprinkle of crushed red pepper for a lively finish.
- Festive Pull-Apart Tree
- If you want to try a playful version for a gathering, shape the bread in tiers and add fresh herbs and cheese for a centerpiece.
- For another playful holiday idea with similar flavors, take inspiration from this charming cheesy Christmas tree bread.
These variations keep the same simple technique but let you switch flavors based on what is in your pantry and who you are feeding.

Melty and Irresistible Cheesy Garlic Bread
Ingredients
Method
- Preheat your oven to 375°F (190°C) and line a baking sheet with parchment paper.
- In a bowl, combine the softened butter, minced garlic, chopped parsley, and half of the grated Parmesan cheese until well mixed.
- Slice the baguette lengthwise into two halves.
- Generously spread the garlic butter mixture over both halves of the bread.
- Sprinkle shredded mozzarella and the remaining Parmesan over each half.
- Bake for about 10-15 minutes or until bubbly and golden brown.
- Let the bread rest for 2-3 minutes before slicing.
- Slice, serve, and enjoy while hot.
Nutrition
Notes
Tried this recipe?
Let us know how it was!FAQs About Melty and Irresistible Cheesy Garlic Bread
Can I make this ahead of time?
Yes. Assemble the bread, wrap it tightly, and refrigerate for up to 8 hours. You can also freeze it assembled. Bake or reheat when you are ready to serve.
Can I use garlic powder instead of fresh garlic?
Yes, in a pinch. Use about 3/4 teaspoon of garlic powder for this quantity and mix it into the softened butter. The flavor will be milder and less aromatic than fresh garlic.
What cheese melts best for the gooey effect?
Whole-milk mozzarella is ideal for stretch. For more flavor, mix mozzarella with provolone, fontina, or a bit of sharp cheddar.
How do I avoid soggy bread?
Use a slightly stale loaf or toast the cut sides lightly before adding the garlic butter. Also, do not overload with liquid toppings. Press the butter into the bread and spread the cheese evenly, leaving a thin border for crisping.
Is there a dairy-free option?
Yes. Use plant-based butter and dairy-free shredded cheese. Flavor depends on the cheese substitute, so taste and adjust the garlic and herbs.
Conclusion
I hope this Melty and Irresistible Cheesy Garlic Bread helps you discover how simple and rewarding homemade cooking can be. You’ve got this, and the good news is that small steps make a big difference in the kitchen.
For more ideas that riff on cheesy breads and bold flavors, you might like this rich and flavorful Irresistible Cheesy Pesto Bread, and if you enjoy savory baked treats with umami twists, try these inventive cheesy miso garlic biscuits.
Final thought: this recipe is forgiving, warm, and meant to be shared. Make it your own, enjoy the scent as it bakes, and take pleasure in how quickly ordinary ingredients can become something memorable.