

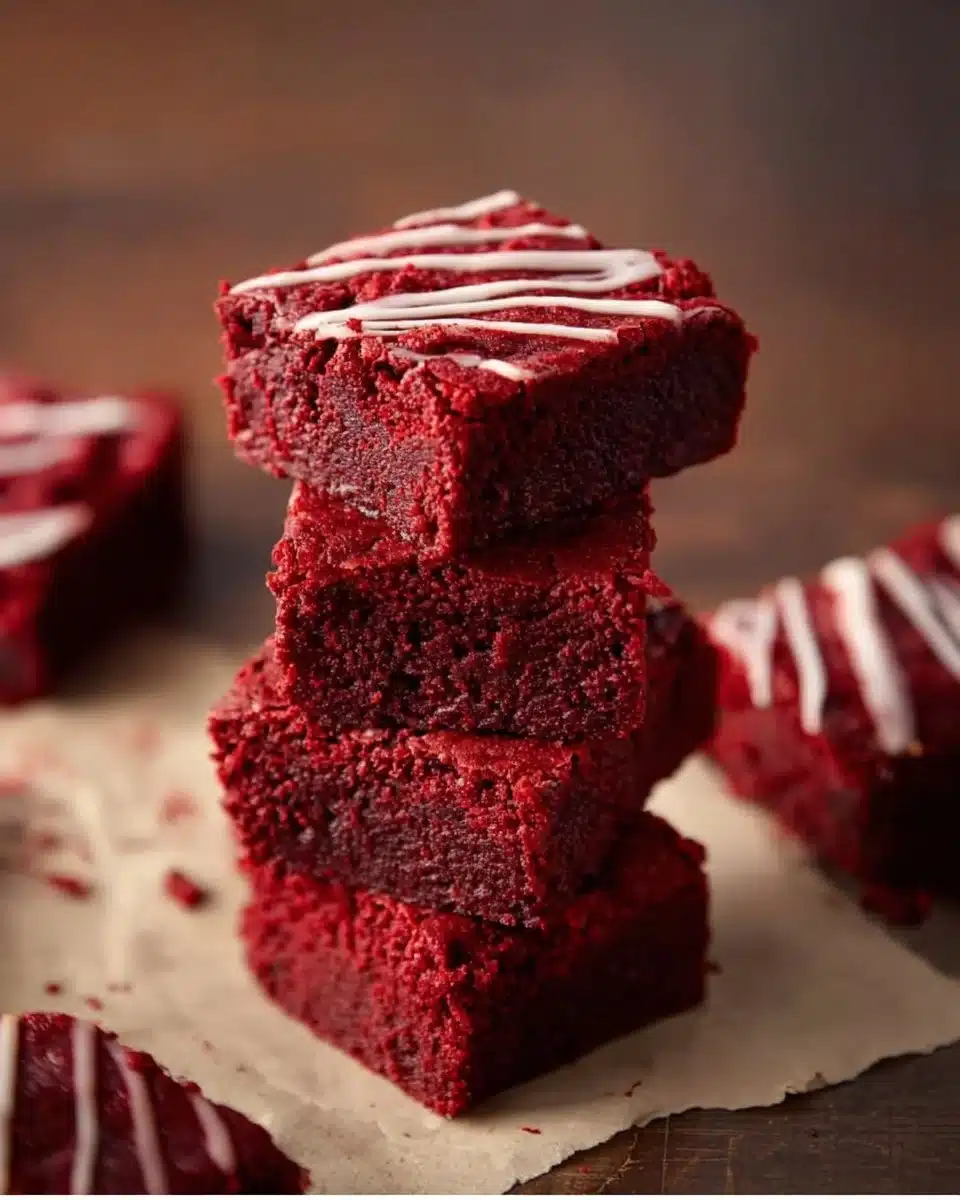
There’s something about a pan of red velvet brownies that feels like a small celebration every time you open the oven. The scent is gentle and sweet, a little cocoa and buttered sugar, and the color invites curiosity and smiles. Clara is right beside you, so take a breath, put on an apron, and let’s make something that will have people coming back for one more square.
If you enjoy experimenting with brownie styles, you might also love trying a twist on chocolate treats like these apple brownies for a different kind of sweet and cozy bite.
Why You’ll Love Making This Red Velvet Brownies or The Story Behind My Red Velvet Brownies
This recipe grew out of late-night baking experiments when I wanted the best of both worlds: the tender crumb of a red velvet cake and the fudgy, satisfying bite of a brownie. It’s simple, forgiving, and perfect when you want something special without a lot of fuss.
You’ll love making these because the method is straightforward. Melt, mix, and bake. There are no complicated techniques, no tempering, and no complicated timing. The result is a rich red color with a gentle cocoa flavor and a slightly chewy edge with a tender center.
I test these in a home kitchen, not a lab. That means the tips I share are practical and realistic. If your mixer splashes, or if you don’t have a stand mixer, that’s fine. The brownies still turn out wonderful. Cooking this recipe will help you trust your senses: when the batter looks glossy, when the edges pull away, and when the toothpick comes out with moist crumbs.
Step-by-Step: How to Make Red Velvet Brownies or Your Kitchen Game Plan
“Cooking isn’t about perfection. It’s about enjoying every delicious step.”
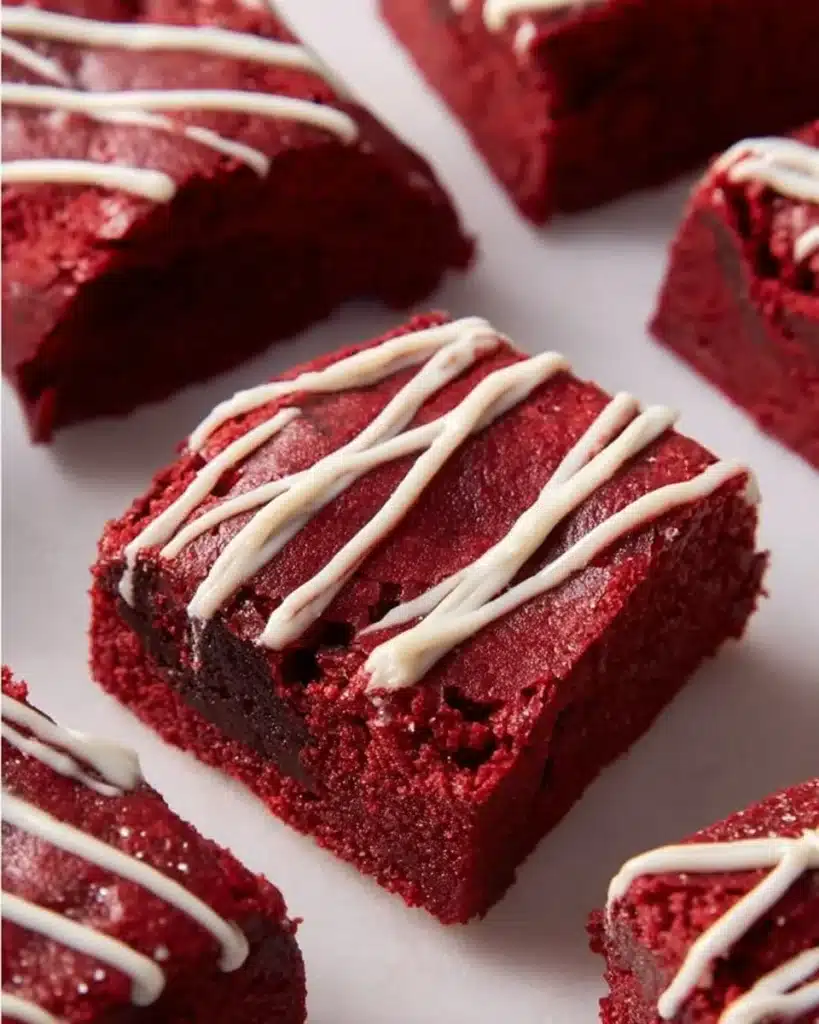
Before we gather ingredients, here’s a short overview so you can feel ready. You will melt butter and chocolate, mix in sugar and eggs for a glossy, smooth base, then fold in the dry ingredients carefully to keep the texture fudgy. You can add white chocolate chips for pockets of creamy sweetness or drizzle melted white chocolate over the top for a pretty finish.
Set out your tools: an 8×8 inch baking pan, parchment paper, a sharp knife for cutting later, a microwave-safe bowl or small saucepan for melting, a rubber spatula, and a whisk or fork. Having everything in place makes baking calm and enjoyable.
Ingredients You’ll Need for Red Velvet Brownies
3/4 cup unsalted butter (melted) — use real butter for rich flavor.
2 oz chopped semi-sweet chocolate bar — good quality chocolate melts smoother.
1 1/4 cup granulated sugar — gives structure and tenderness.
2 large eggs — room temperature eggs mix in more evenly.
2 teaspoon vanilla extract — adds warmth and depth.
1 teaspoon white vinegar — helps the red color pop and keeps the crumb tender.
1/2 tablespoon red gel food coloring — gel gives brighter color without thinning the batter.
2 tablespoons unsweetened cocoa powder — choose Dutch-process for deeper color or natural for a lighter tang.
1 1/4 cup all-purpose flour — measure by spooning into the cup and leveling for accuracy.
1/4 teaspoon salt — balances sweetness.
1/2 cup white chocolate chips (optional mixed in the batter or melted and drizzled on top of the brownies.) — adds creamy pockets and a pretty contrast.
Each ingredient plays a role: butter and chocolate create the base, sugar sweetens and gives texture, eggs bind and enrich, and the vinegar with food coloring brings the classic red velvet look. If you don’t have gel food coloring, use liquid sparingly; you may need a bit more for color.
Directions: Cooking with Confidence
- Preheat your oven to 350°F and line an 8×8 inch baking pan with parchment paper. Make sure the paper comes up the sides so you can lift the brownies out easily when they are cool. Tuck the corners so the batter spreads evenly.
- In a large microwave-safe mixing bowl, melt the butter and chopped chocolate in the microwave in 30-second increments. Stir after each increment so it melts evenly and does not scorch. If you prefer the stovetop, use a double boiler over gently simmering water until smooth. Stir until fully melted. The mixture should be glossy and warm but not bubbling.
- Add in the granulated sugar and mix until combined then add in the eggs one at a time, beating well after each addition. The batter will look shiny and smooth after the eggs go in. This step helps create a tender, fudgy texture. If the melted chocolate is very hot, let it cool for a minute so the eggs do not scramble.
- Stir in the vanilla extract, white vinegar, and red food coloring. Mix until the color is even. The vinegar gives that subtle tang that makes red velvet unique, and the coloring makes it feel celebratory. Use a gel color for the brightest hue and add a little at a time until you reach the color you like.
- In a separate bowl, sift together the cocoa powder, flour, and salt. Sifting helps avoid lumps and gives a lighter texture. If you do not have a sifter, whisk the dry ingredients together thoroughly to aerate them and distribute the cocoa evenly.
- Gradually add the dry ingredients to the wet ingredients, mixing until just combined. Be careful not to overmix. Overworking the batter can lead to tougher brownies. Fold gently until you can no longer see streaks of flour.
- If desired, fold in white chocolate chips into the brownie batter. The chips add little pockets of creamy sweetness. Fold them in gently so they are evenly distributed.
- Pour the batter into the prepared 8×8 inch pan and spread it evenly. Smooth the top with an offset spatula or the back of a spoon. Tap the pan gently on the counter to release any large air bubbles. The batter will be thick and glossy.
- Bake in the preheated oven for approximately 30-35 minutes or until a toothpick inserted into the center comes out with a few moist crumbs (not wet batter). The edges should be set and start to pull away slightly from the sides. Ovens vary, so check at 28 minutes and then every few minutes after. Look for a slightly shiny top and that satisfying crackle across the surface that signals a perfect texture.
- Allow the brownies to cool completely in the pan before cutting into squares. Cooling gives them time to set so slices are clean and the texture is just right. If you’re impatient (we all are sometimes), cool for at least 30 minutes, then chill briefly for clean cuts.
- Optionally, drizzle melted white chocolate on top, allow to set, slice, and enjoy! Melt white chocolate gently in 20-second microwave bursts stirring between each, or warm in a small pan over very low heat. Use a spoon or a small piping bag to drizzle. Let the drizzle firm up before slicing.
These steps are simple, and the senses help you judge each moment. When the butter-chocolate smells warm and nutty, when the batter spreads with a glossy sheen, and when the oven fills your kitchen with sweet cocoa steam, you’ll know you’re on the right track.
How to Serve Red Velvet Brownies and Make It Shine
Serve these brownies slightly warm for a soft, fudgy center, or at room temperature for easier, cleaner squares. Top a slice with a small scoop of vanilla ice cream, a dusting of powdered sugar, or a thin ribbon of melted white chocolate. A dollop of whipped cream brightens the plate and turns a simple square into a dessert for company.
For a casual gathering, place brownies on a wooden board and garnish with a few white chocolate curls or a scattering of extra chips. If you want to present them for a special occasion, use a small round cookie cutter to create bite-sized rounds and place them on pretty paper liners.
Pair these brownies with coffee, a bright cup of tea, or a cold glass of milk. The cocoa notes and creaminess of the white chocolate pair wonderfully with drinks that are not overly sweet. If you’re serving them with a meal, keep the main course relatively light so these brownies can be the sweet finish.
If you want to turn these into a party platter, consider pairing them with other holiday-themed treats like fun oreo bites similar to these Grinch Oreo balls with red velvet Oreos. The colors and textures make a lovely spread.

How to Store Red Velvet Brownies for Later
Store cooled brownies in an airtight container at room temperature for up to three days. Keep a sheet of parchment between stacked layers so they do not stick together.
For longer storage, wrap the cooled brownies tightly in plastic wrap and then foil, or place them in a zip-top freezer bag. Freeze for up to three months. When you are ready to enjoy, thaw overnight in the refrigerator and bring to room temperature, or warm gently in the microwave for 10 to 15 seconds for a soft, just-baked feel.
If you drizzle white chocolate on top and want the drizzle to stay pristine, chill the brownies to set the drizzle before wrapping. Reheating should be done gently to avoid melting decorations.
To reheat a single square, place it on a microwave-safe plate and microwave for 8-12 seconds. Check and add brief bursts as needed. You want a warm, soft center, not a melted mess.
Clara’s Tips for Success
- Use room temperature eggs. They incorporate more smoothly and give a uniform crumb. If you forgot to bring them to room temp, place them in warm (not hot) water for 5-10 minutes.
- Don’t overmix once the flour goes in. Fold just until combined. Overmixing develops gluten and can toughen the brownies.
- Watch the oven during the last few minutes. Oven temperatures vary. Start checking at 28 minutes if your oven runs hot. The brownies are done when a toothpick shows moist crumbs, not wet batter.
- If you want a deeper chocolate flavor, use Dutch-process cocoa. If you prefer a slight tang, use natural unsweetened cocoa. The vinegar in the recipe helps balance flavors and will not make the brownies taste vinegary.
- For bright color, use gel food coloring. If you use liquid color, you may need a bit more, which can slightly affect batter consistency.
Simple Variations to Try
- Red Velvet Cheesecake Brownies: Swirl a simple cheesecake batter in before baking for a marbled top and creamy contrast. Try spreading a thin layer of sweetened cream cheese mixture over half the batter and swirl with a knife before baking.
- White Chocolate Chunk: Stir in chopped white chocolate instead of chips for larger, melty pockets.
- Nutty Crunch: Fold in 1/2 cup chopped pecans or walnuts for texture. Toast nuts briefly to deepen flavor.
- Cocoa Intense: Add an extra tablespoon of cocoa and a tablespoon of espresso powder for a more dramatic chocolate note.
- Mini Muffin Red Velvet Bites: Pour batter into greased mini muffin tins and bake for 12-15 minutes for single-serve treats.
- Frosted Brownies: Once cool, spread a thin layer of cream cheese frosting for classic red velvet taste. Beat 4 ounces cream cheese with 1/4 cup softened butter, 1 cup powdered sugar, and 1/2 teaspoon vanilla until smooth. Spread thinly and chill briefly.
These variations are simple ways to change texture, presentation, and richness while using the same basic batter. Try one at a time so you can appreciate how each change affects the final bite.
Red Velvet Brownies
Ingredients
Method
- Preheat your oven to 350°F (175°C) and line an 8×8 inch baking pan with parchment paper.
- In a large microwave-safe mixing bowl, melt the butter and chopped chocolate in the microwave in 30-second increments, stirring after each increment until smooth.
- Add the granulated sugar to the melted mixture and mix until combined.
- Add the eggs one at a time, beating well after each addition. The batter should look shiny and smooth.
- Stir in the vanilla extract, white vinegar, and red food coloring until well mixed.
- In a separate bowl, sift together the cocoa powder, flour, and salt.
- Gradually add the dry ingredients to the wet ingredients, mixing until just combined and no streaks of flour remain.
- If using, fold in white chocolate chips gently.
- Pour and spread the batter evenly in the prepared pan. Tap gently to remove air bubbles.
- Bake in the preheated oven for approximately 30-35 minutes or until a toothpick inserted comes out with a few moist crumbs.
- Allow the brownies to cool completely in the pan before cutting into squares.
- Serve warm for a fudgy center or at room temperature. You can top with vanilla ice cream or a drizzle of melted white chocolate.
Nutrition
Notes
Tried this recipe?
Let us know how it was!FAQs About Red Velvet Brownies
Q: Can I make these ahead of time?
A: Yes. You can bake them a day ahead and store in an airtight container at room temperature for up to three days. For longer keeping, freeze the cooled brownies for up to three months. Thaw overnight in the fridge before serving.
Q: Can I use liquid food coloring instead of gel?
A: Yes, but you may need to use more liquid coloring to get the same vivid hue, which can slightly thin the batter. Gel is concentrated and keeps the batter texture intact.
Q: My brownies came out cakey. What did I do wrong?
A: Most likely the batter was overmixed after adding the flour, or you used too much flour. Measure flour by spooning into the cup and leveling. Mix just until combined to keep the brownies fudgy.
Q: How can I tell when the brownies are done?
A: Insert a toothpick in the center. It should come out with a few moist crumbs clinging, not wet batter. The edges will be set and may pull away slightly from the pan. The center will set as it cools.
Q: Can I make this recipe in a 9×9 inch pan?
A: Yes, but the brownies will be slightly thinner. Start checking for doneness a few minutes earlier, around 25 minutes, and then watch closely.
Final Encouragement or Closing Note
Baking is a small act of kindness you can give to yourself and others. These red velvet brownies are forgiving, colorful, and simply delicious. Take your time, trust what you see and smell in the kitchen, and remember that a few imperfections are part of what makes homemade lovely.
You’ve got this. Enjoy the warm, fudgy bites and the smiles they bring.
Conclusion
If you want another take on red velvet treats with a slightly different texture and presentation, I like this rich version at Red Velvet Brownies – Eats Delightful for inspiration. For a combination of red velvet with creamy cheesecake twists, see this fun recipe at Red Velvet Cheesecake Brownies – Pretty. Simple. Sweet.