

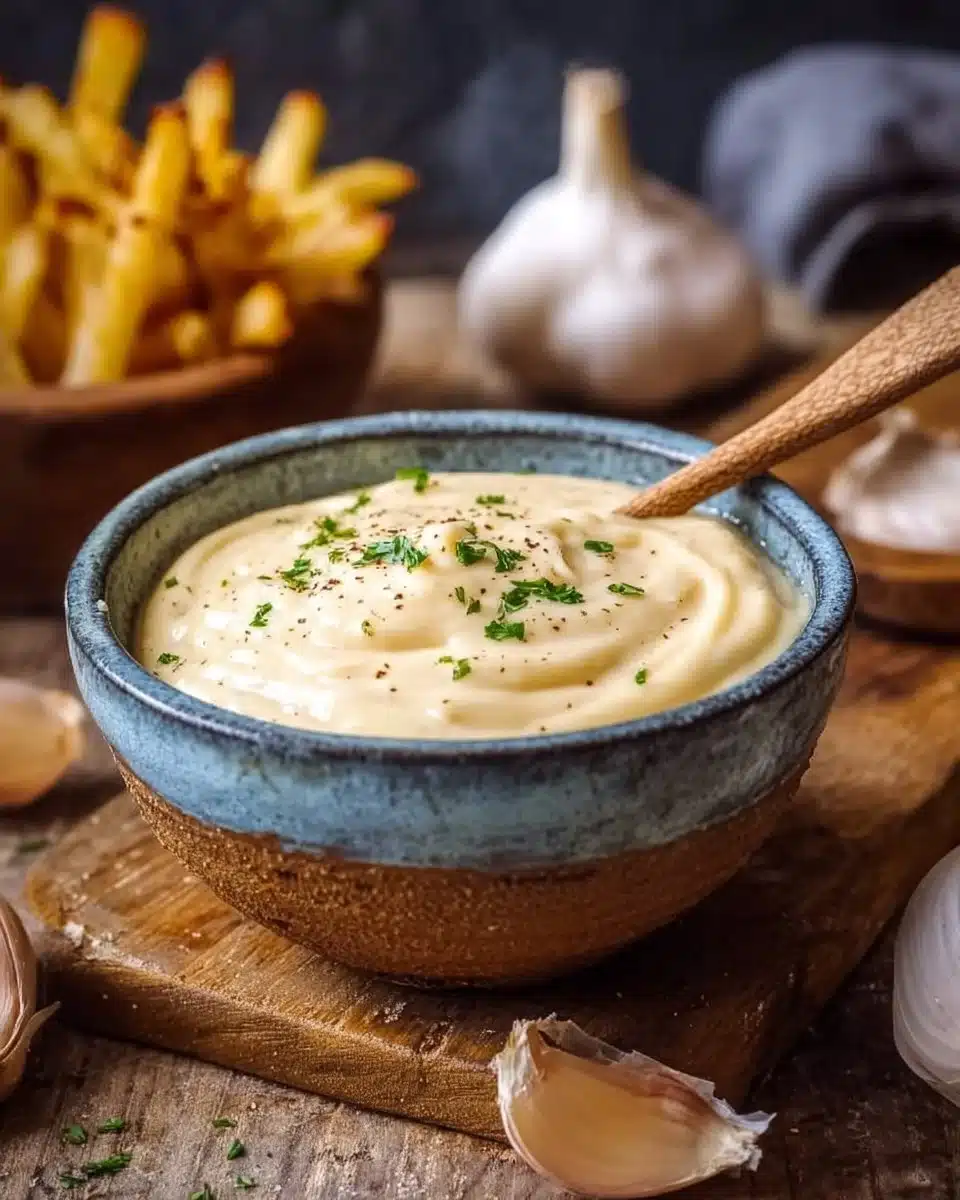
There’s something special about Roasted Garlic Aioli — the way its warm, sweet garlic scent fills the kitchen and draws people close. It turns ordinary fries, sandwiches, and roasted vegetables into something cozy and a little bit celebratory. Clara is right beside you here, guiding each step so the process feels calm, practical, and delightfully doable.
If you like rich garlic flavors, you might also enjoy a warming bowl of roasted garlic soup recipe that pairs beautifully with crisp bread and this aioli.
Why You’ll Love Making This Roasted Garlic Aioli
This aioli is one of those small kitchen wins that changes the way you think about condiments. Roasting softens garlic’s bite and brings forward a caramelized sweetness that blends into the mayonnaise to create a silky, savory spread. It’s simple, forgiving, and perfect for people who want big flavor with little fuss.
Making this at home is also a tiny kindness. The aroma alone is a reason to cook it. You will feel proud of turning a head of garlic into something luxuriously creamy with only a handful of ingredients. It’s the kind of recipe I reach for when I want to impress friends without overworking myself.
Step-by-Step: How to Make Roasted Garlic Aioli
“Cooking isn’t about perfection. It’s about enjoying every delicious step.”
Before you begin, take a moment to gather everything. That small pause saves stress later. You will roast the garlic, mash it into a soft paste, then fold it into mayonnaise with lemon, mustard, salt, and pepper. The entire process is straightforward and flexible, so you can tweak acid or seasoning to taste.
A few quick prep notes:
- Roasting garlic takes about 30 to 35 minutes, so plan for that.
- Use a bowl and a fork or a small whisk to combine the aioli.
- Taste and adjust at the end. Fresh lemon or a pinch of salt can nudge the flavor from good to irresistible.
Ingredients You’ll Need for Roasted Garlic Aioli
1 cup mayonnaise — choose full-fat for the creamiest texture and best mouthfeel.
1 head of garlic — fresh heads roast down to a sweet, spreadable paste.
2 tablespoons lemon juice — freshly squeezed gives brighter, cleaner acidity.
1 teaspoon Dijon mustard — adds a mild tang and helps emulsify the sauce.
Salt to taste — kosher salt or sea salt both work well.
Pepper to taste — freshly ground black pepper gives a mild heat and aroma.
Short note: If you are curious about serving ideas that pair well with this aioli, try soft, warm rolls that soak up flavor. For one of my favorite bread companions, check out these Buttery Cheese Garlic Rolls for a comforting side.
Directions: Cooking with Confidence
- Preheat the oven to 400°F (200°C).
- Place the oven rack in the middle so the garlic roasts evenly.
- Set a timer and let the oven fully reach temperature before you slide the garlic in.
- Cut the top off the head of garlic and drizzle with olive oil. Wrap it in foil and roast for 30-35 minutes until soft.
- Use a sharp knife to remove the pointy top so the garlic cloves are exposed.
- Drizzle a teaspoon or two of olive oil over the cut head to encourage caramelization.
- Wrap tightly in aluminum foil and roast until the cloves are deeply soft and a little golden at the edges.
- Squeeze the roasted garlic into a bowl.
- Once the garlic is cool enough to handle, press or squeeze each clove out of its papery shell.
- Use the back of a spoon or the flat side of a knife to mash the garlic into a paste. If you prefer a very smooth aioli, you can press the roasted garlic through a small sieve with the back of a spoon.
- Add mayonnaise, lemon juice, Dijon mustard, salt, and pepper.
- Put the roasted garlic paste into a mixing bowl and add the mayonnaise first so the garlic disperses smoothly.
- Add the lemon juice and mustard, then season lightly with salt and a couple of grinds of black pepper.
- Mix until smooth and creamy.
- Use a fork, small whisk, or spatula and stir until the mixture is completely uniform.
- Taste and adjust: add a little more lemon if you want brightness, or a pinch more salt to make flavors pop.
- Serve as a dip, drizzle, or spread.
- Transfer to a serving bowl or squeeze into a small jar. Aioli thickens slightly as it chills.
- Use it right away at room temperature, or refrigerate briefly to firm it up.
Those numbered steps are the backbone. Each one is simple and forgiving, and you can adapt them to what you have on hand. If the texture is too thick for dipping, thin with a teaspoon of water, olive oil, or extra lemon juice. If it tastes flat, add a pinch more salt.
How to Serve Roasted Garlic Aioli and Make It Shine
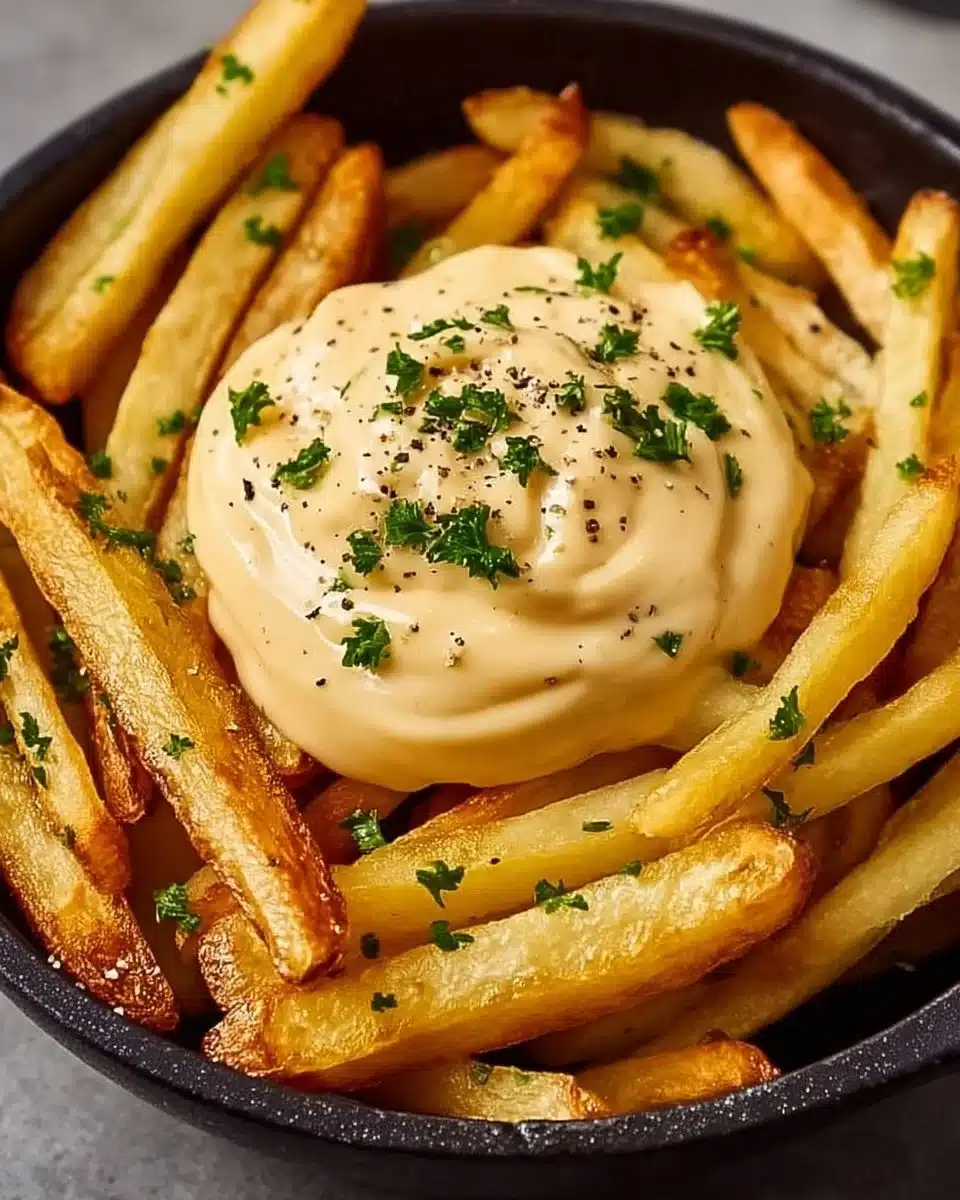
Aioli is a small luxury that works with many foods. Try it as a dip for oven fries or sweet potato wedges, or spread it on grilled sandwiches and burgers where it adds creaminess and a roasted-sweet garlic note. Spoon it over roasted vegetables like carrots or cauliflower to give them a finishing gloss.
For a casual appetizer, place the aioli in a shallow bowl, drizzle a little olive oil on top, and sprinkle with smoked paprika or finely chopped parsley. Serve with a basket of warm rolls or a plate of crudites. It also pairs beautifully with seafood — a little aioli alongside grilled shrimp or fish tacos lifts the whole dish.
If you’re planning a soup-and-sandwich night, the aioli makes a perfect spread for warm sandwiches and is a great foil for rich, creamy soups such as my favorite Cheddar Garlic Herb Potato Soup. The contrast between the silky soup and the roasted garlic tang of the aioli is really satisfying.
How to Store Roasted Garlic Aioli for Later
Keep your aioli in a clean, airtight container and refrigerate it. Homemade aioli will stay fresh for about 3 to 5 days. The garlic flavor will deepen over time, so if you make it in advance, taste it before serving and add a squeeze of lemon if it needs brightness.
If you plan to store it longer than five days, it’s safer to make smaller batches. Aioli can separate slightly after refrigeration; if that happens, give it a gentle stir to bring it back together. Never leave aioli at room temperature for more than a couple of hours, especially if it will be served at a party.
Reheating is usually unnecessary. If you must warm it slightly for drizzling, do so gently over a warm water bath for a few minutes and stir constantly. Avoid high heat or direct stovetop warming as this can break the emulsion and change the texture.
Clara’s Tips for Success
- Use full-fat mayonnaise for a smooth, rich texture. Light mayo can become thin and less satisfying.
- Roast the garlic until the cloves are very soft and sweet. If they still feel firm, give them a few more minutes.
- Taste as you go. Add lemon for brightness, salt for depth, and a tiny extra teaspoon of mustard if you want more tang.
- If your aioli is too thick, thin it with a teaspoon of warm water or a little extra lemon juice, not too much oil.
- Keep the garlic paste smooth by pressing it through a fine sieve when you want a silky finish. This is optional but makes a refined texture.
Simple Variations to Try
- Smoked Paprika Aioli: Add a teaspoon of smoked paprika for a warm, slightly smoky flavor that pairs beautifully with grilled food.
- Herb Aioli: Stir in a tablespoon each of finely chopped parsley and chives for a fresh, green lift.
- Lemon-Herb Aioli: Add extra lemon zest and a pinch of thyme or rosemary for a bright, herb-forward version.
- Chili Garlic Aioli: Fold in a teaspoon of chili paste or sriracha if you want a spicy kick. Start small and increase to taste.
- Truffle Aioli: Add a few drops of truffle oil or a small spoon of truffle paste for an indulgent, earthy finish. Use sparingly, as truffle flavor is potent.
These variations are easy to make from the base recipe. A small spoonful of a new ingredient often goes a long way, so start with less than you think and build.

Roasted Garlic Aioli
Ingredients
Method
- Preheat the oven to 400°F (200°C).
- Cut the top off the head of garlic and drizzle with olive oil. Wrap it in foil and roast for 30-35 minutes until soft.
- Once the garlic is cool enough to handle, press or squeeze each clove out of its papery shell and mash into a paste.
- Put the roasted garlic paste into a mixing bowl and add mayonnaise, lemon juice, and Dijon mustard.
- Season lightly with salt and a couple of grinds of black pepper.
- Mix until smooth and creamy, adjusting seasoning to taste.
- Transfer to a serving bowl or small jar. Aioli thickens slightly as it chills.
- Use it right away at room temperature, or refrigerate briefly to firm it up.
Nutrition
Notes
Tried this recipe?
Let us know how it was!FAQs About Roasted Garlic Aioli
Q: Can I make this ahead of time?
A: Yes. Make the aioli a day ahead and keep it chilled. Flavors meld as it rests, and it will taste even more cohesive the next day. Just add a fresh squeeze of lemon if it needs brightness before serving.
Q: Is this safe to store because of the garlic?
A: Yes, roasted garlic blended into mayonnaise is safe when refrigerated and used within 3 to 5 days. Use clean utensils to avoid introducing bacteria, and never leave it out at room temperature for extended periods.
Q: Can I use store-bought roasted garlic paste instead of roasting?
A: You can, but fresh-roasted garlic has a depth and sweetness that jarred paste often lacks. If you use a store paste, taste and adjust lemon and salt since jarred products vary in intensity.
Q: My aioli is grainy after mixing. What went wrong?
A: Graininess usually comes from unevenly mashed garlic or from overworking a low-fat mayonnaise. Mash the garlic until very smooth before combining and use full-fat mayo for the best texture. If it still feels grainy, press it through a fine sieve.
Q: Can I make this vegan?
A: Yes. Substitute vegan mayonnaise made from aquafaba or soy and check your Dijon for any non-vegan ingredients. Roasted garlic still provides the same sweet, mellow flavor.
Final Encouragement or Closing Note
I hope this Roasted Garlic Aioli helps you discover how simple and rewarding homemade cooking can be. You have everything you need to make a small jar of something memorable that will lift countless meals. Take your time with the roast, taste as you go, and know that even small adjustments are part of the fun. You’ve got this.
Conclusion
If you want a quick, slightly different take on the same idea, this Ridiculously Easy Roasted Garlic Aioli Sauce shows how minimal ingredients can still deliver big flavor. For another home-cook-friendly version that leans on simple pantry staples, see Simple Roasted Garlic Aioli – Sunny with Shadows.
Thank you for cooking with me today. Keep the kitchen simple, keep tasting, and enjoy the way housemade flavors make everyday meals feel special.