
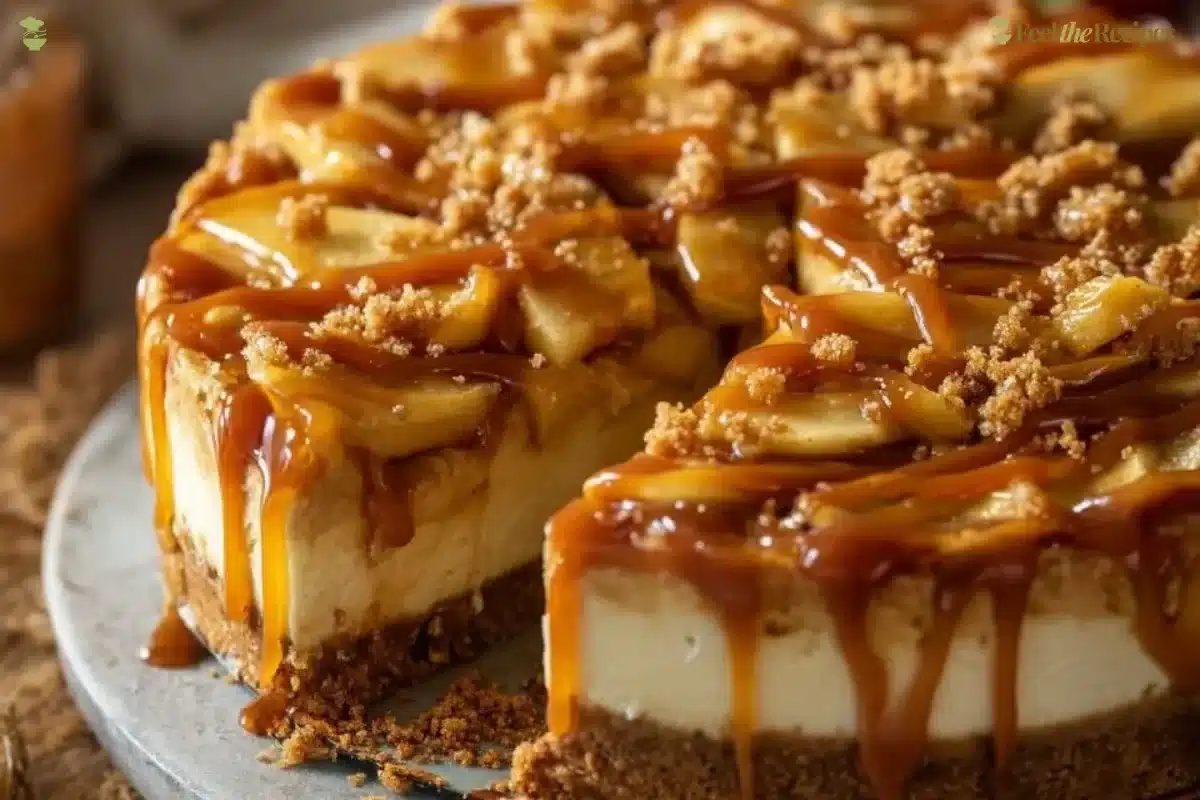
There’s something magical about desserts that remind us of our childhood, isn’t there? The warmth of a cozy kitchen filled with sweet smells can transport us back in time. Today, let’s gather around for a beautiful experience as we create a Salted Caramel Apple Pie Cheesecake. Just picture the rich, creamy cheesecake meeting the tartness of apples, all draped in a velvety salted caramel. You don’t just bake this dessert; you craft a memory. So gather your ingredients and let’s embark on this delightful journey together!
Why You’ll Love Making This Salted Caramel Apple Pie Cheesecake
This Salted Caramel Apple Pie Cheesecake is more than just a dessert. It brings together the best of both worlds: the rich creaminess of cheesecake and the heartwarming flavors of apple pie. The harmonious blend of sweet and salty in the caramel adds an irresistible touch, making each bite an adventure.
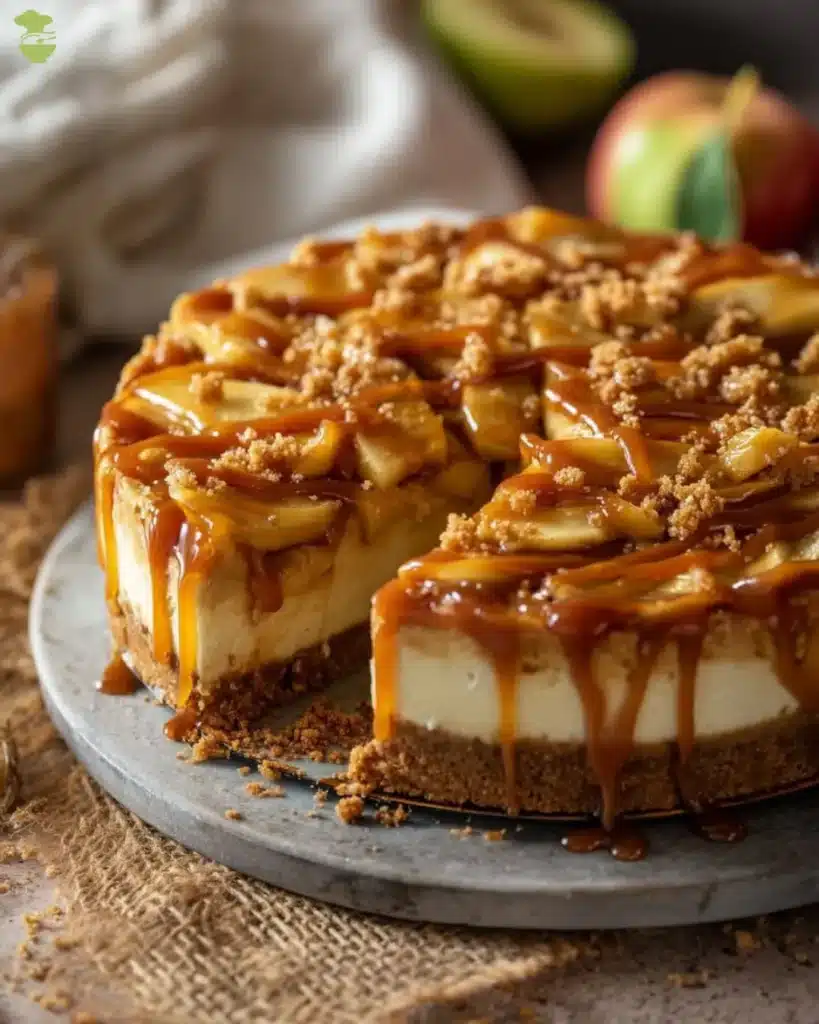
Not only is this dessert delicious, but it’s also a showstopper. Picture yourself serving it at a gathering, and the compliments will come pouring in. You’ll feel proud knowing you made it from scratch. Plus, the process is simple and rewarding, perfect for both beginners and seasoned bakers. Let’s dive in and make this sweet dream come true!
Step-by-Step: How to Make Salted Caramel Apple Pie Cheesecake
Don’t worry if you’ve never made a cheesecake before. I’m here to guide you through every step! With each phase, you’ll gain confidence and joy in the kitchen. Grab your apron and let’s start baking this fantastic dessert!
Ingredients You’ll Need:
Before we get our hands dirty, here’s a list of everything you’ll need to gather for your Salted Caramel Apple Pie Cheesecake:
- 1 1/2 cups graham cracker crumbs
- 1/4 cup granulated sugar
- 1/2 cup unsalted butter (melted)
- 24 oz cream cheese (softened)
- 1 cup granulated sugar
- 3 large eggs
- 1 tsp vanilla extract
- 1/2 cup sour cream
- 3 cups peeled and sliced apples
- 1/4 cup brown sugar
- 1 tsp ground cinnamon
- 2 tbsp all-purpose flour
- 1 cup granulated sugar for caramel
- 6 tbsp unsalted butter for caramel
- 1/2 cup heavy cream for caramel
- 1 tsp sea salt for caramel
Now that we have our ingredients, let’s get cooking!
Directions: Cooking with Confidence
1. Preheat the Oven
First things first! Preheat your oven to 325°F (163°C). This sets the stage for a perfectly baked cheesecake.
2. Prepare the Crust
In a mixing bowl, combine the graham cracker crumbs, 1/4 cup of granulated sugar, and melted butter. Mix until everything is well combined. The texture should resemble wet sand.
Take a 9-inch springform pan and press this crumb mixture evenly into the bottom. This will be the delicious foundation of your cheesecake. Pop it in the oven for about 10 minutes, just until it starts to turn golden. Once done, set it aside to cool.
3. Prepare the Apples
While the crust cools, let’s focus on those lovely apples! In a large bowl, toss together the peeled and sliced apples, brown sugar, ground cinnamon, and all-purpose flour. The flour helps the apples to thicken up while baking. Mix well to coat each apple slice, and then spread them evenly over the cooled crust.
4. Make the Cheesecake Filling
In a separate large mixing bowl, beat the softened cream cheese and granulated sugar together until smooth and creamy. This should take about 2 minutes; make sure there are no lumps.
Now, add the eggs one at a time. Be sure to mix them in well after each addition. Next, stir in the vanilla extract and sour cream until it’s completely blended. This creamy mixture is going to be the magic atop our apple layer!
5. Pour the Mixture
Gently pour the cheesecake mixture over the apple layer in your springform pan. Spread it evenly with a spatula.
6. Bake the Cheesecake
Now it’s time for the oven magic! Bake the cheesecake for about 60-70 minutes, or until the center is almost set but still slightly jiggly. This is important—overbaking can lead to cracks. When it’s done, remove it from the oven and let it cool completely at room temperature.
After cooling, refrigerate the cheesecake for at least 4 hours, or overnight for best results. Patience is key here!
7. Make the Salted Caramel Sauce
To take your cheesecake to the next level, let’s whip up some homemade salted caramel sauce! In a saucepan over medium heat, add 1 cup of granulated sugar. Stir continuously as it melts. You’re aiming for an amber color.
Once melted, carefully add the unsalted butter and stir until it’s fully combined and melted. Slowly drizzle in the heavy cream, stirring continuously. The mixture will bubble, so be cautious! Once everything is combined, remove it from heat and stir in the sea salt. Let it cool slightly.
8. Serve Your Masterpiece
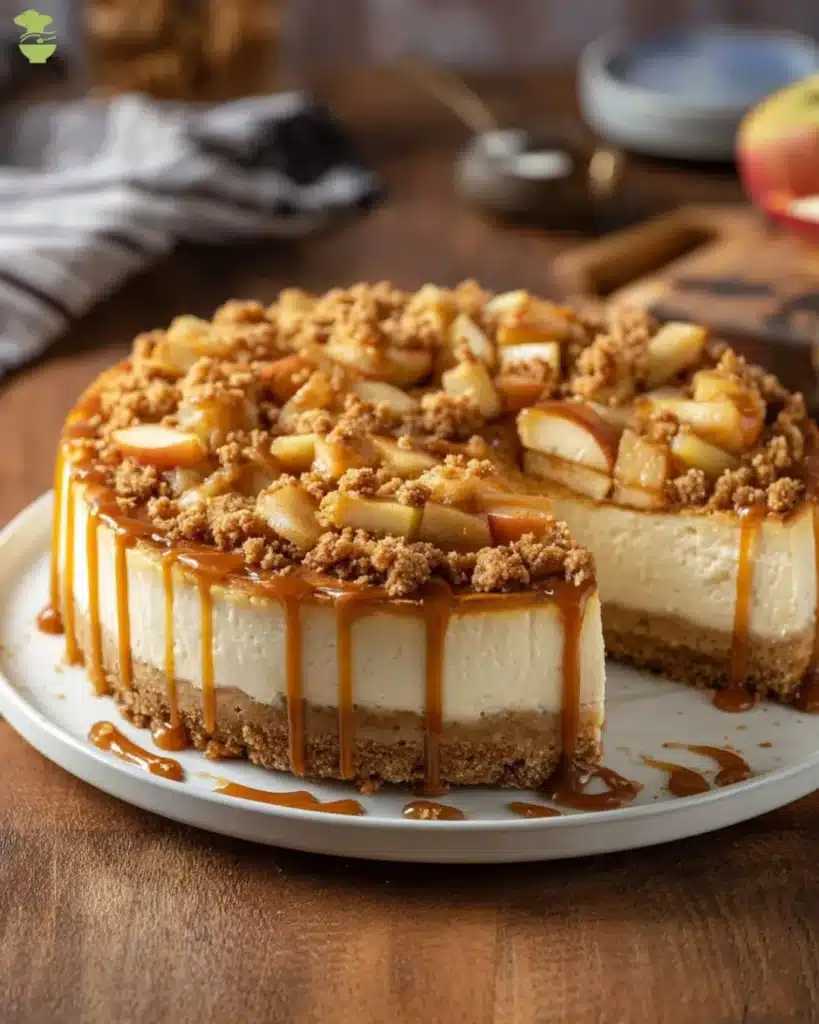
Once the cheesecake is chilled and the caramel is prepared, it’s time to serve! Drizzle the salted caramel sauce over the top of your cheesecake just before slicing. This sweet, salty topping gives each slice an incredible touch!
How to Serve Salted Caramel Apple Pie Cheesecake and Make It Shine
When serving your Salted Caramel Apple Pie Cheesecake, presentation matters! Consider placing it on a beautiful cake stand. A light dusting of powdered sugar or some fresh apple slices could elevate its look further. If you’re feeling extra fancy, serve with a dollop of whipped cream on each slice.
Encourage your guests to add more salted caramel sauce to their pieces for an extra touch of sweetness. They’ll love the combination of flavors—creamy, fruity, and perfectly caramelized—on their taste buds!
How to Store Salted Caramel Apple Pie Cheesecake for Later
Storing your cheesecake properly ensures that it stays fresh for when you’re ready to enjoy it again. Cover the cheesecake with plastic wrap or aluminum foil, or keep it in an airtight container in the refrigerator. It should stay fresh for about 4-5 days.
If you want to store it for an even longer time, consider freezing it. Wrap individual slices tightly and place them in a freezer-safe container. When you’re ready to indulge again, simply thaw it in the refrigerator overnight.
Clara’s Tips for Success
- Softened Cream Cheese: Don’t rush this step! Let your cream cheese sit out at room temperature for about 30 minutes before you start. This ensures a smooth filling without lumps.
- Avoid Cracks: If your cheesecake is puffy while baking and cracks on top, you may have over-baked it. Keep an eye on it during the last few minutes.
- Let It Chill: Chilling your cheesecake is crucial. A well-chilled cheesecake slices beautifully, so resist the temptation to cut it too early!
- Taste Test: Always taste your salted caramel! Feel free to adjust the salt according to your preference. You want that perfect balance!
Simple Variations to Try
Want to switch things up? Here are some fun variations to consider:
Nutty Crust: Replace the graham cracker crumbs with crushed pecans or walnuts for a delightful crunch.
Different Apples: Try using a mix of tart Granny Smith and sweet Honeycrisp apples for a more layered flavor.
Spiced Caramel: Add a pinch of cinnamon to your caramel for a warm, spiced twist.
Chocolate Drizzle: Drizzle some melted chocolate over the salted caramel for an indulgent option!
Discover More Nourishing Recipes
Head over to our Recipe Trends page and uncover a world of fresh, plant-forward ideas that fit right into your daily routine. From vibrant seasonal flavors to calming, wholesome dishes, each recipe is designed to spark inspiration and bring a sense of balance to your kitchen. Find comfort, joy, and connection in every meal while exploring what’s trending right now.
Salted Caramel Apple Pie Cheesecake
Ingredients
Method
- Preheat your oven to 325°F (163°C).
- In a mixing bowl, combine the graham cracker crumbs, 1/4 cup of granulated sugar, and melted butter. Mix until well combined.
- Press the crumb mixture evenly into the bottom of a 9-inch springform pan and bake for about 10 minutes, until golden. Set aside to cool.
- In a large bowl, toss together the peeled and sliced apples, brown sugar, ground cinnamon, and all-purpose flour. Spread evenly over the cooled crust.
- In a separate bowl, beat the softened cream cheese and granulated sugar together until smooth, about 2 minutes.
- Add the eggs one at a time, mixing well after each addition. Stir in the vanilla extract and sour cream until completely blended.
- Pour the cheesecake mixture gently over the apple layer in the springform pan.
- Bake the cheesecake for about 60-70 minutes, or until the center is almost set but still slightly jiggly.
- Let the cheesecake cool completely at room temperature, then refrigerate for at least 4 hours, or overnight for best results.
- In a saucepan over medium heat, add 1 cup of granulated sugar. Stir continuously until melted and amber in color.
- Add the unsalted butter and stir until fully melted and combined. Slowly drizzle in the heavy cream, stirring continuously.
- Once combined, remove from heat and stir in sea salt. Let it cool slightly.
- Drizzle the salted caramel sauce over the top of the chilled cheesecake just before slicing.
Nutrition
Notes
Tried this recipe?
Let us know how it was!FAQs About Salted Caramel Apple Pie Cheesecake
1. Can I make this cheesecake ahead of time?
Absolutely! You can make this cheesecake up to two days in advance. Just ensure you store it properly in the refrigerator.
2. What’s the best way to slice a cheesecake?
Use a sharp knife that’s been warmed in hot water. Clean the knife between slices for clean edges.
3. Can I use a different type of apple?
Yes! Feel free to experiment with your favorite apple varieties. Just keep in mind that some apples might be sweeter or more tart.
4. How do I avoid a soggy crust?
Make sure to bake the crust for a few minutes before adding the cheesecake layer. This creates a firmer texture that holds up well.
With these tips, tricks, and an easy-to-follow recipe, you’re all set to create a stunning Salted Caramel Apple Pie Cheesecake. Enjoy this delightful treat and the wonderful memories it brings, comforting you with its sweet, rich flavors. Now, let’s get baking, my friend!
Stay Connected with Feel the Recipes
Love cooking and sharing good food? Let’s stay connected! Clara posts new recipes, helpful tips, and little moments from her kitchen every day to keep you inspired.
Join our growing community of home cooks who believe food is meant to be simple, joyful, and shared around the table.
👉 Facebook: Follow us on Facebook
📌 Pinterest: Explore our boards for endless recipe inspiration
🐦 X (Twitter): @feeltherecipes for quick tips and updates
📸 Instagram: @feeltherecipes for fresh photos and behind-the-scenes peeks
Let’s keep cooking, creating, and sharing. Whether you’re here for classic comfort food or something new to try, we’re just a click away.