
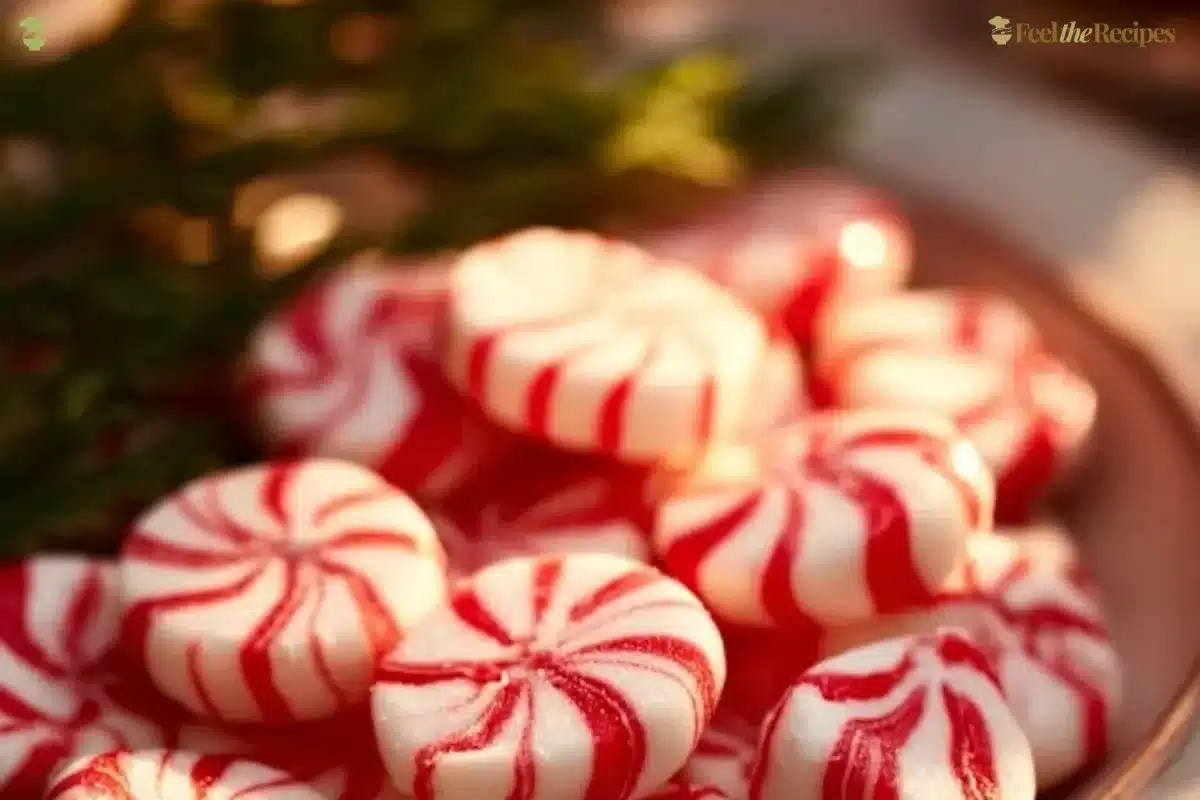
There’s something special about Soft Christmas Peppermints (Old-Fashioned Butter Mints) the way their aroma fills the kitchen and makes everyone wander in for a taste. These sweet, creamy treats are a burst of nostalgia, taking you back to holiday gatherings filled with laughter and warmth. They’re not just a treat; they’re a tradition, a token of love made by hand and shared with people dear to your heart.
In this cozy cooking lesson, I’ll guide you through making these delightful mints, ensuring you feel confident and capable in your kitchen. Whether you are a seasoned baker or just starting out, this recipe is approachable and fun. So, let’s roll up our sleeves and create some sweet memories together.
Why You’ll Love Making These Soft Christmas Peppermints
Soft Christmas Peppermints are more than just candy. They embody the spirit of the holidays, perfect for gift-giving, decorating, or simply enjoying at home. Here’s why making them is worth your time:
- Easy Preparation: The steps are simple, allowing you to whip them up even when you’re busy. With just a handful of ingredients, you won’t spend hours at your kitchen counter.
- Customize the Flavors: If peppermint isn’t your favorite, you can easily adjust the flavors or colors. You get to make them exactly as you like.
- Perfect for Sharing: These mints make wonderful gifts. Package them in a lovely box or jar, and they can brighten anyone’s day.
- Nostalgic Charm: Making Soft Christmas Peppermints can be a heartwarming tradition for friends and family, bringing everyone together to share the joy of creating something delicious.
- Delicious and Versatile: They’re perfect as a holiday dessert, after-dinner mint, or just a sweet treat whenever the mood strikes.
Step-by-Step: How to Make Soft Christmas Peppermints
“Cooking isn’t about perfection. It’s about enjoying every delicious step.”
Now that you have a little insight into why these mints are so special, let’s dive into how to make them. Cooking is a journey, and I’ll be right here with you every step of the way. Gather your ingredients and follow this easy guide.
Ingredients You’ll Need for Soft Christmas Peppermints
- 4 cups powdered sugar: This creates the sweet base of your mints.
- 4 oz cream cheese, softened: It adds richness and smoothness.
- 1 tablespoon unsalted butter, softened: For that creamy, rich flavor, use real butter.
- ½ teaspoon peppermint extract: Gives you that classic minty taste. Adjust to your preference.
- Pinch of salt: A tiny amount enhances the sweetness.
- Gel food coloring: Use to create festive colors.
- Granulated sugar: This is for coating the mints it prevents sticking and adds texture.
Directions: Cooking with Confidence
- In a large mixing bowl, beat the softened cream cheese and butter together using an electric mixer on medium speed for about 2–3 minutes. The goal is a smooth and fluffy texture. Don’t forget to scrape down the sides for an even mix.
- Stir in the peppermint extract and a pinch of salt. This step is where you can start playing with the flavor. Begin with ½ teaspoon, and feel free to taste and adjust if you prefer a stronger minty flavor.
- Gradually add the powdered sugar, 1 cup at a time, mixing on low speed. Don’t rush this step; the mixture will seem soft at first but will transform into a thick, dough-like consistency. Once it becomes stiff for the mixer, dust your hands with powdered sugar and get in there to knead.
- The final dough should be smooth, pliable, and not sticky. This is your blank canvas, ready for some color and fun!
- Divide the dough into portions based on how many colors you want. Traditional colors are white, red, and green for Christmas. Add a drop or two of gel food coloring to each portion and knead until evenly colored. If you’d prefer, use gloves or knead on parchment paper to keep your hands clean.
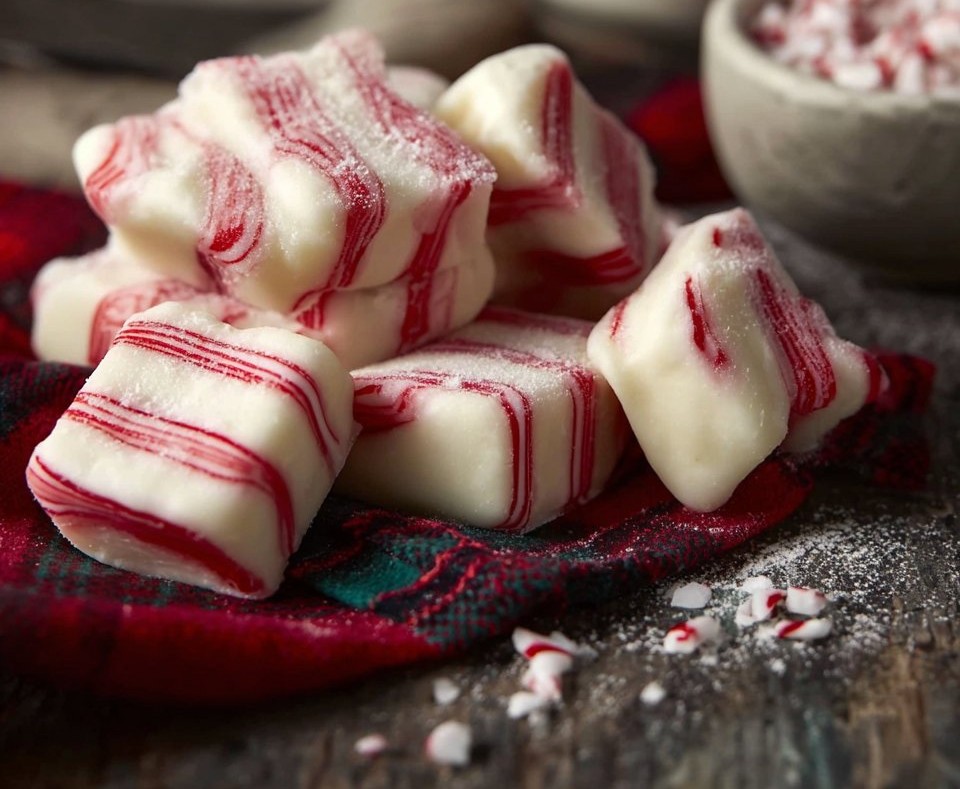
- Dust a clean surface generously with powdered sugar. Roll each portion into a rope about ½ inch thick, then cut it into small bite-sized pieces, about ½ inch each. For a bit more flair, you can roll them into balls and press down slightly with a fork for a decorative touch. Cookie molds or stamps work nicely here, too.
- Roll each shaped mint in granulated sugar, ensuring they get a nice coat. This not only adds a delightful crunch but helps them not to stick to each other.
- Finally, place the mints on a parchment-lined baking sheet in a single layer. Let them air dry for 12–24 hours uncovered at room temperature. This drying time allows them to develop a firm outer shell while remaining soft inside.
How to Serve Soft Christmas Peppermints and Make It Shine
These mints are a treat that’s as pleasing to the eye as they are to the palate. Presenting them well can make all the difference. Here are some ideas to serve and share your Soft Christmas Peppermints:
- Gift It: Present your mints in decorative jars or festive tins. Add a handwritten note for a personalized touch. They make lovely gifts for neighbors, coworkers, or anyone needing a holiday cheer boost.
- Dessert Table: Arrange them on a platter with other holiday treats. Their bright colors will bring vibrancy to your dessert table.
- Party Favors: If you’re hosting a holiday party, fill little bags with these mints for guests to take home. It’s a sweet way to thank them for joining your celebration.
- As a Sweet Ending: Serve them after a meal with coffee or tea. Their refreshing mint flavor makes a perfect palate cleanser.
How to Store Soft Christmas Peppermints for Later
If you manage to have extras and that’s a big if storing your Soft Christmas Peppermints is easy. Here’s how:
- Cool and Dry Location: Store mints in an airtight container at room temperature. This prevents moisture from changing their delightful texture.
- Away from Heat: Keep them in a cool spot, avoiding direct sunlight and heat, which could affect their consistency and flavor.
- Refrigeration: If you must, you can refrigerate them, but remember that cold temperatures may alter the texture slightly.
Discover What’s Trending Now
Wondering what recipes are stealing the spotlight?
Check out our Recipe Trends page for fresh ideas, seasonal favorites, and dishes people can’t stop talking about.
See what’s hot in the kitchen this week and bring the buzz straight to your table!
Clara’s Tips for Success
- Take Your Time: Don’t rush the mixing and kneading process. This attention creates the best texture.
- Watch Your Flavor: Peppermint extract is strong, so start small. You can always add more if you desire a stronger mint flavor.
- Condition Your Dough: If the dough seems too sticky while rolling, sprinkle a bit more powdered sugar on your hands and work area to help.
- Use Quality Ingredients: The taste of your mints heavily relies on your ingredients. Fresh cream cheese and real butter will make a noticeable difference.
- Practice Patience: Letting the mints dry properly is crucial. This step ensures they are soft yet firm, perfect for indulgence.
Simple Variations to Try
- Chocolate Coated: After drying, dip the mints in melted chocolate for a deliciously decadent twist.
- Flavor Infusion: Experiment with other extracts like vanilla or almond for a different flavor profile. You can even mix peppermint with a hint of vanilla for a unique taste.
- Seasonal Colors: Not just for Christmas, you can make them in pastels for Easter or in festive colors for birthdays. The options are limitless.


Soft Christmas Peppermints
Ingredients
Method
- In a large mixing bowl, beat the softened cream cheese and butter together using an electric mixer on medium speed for about 2–3 minutes until smooth and fluffy.
- Stir in the peppermint extract and a pinch of salt, adjusting for flavor as desired.
- Gradually add the powdered sugar, 1 cup at a time, mixing on low speed until the mixture transforms into a thick, dough-like consistency.
- Dust your hands with powdered sugar and knead the dough until smooth and pliable.
- Divide the dough based on the number of colors you want and add gel food coloring to each portion, kneading until evenly colored.
- Dust a clean surface with powdered sugar, roll each portion into a rope about ½ inch thick, and cut into small bite-sized pieces.
- Optionally roll the pieces into balls and press down slightly for decoration.
- Roll each shaped mint in granulated sugar, ensuring even coating.
- Place the mints on a parchment-lined baking sheet in a single layer and let them air dry for 12–24 hours uncovered at room temperature.
Nutrition
Notes
Tried this recipe?
Let us know how it was!FAQs About Soft Christmas Peppermints
Can I make this ahead of time?
Yes! The mints keep well for several weeks, so making them a few days before an event is ideal.
What if my dough is too dry?
If your dough feels too dry, add a small amount of softened cream cheese or butter to bring it back together.
Are there any substitutes for cream cheese?
You can use a vegan cream cheese or whipped butter for a different texture, but the taste will change slightly.
Can I freeze these mints?
Freezing is possible. Just make sure they are completely dry, then store in an airtight container. Thaw at room temperature before serving.
How long do they last?
Stored properly, Soft Christmas Peppermints can last for several weeks. Keeping them in a cool, dry place is key.
Final Encouragement
I hope this Soft Christmas Peppermints (Old-Fashioned Butter Mints) recipe helps you discover how simple and rewarding homemade cooking can be. Creating these treats allows you to share joy and warmth with loved ones. Embrace your kitchen journey, and remember that each sweet bite is a reflection of your hard work and love. You’ve got this!
Stay Connected with Feel the Recipes
Love cooking and sharing good food? Let’s stay connected! Clara posts new recipes, helpful tips, and little moments from her kitchen every day to keep you inspired.
Join our growing community of home cooks who believe food is meant to be simple, joyful, and shared around the table.
👉 Facebook: Follow us on Facebook
📌 Pinterest: Explore our boards for endless recipe inspiration
🐦 X (Twitter): @feeltherecipes for quick tips and updates
📸 Instagram: @feeltherecipes for fresh photos and behind-the-scenes peeks
Let’s keep cooking, creating, and sharing. Whether you’re here for classic comfort food or something new to try, we’re just a click away.